

THE TREND: LAYER 101
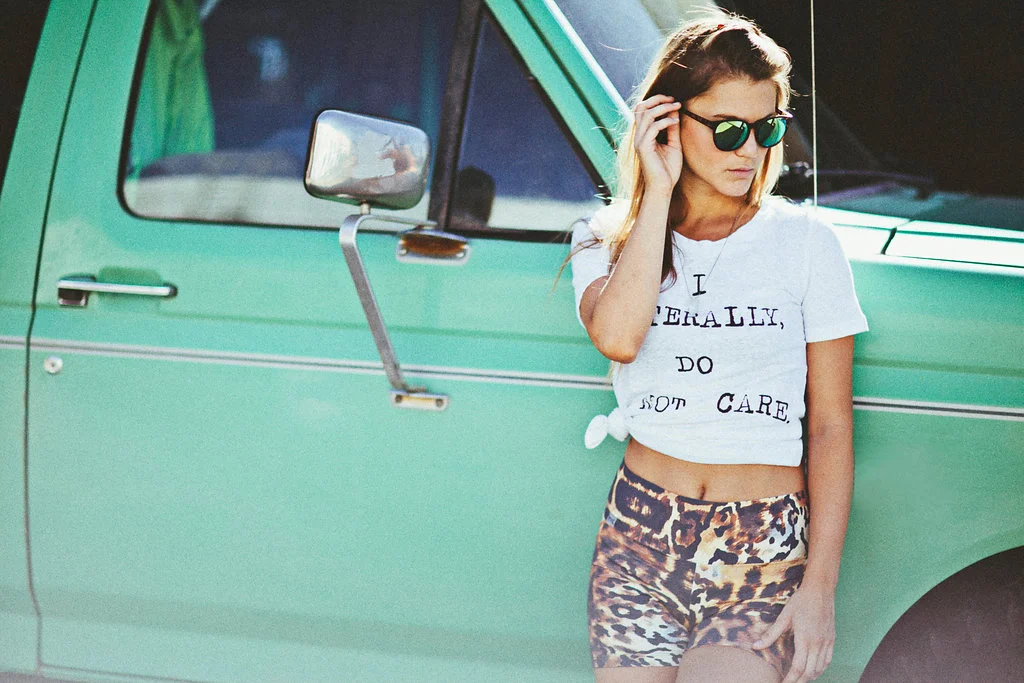
So the good news is that technically it’s still summer for two more weeks. In California, we’re oh-so-lucky to have great weather year round. Up here in NorCal, it’s going to cool significantly in the coming weeks and I can’t lie, I’m pretty ready for fall.

Image via Cheetah is the New Black
So the good news is that technically it’s still summer for two more weeks. In California, we’re oh-so-lucky to have great weather year round. Maybe not where we live per se, but hey, we can hop in the car or take a short plane ride and be in a totally different climate in a couple of hours. Up here in NorCal, it’s going to cool significantly in the coming weeks and I can’t lie, I’m pretty ready for fall. Pumpkin everything, scarves and crunchy leaves - oh my!
I know I’m guilty of pinning layered looks on my Pinterest only to leave them on my board of “fashionista dreams,” but achieving them is easier than you think. I’ve broken down my top five ways to layer in style as summer leaves us and fall graces us with her presence:
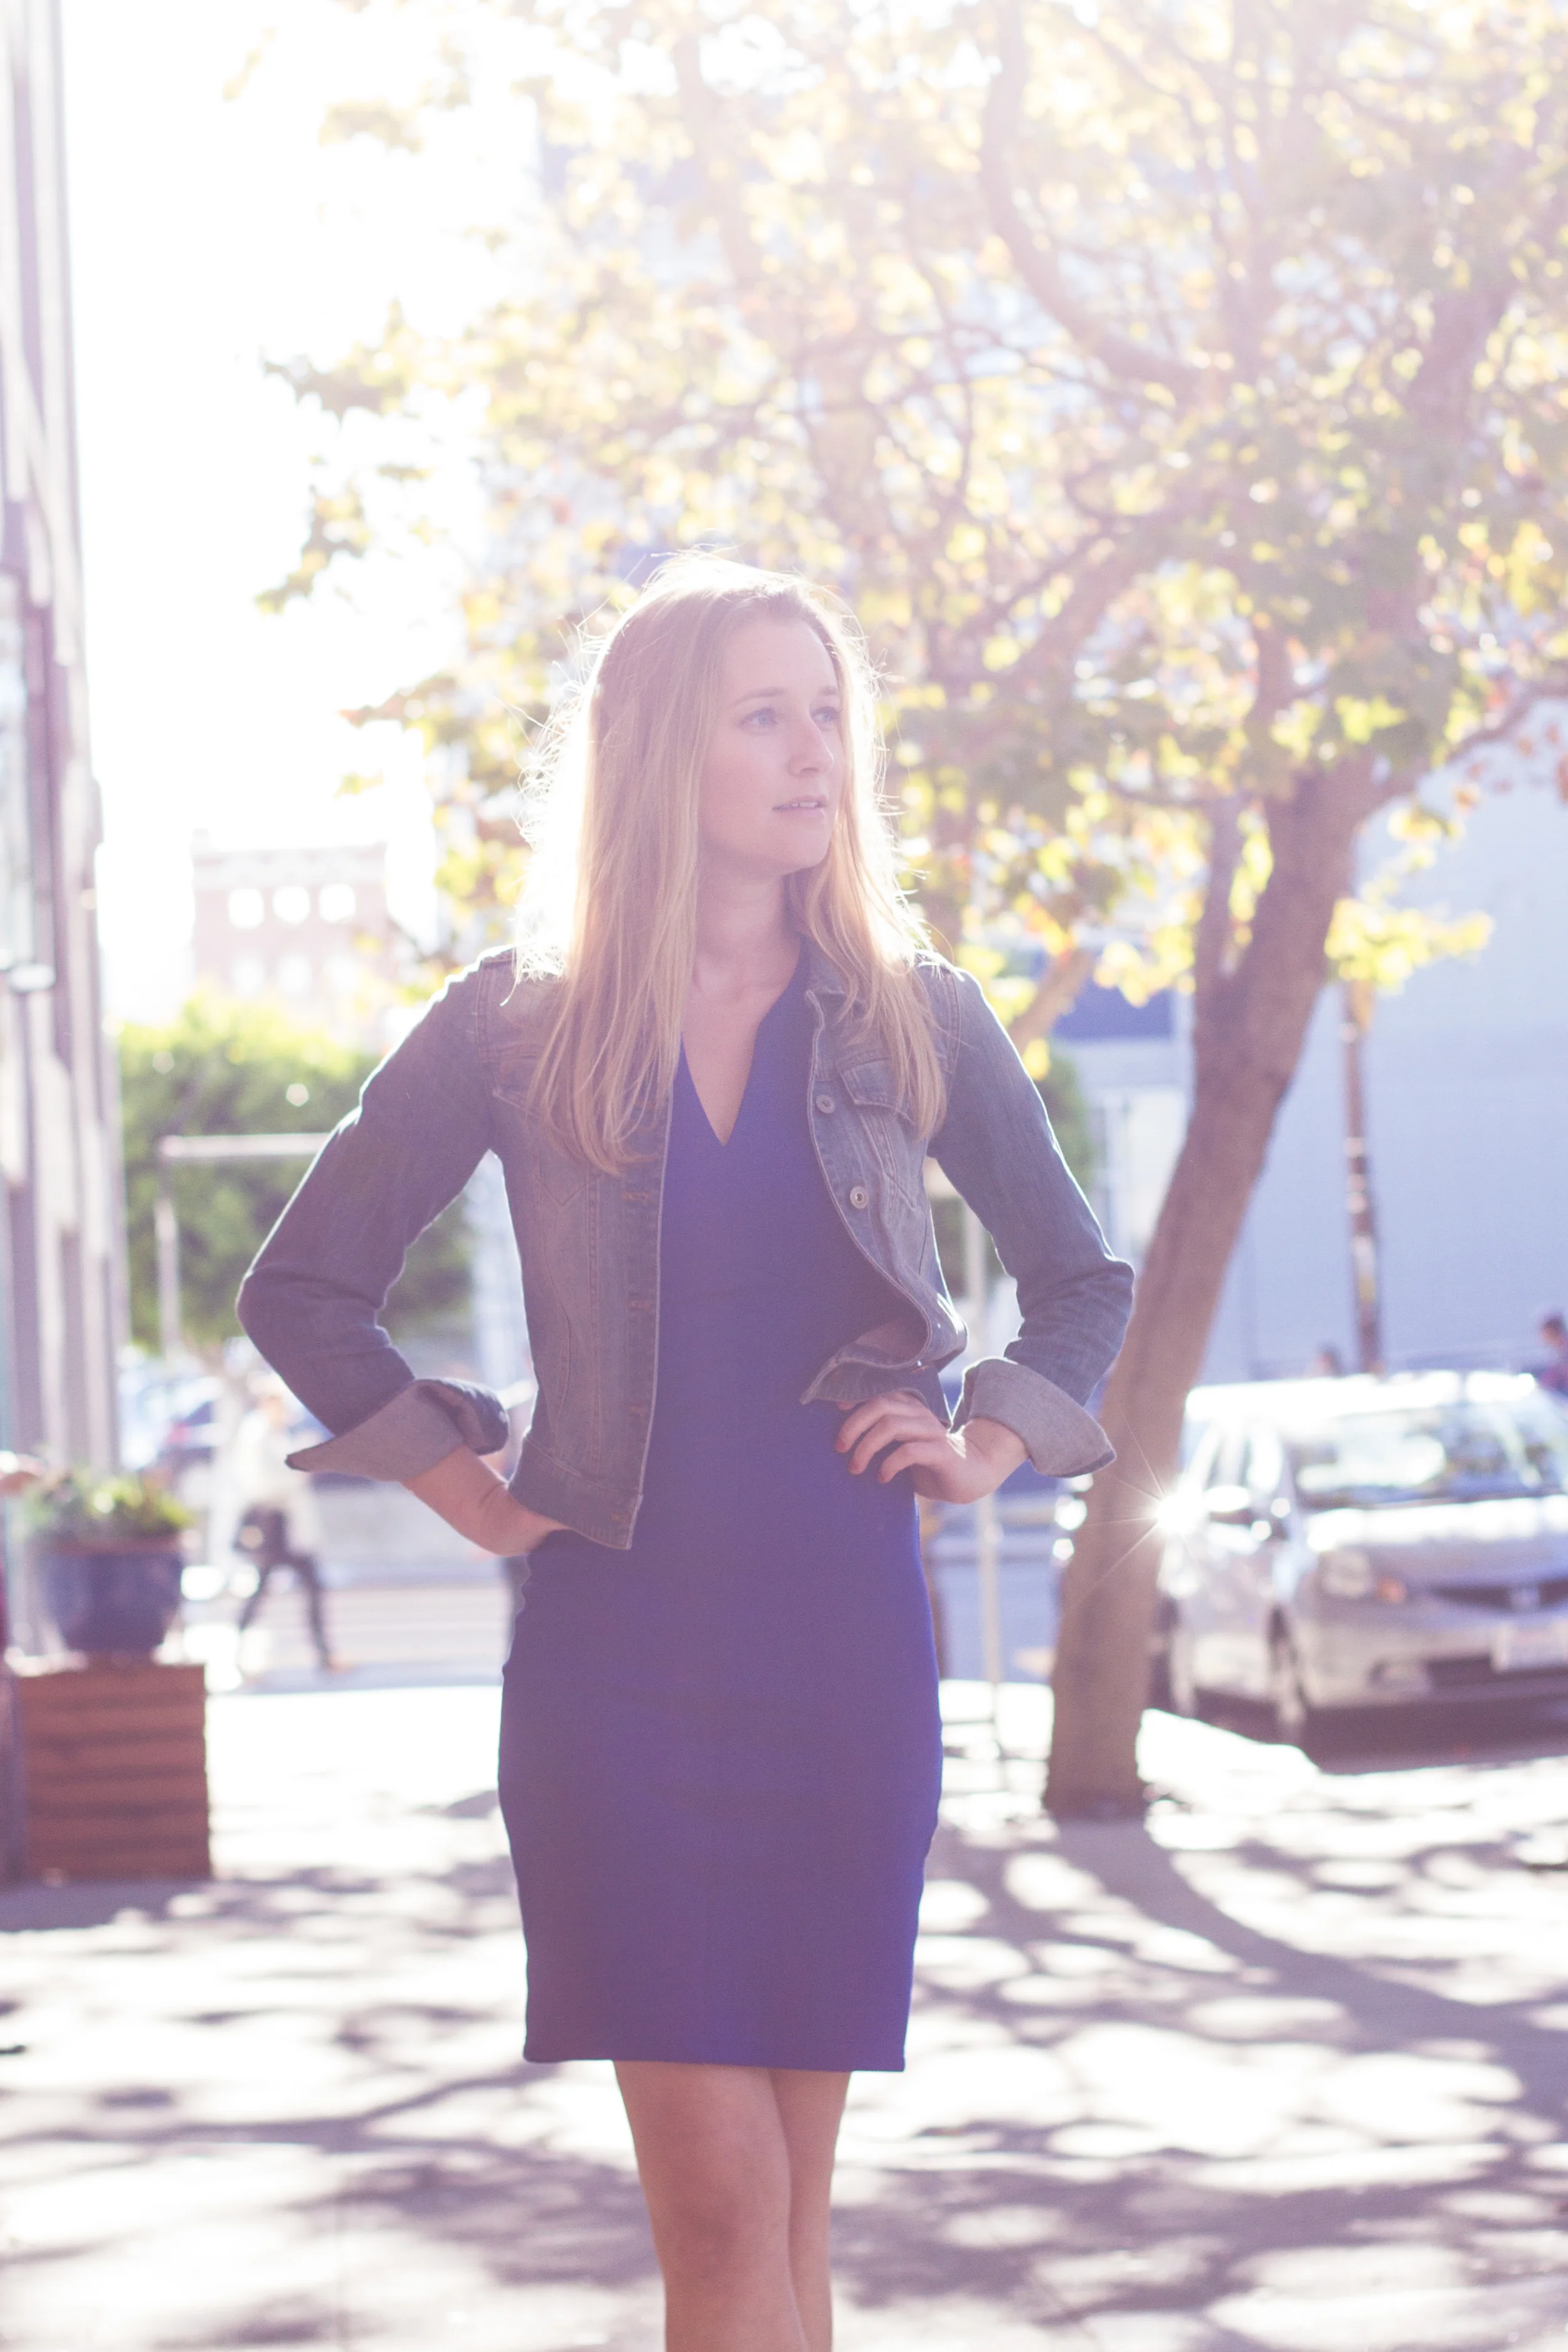
Don’t eliminate color: Just because the 90 degree weather is fading away, that doesn’t mean your chartreuse and coral need to! Add your brighter pieces as pops of color into your sweater and jacket layers, and if they have a print on them, even better!

Image via Merrick’s Art/Sara Walk
Do your best to achieve balance: I mean this literally. If you are going to be stacking on layers of tees, vests and jackets, that will add bulk to the top half of your body. You have to balance your top out with a more fitted bottom or you will be swallowed up by your layers.

Image via Biscuits & Gravy
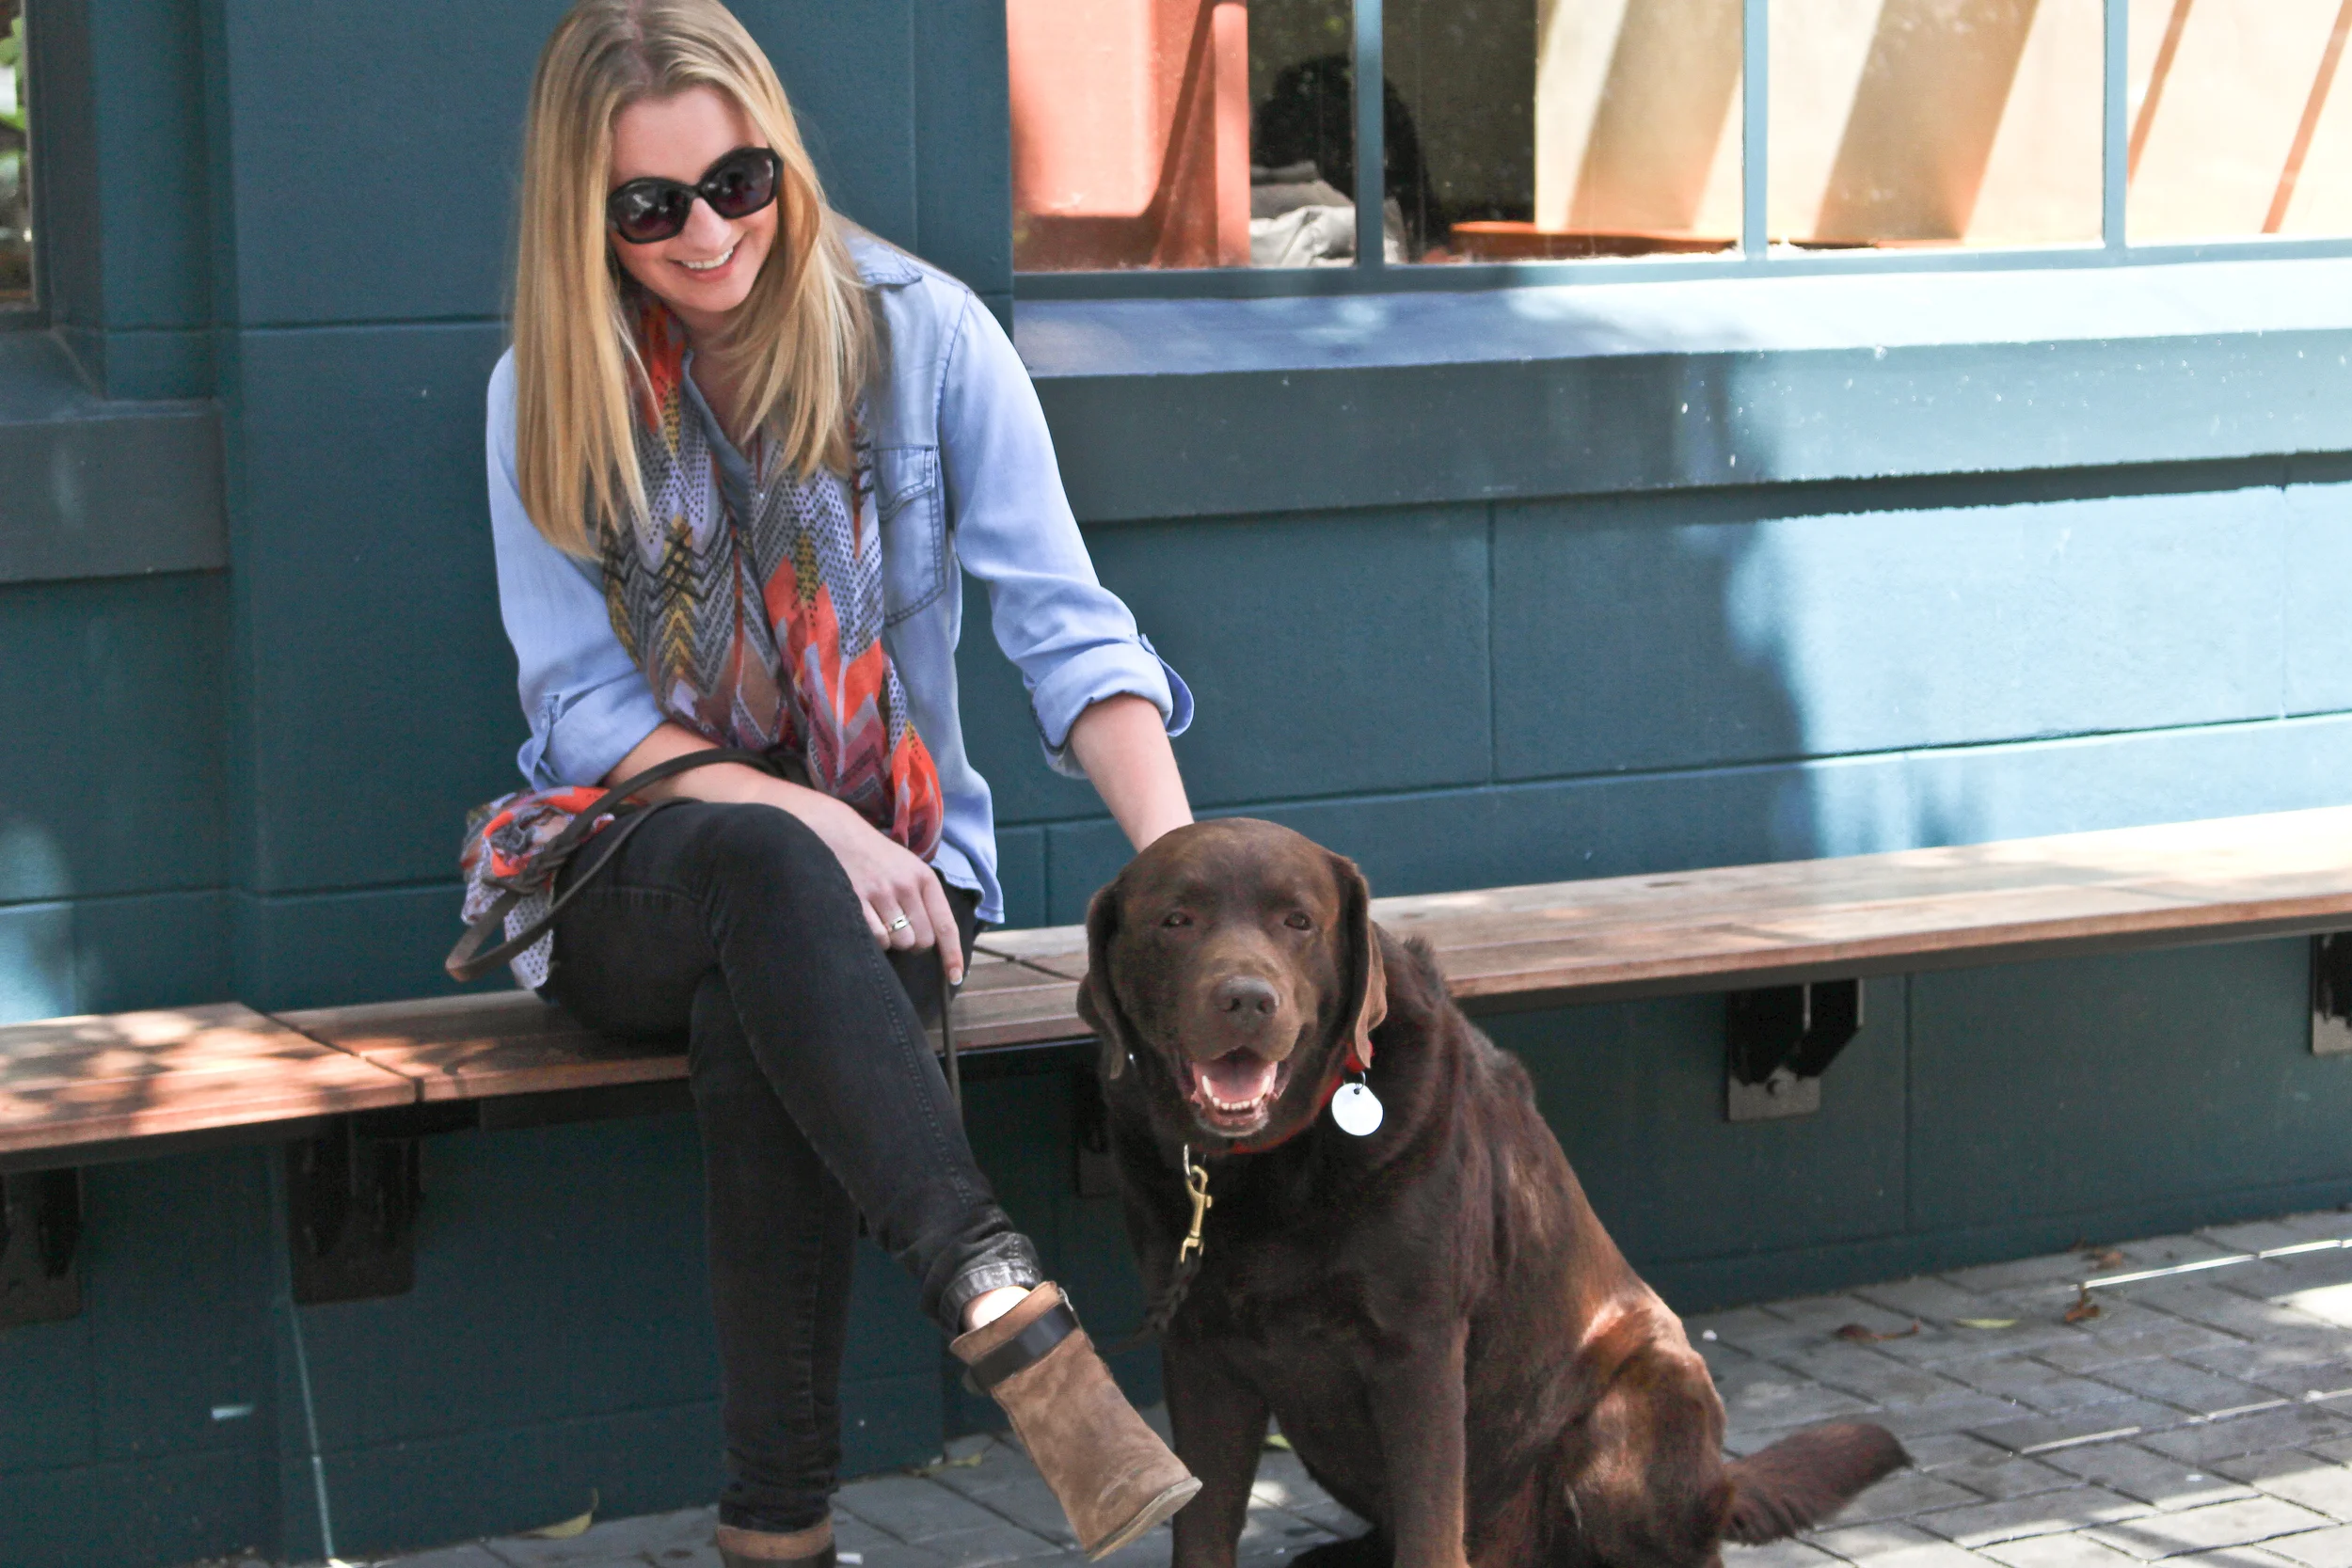
Don’t stop wearing your summer denim: You know that denim vest that was your go-to all summer long? Those shorts that you wore to brunch over and over again? They can still have plenty of play this fall. Layer your denim vest under an anorak or a trench, or simply wear a long sleeved shirt under it. And when temperatures really start to drop, your shorts will gain a new life with fun tights, knee highs and socks. Choosing a bootie will automatically “fall-ize” your look.

Image via Hel Looks
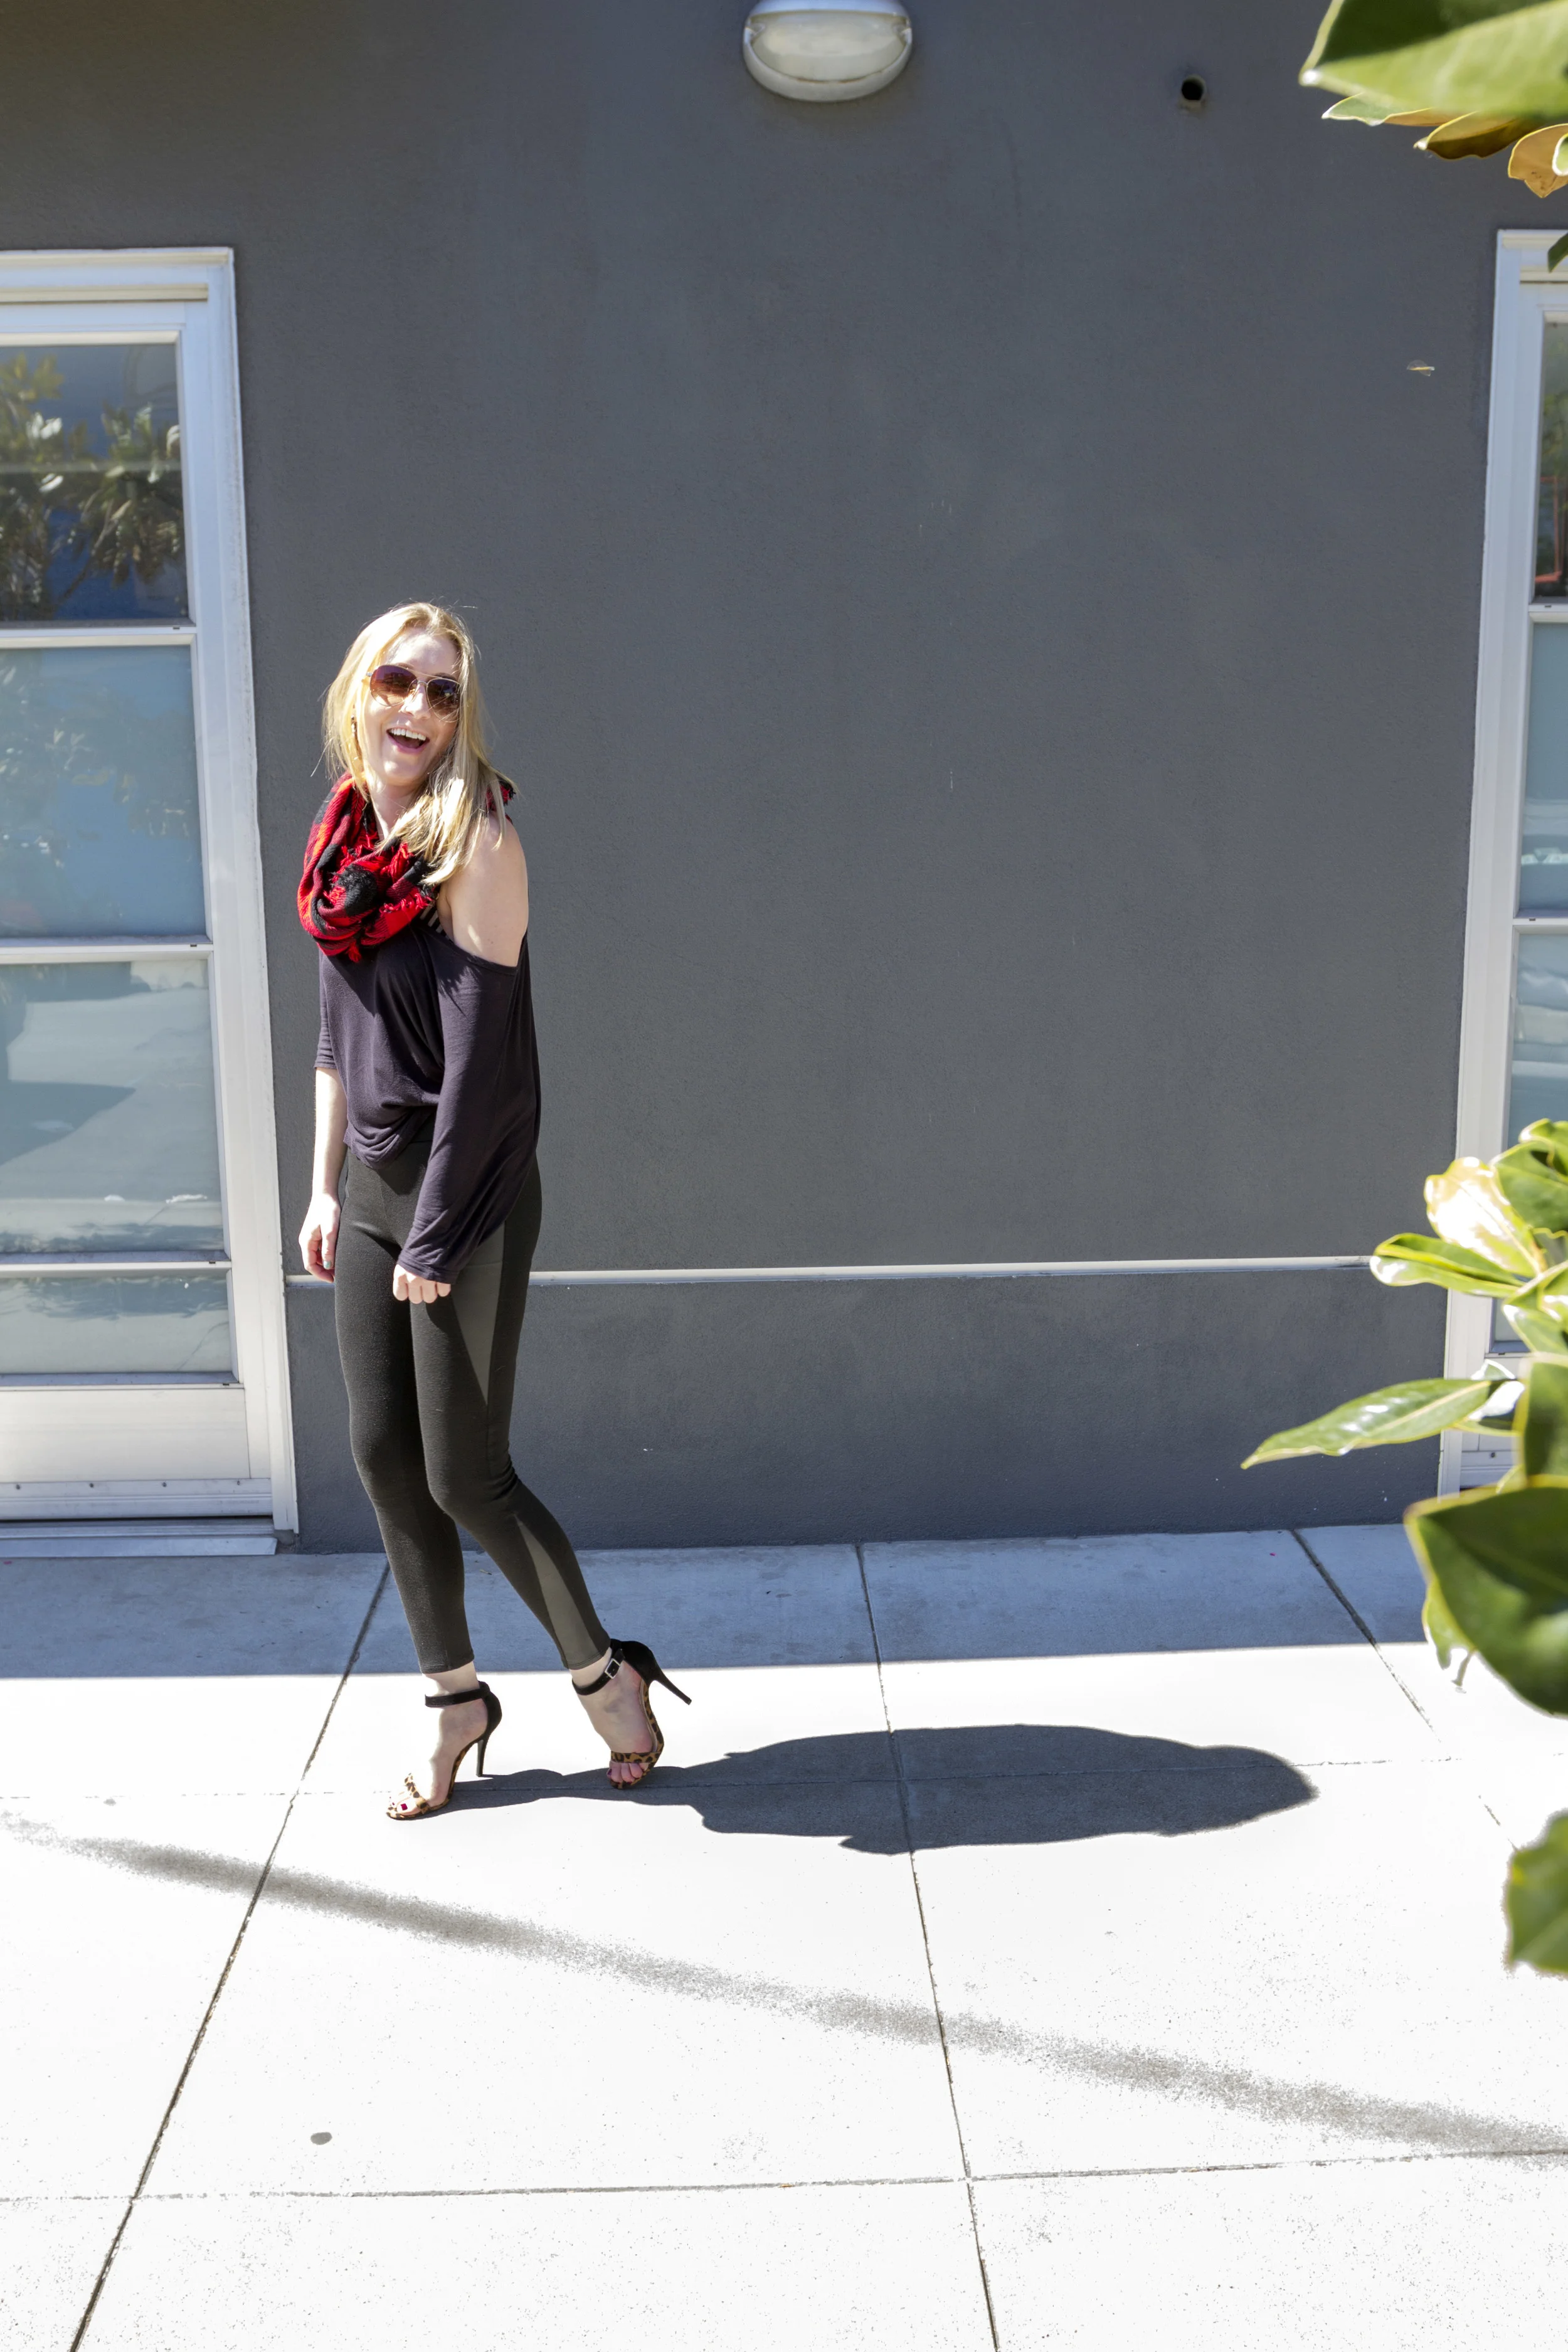
Don’t wait until it’s cold to buy your key layering pieces: For the past month or so, sweaters, scarves, long sleeves and boots have made their way onto store shelves and racks and if you’re like me, you probably think it’s too soon. Well, it is! The weather is glorious right now. Well, don’t wait until it’s cold to buy the pieces that you want to be part of your fall wardrobe because as soon as it gets cold, everyone will flock to get their hands on it and you may be left without. It will be sad!

Image via Amy's Vintage Closet
Do get carried away: Layering can be lots of fun and a great way to develop your personal style. You can play with textures and patterns, and create your own work of wearable art. Sometimes when I’m getting dressed, I realize that a certain piece in my closet would look awesome with something I’ve never paired it with. Take a picture of the look laid out on your bed or floor so you don’t forget what you came up with when you were inspired.
I can’t wait to see what looks you all create. What rules that I didn’t mention do you think ladies should follow when layering their clothes?

ABOUT THE AUTHOR

Kachet is the face behind the fashion and lifestyle blog The Lipstick Giraffe. She's a twenty-something lady with a love for all things pretty and delicious living in Sacramento, CA. Sale shopping is in her blood. Her mom taught her how to stretch a dollar at a very young age and it is something that has stuck throughout her life. Kachet uses the blog as a way to showcase her personal style and show others that they can look and feel like a million bucks without breaking the bank. When she's not blogging and being a contributor, Kachet can be found playing around in the kitchen, enjoying a glass of bubbly and laughing with loved ones.
FOLLOW HER ON: INSTAGRAM / TWITTER /FACEBOOK / PINTEREST / WEBSITE


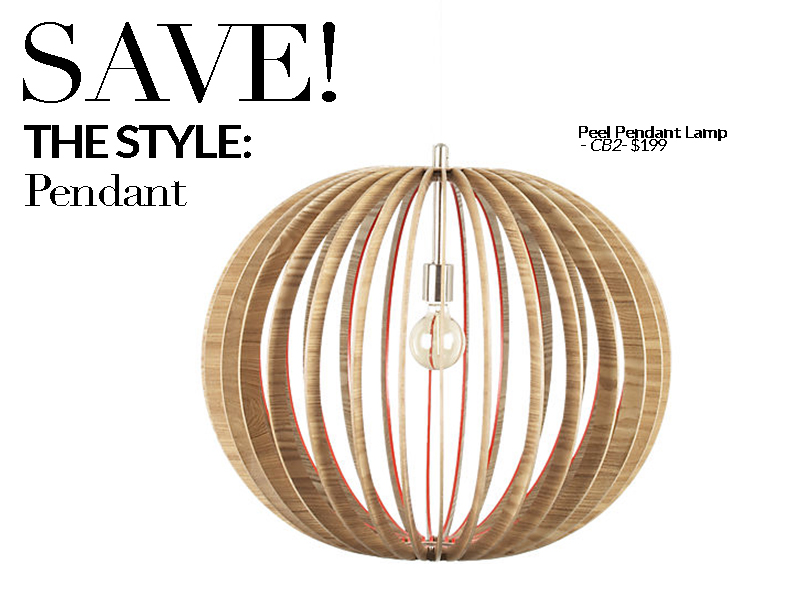
SPLURGE vs SAVE: LIGHTING
Established California has gathered some of the most popular lighting designs to help you on your quest of finding a perfect match. Don't have hundreds of dollars to throw down? This Splurge vs Save should lead you in the right direction.

Image via Restoration Hardware
A beautiful space can easily jump to a breathtaking space with the help of the simplest addition: Lighting. Not only does a good light fixture set the ambiance for a room, it could very well be the cherry on top of a well-decorated cake. With the help of a well-made, eye-catching fixture, your entire space can be elevated to the next level. Here we’ve gathered some of the most popular lighting designs to help you on your quest of finding a perfect match. Our goal is to help you save a couple bucks while you're at it!


SCROLL TO SHOP THE POST
Contributed by estCA staff, Megan Araujo


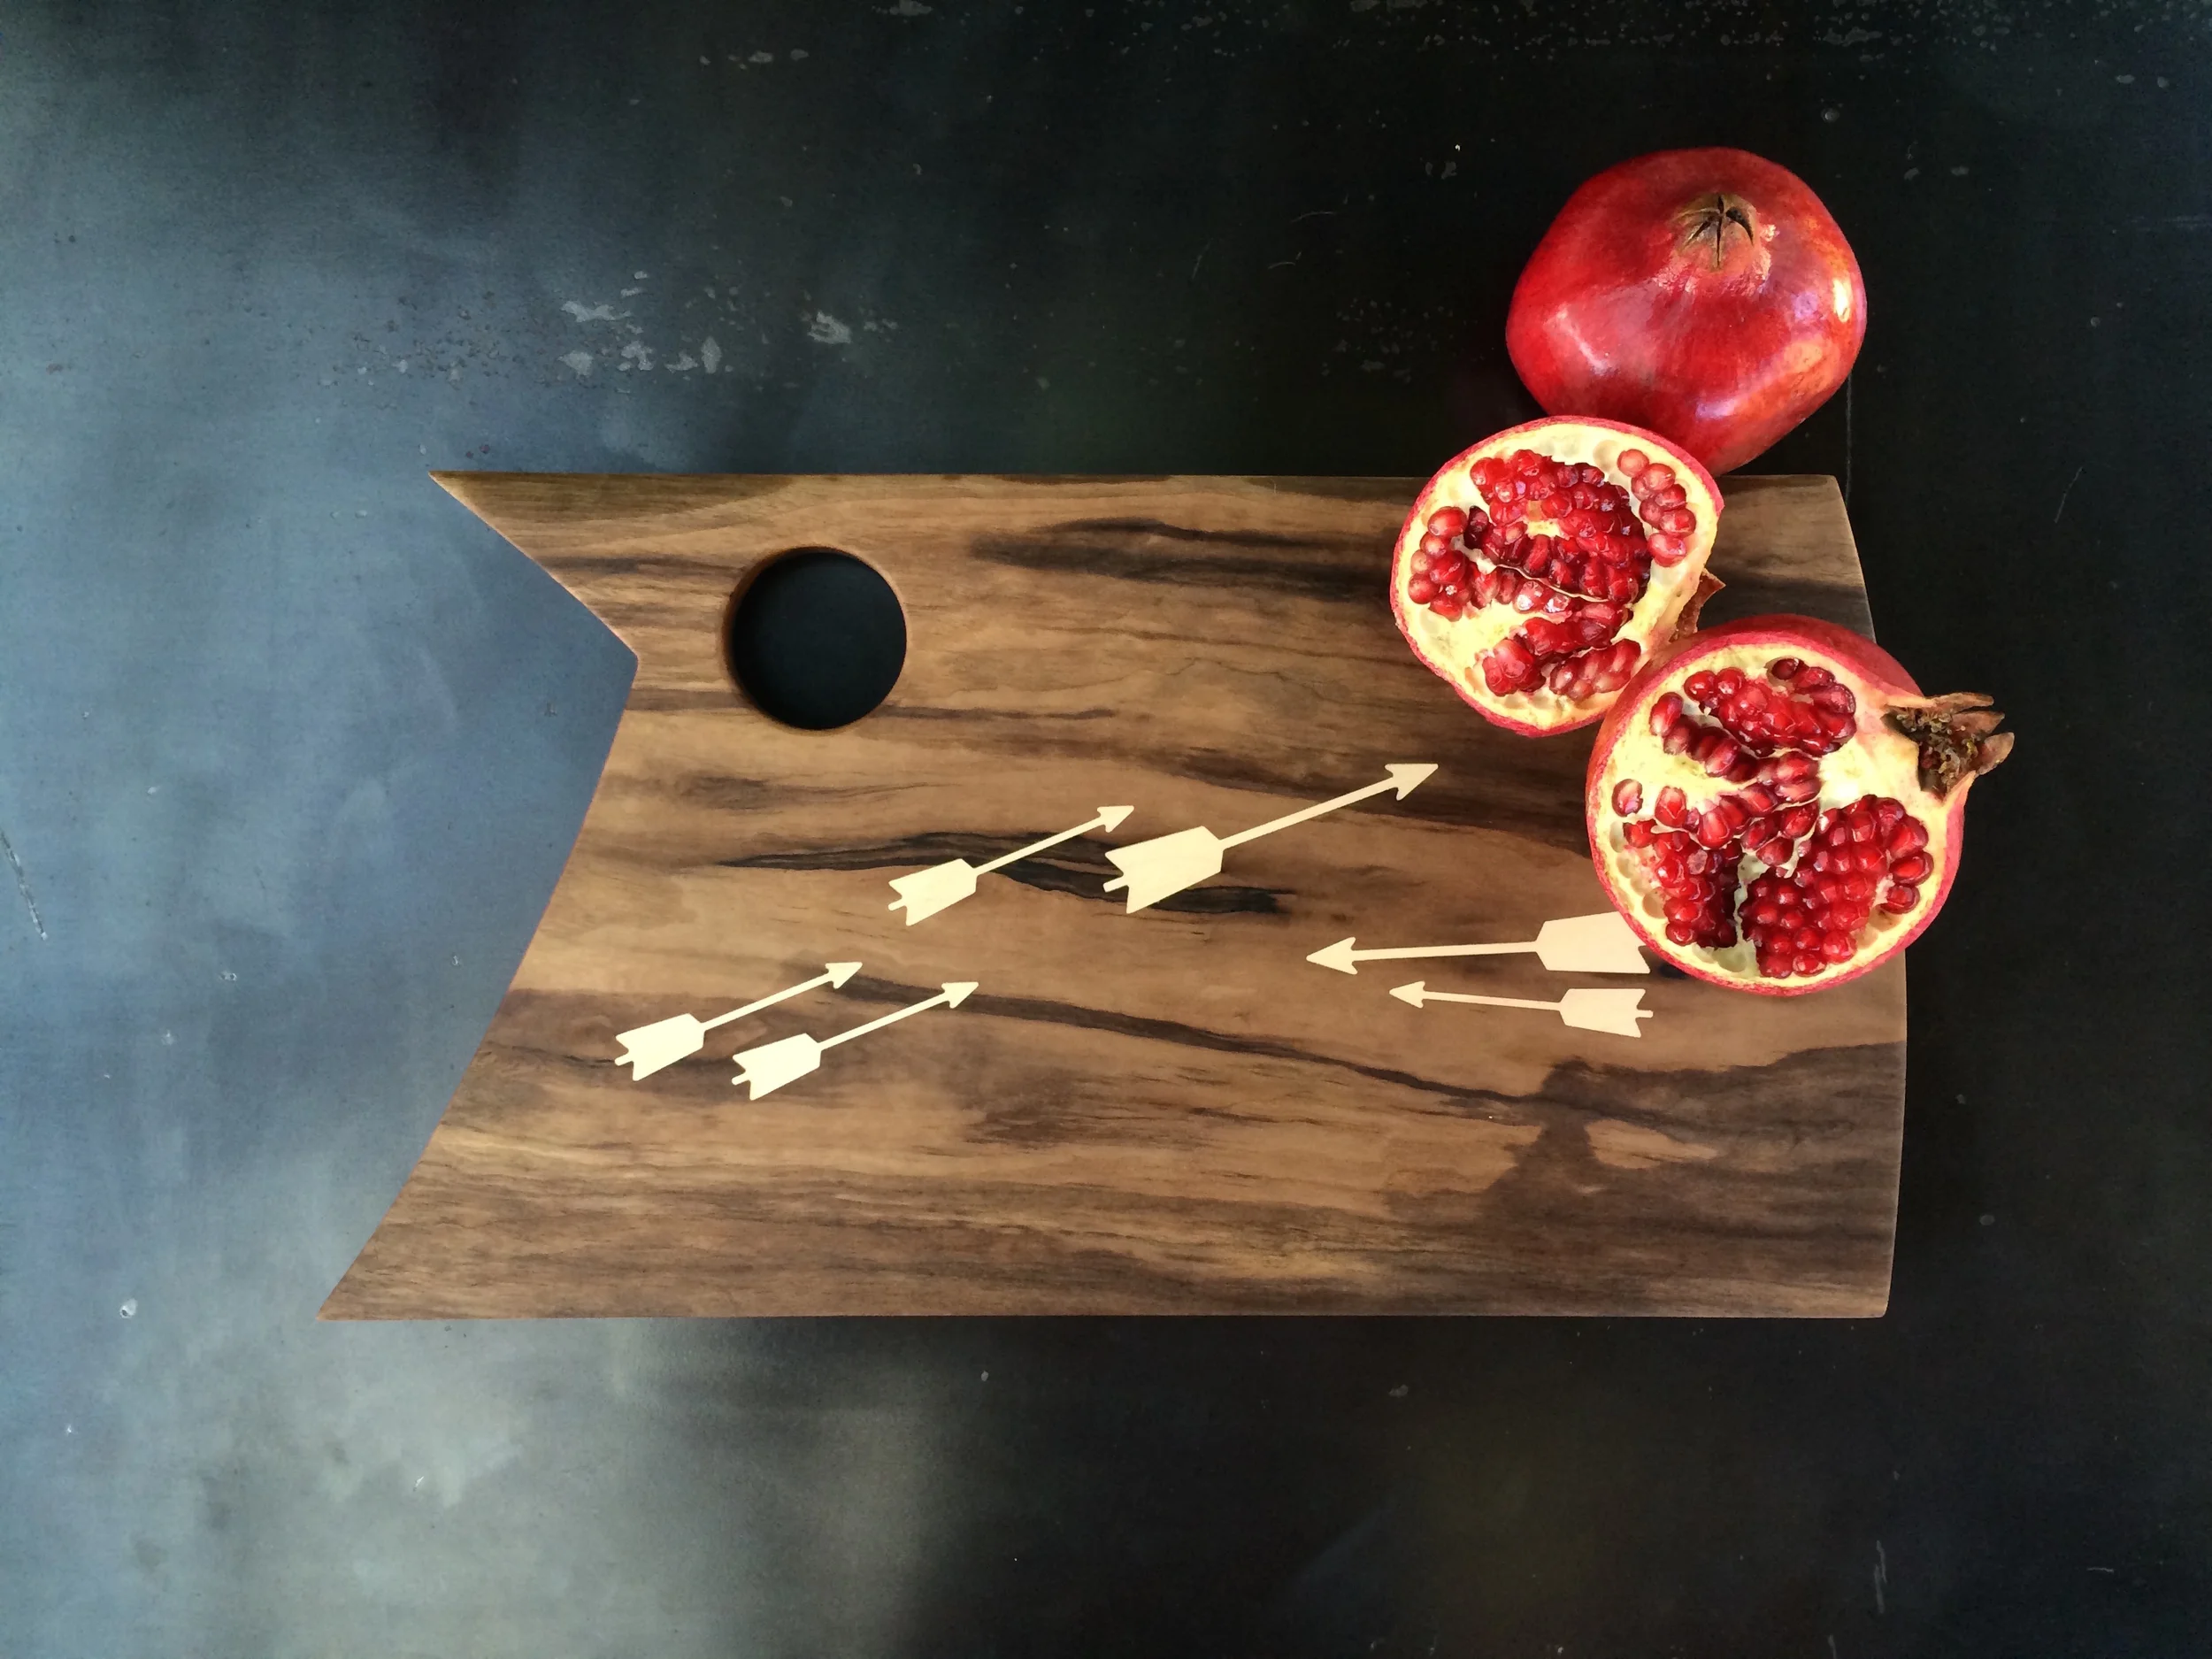

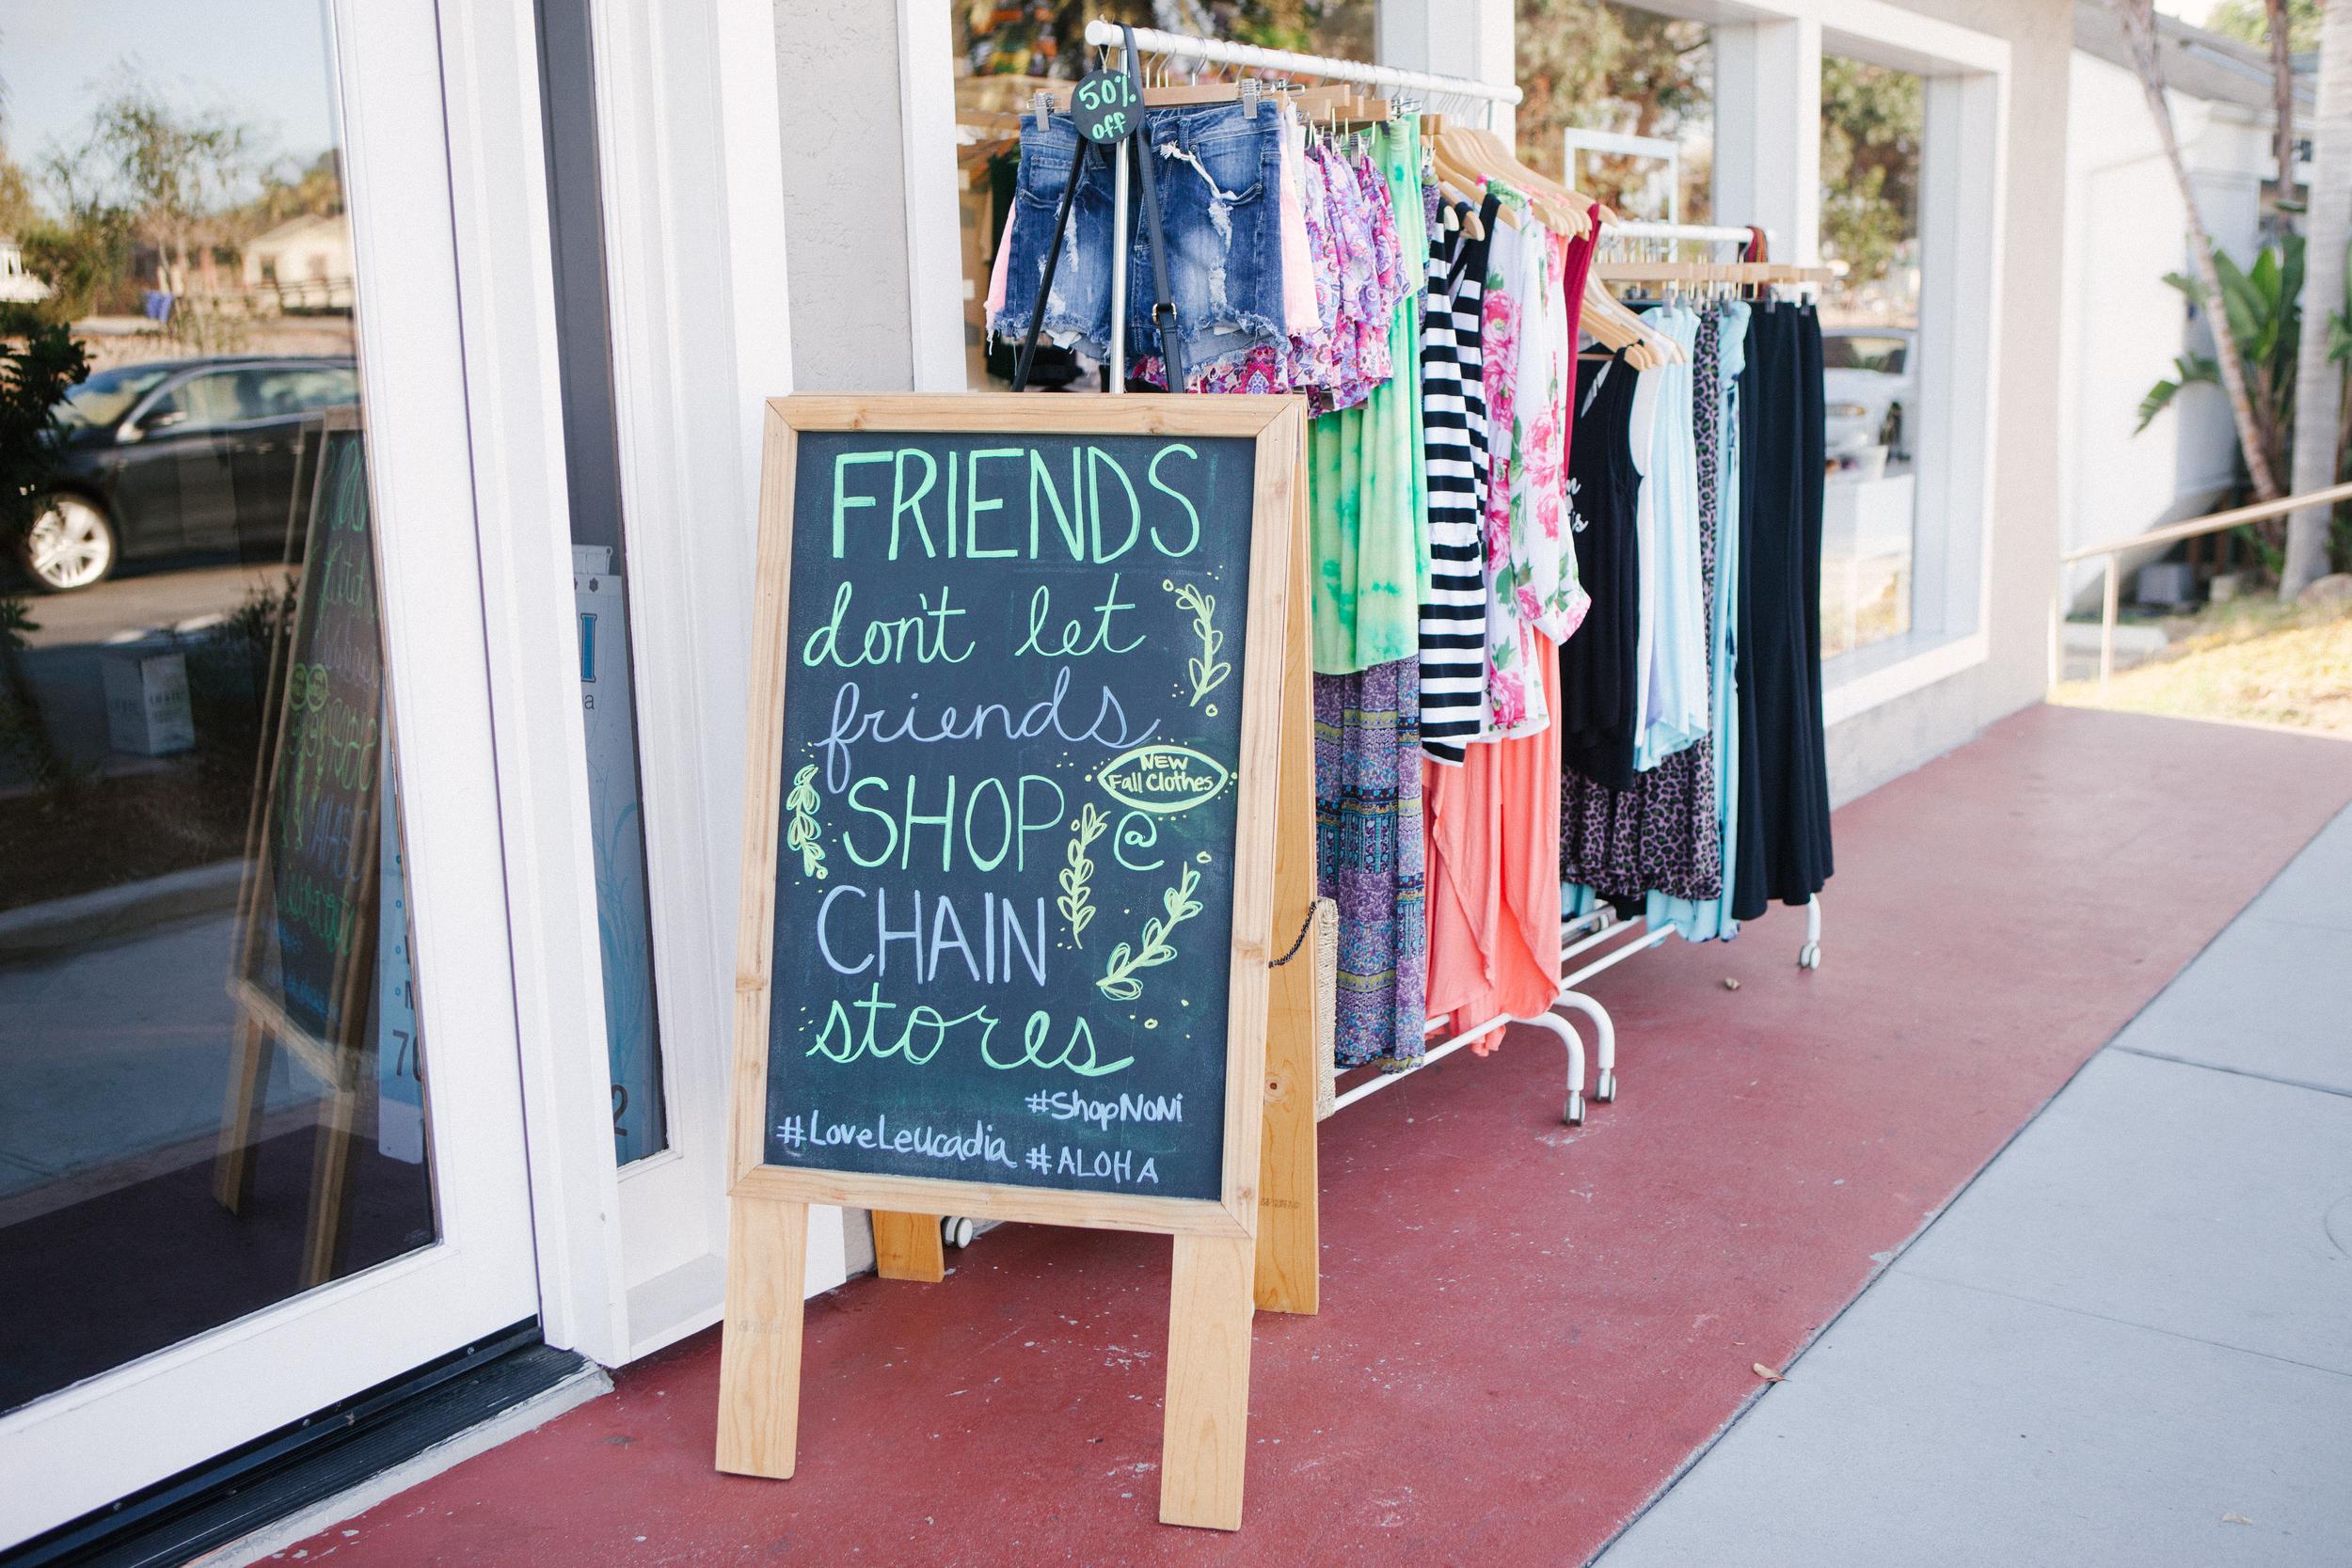
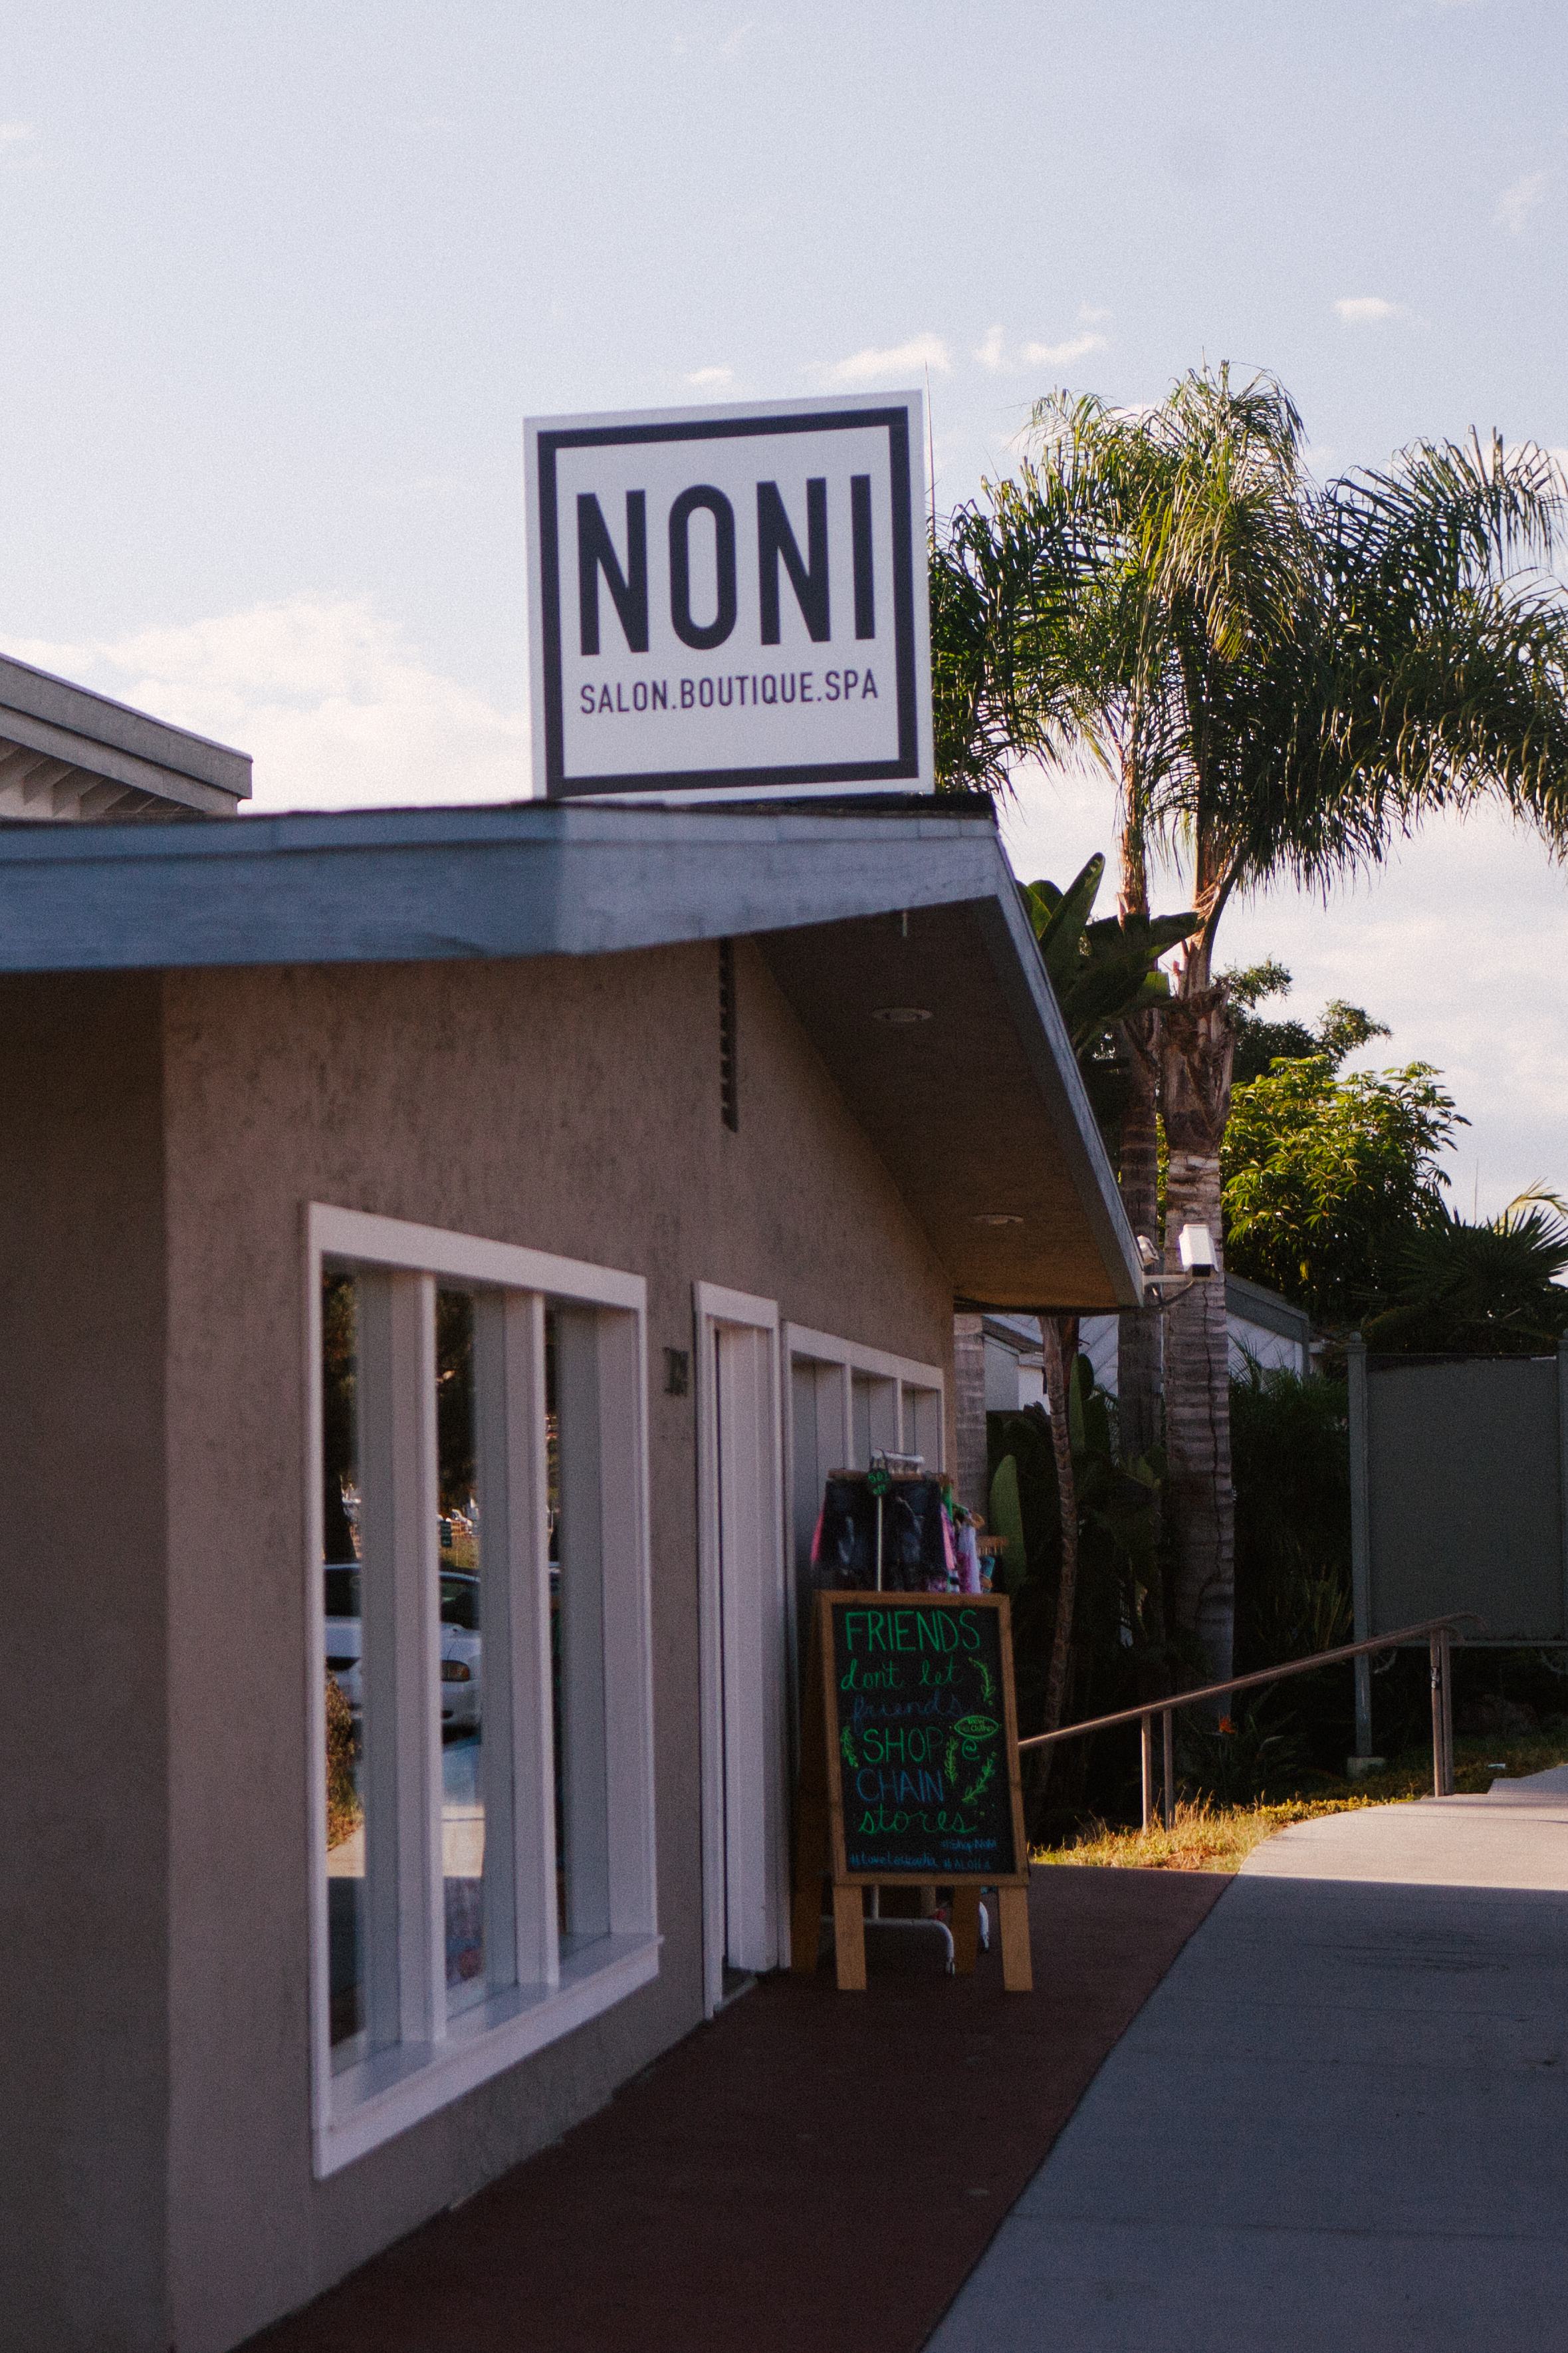
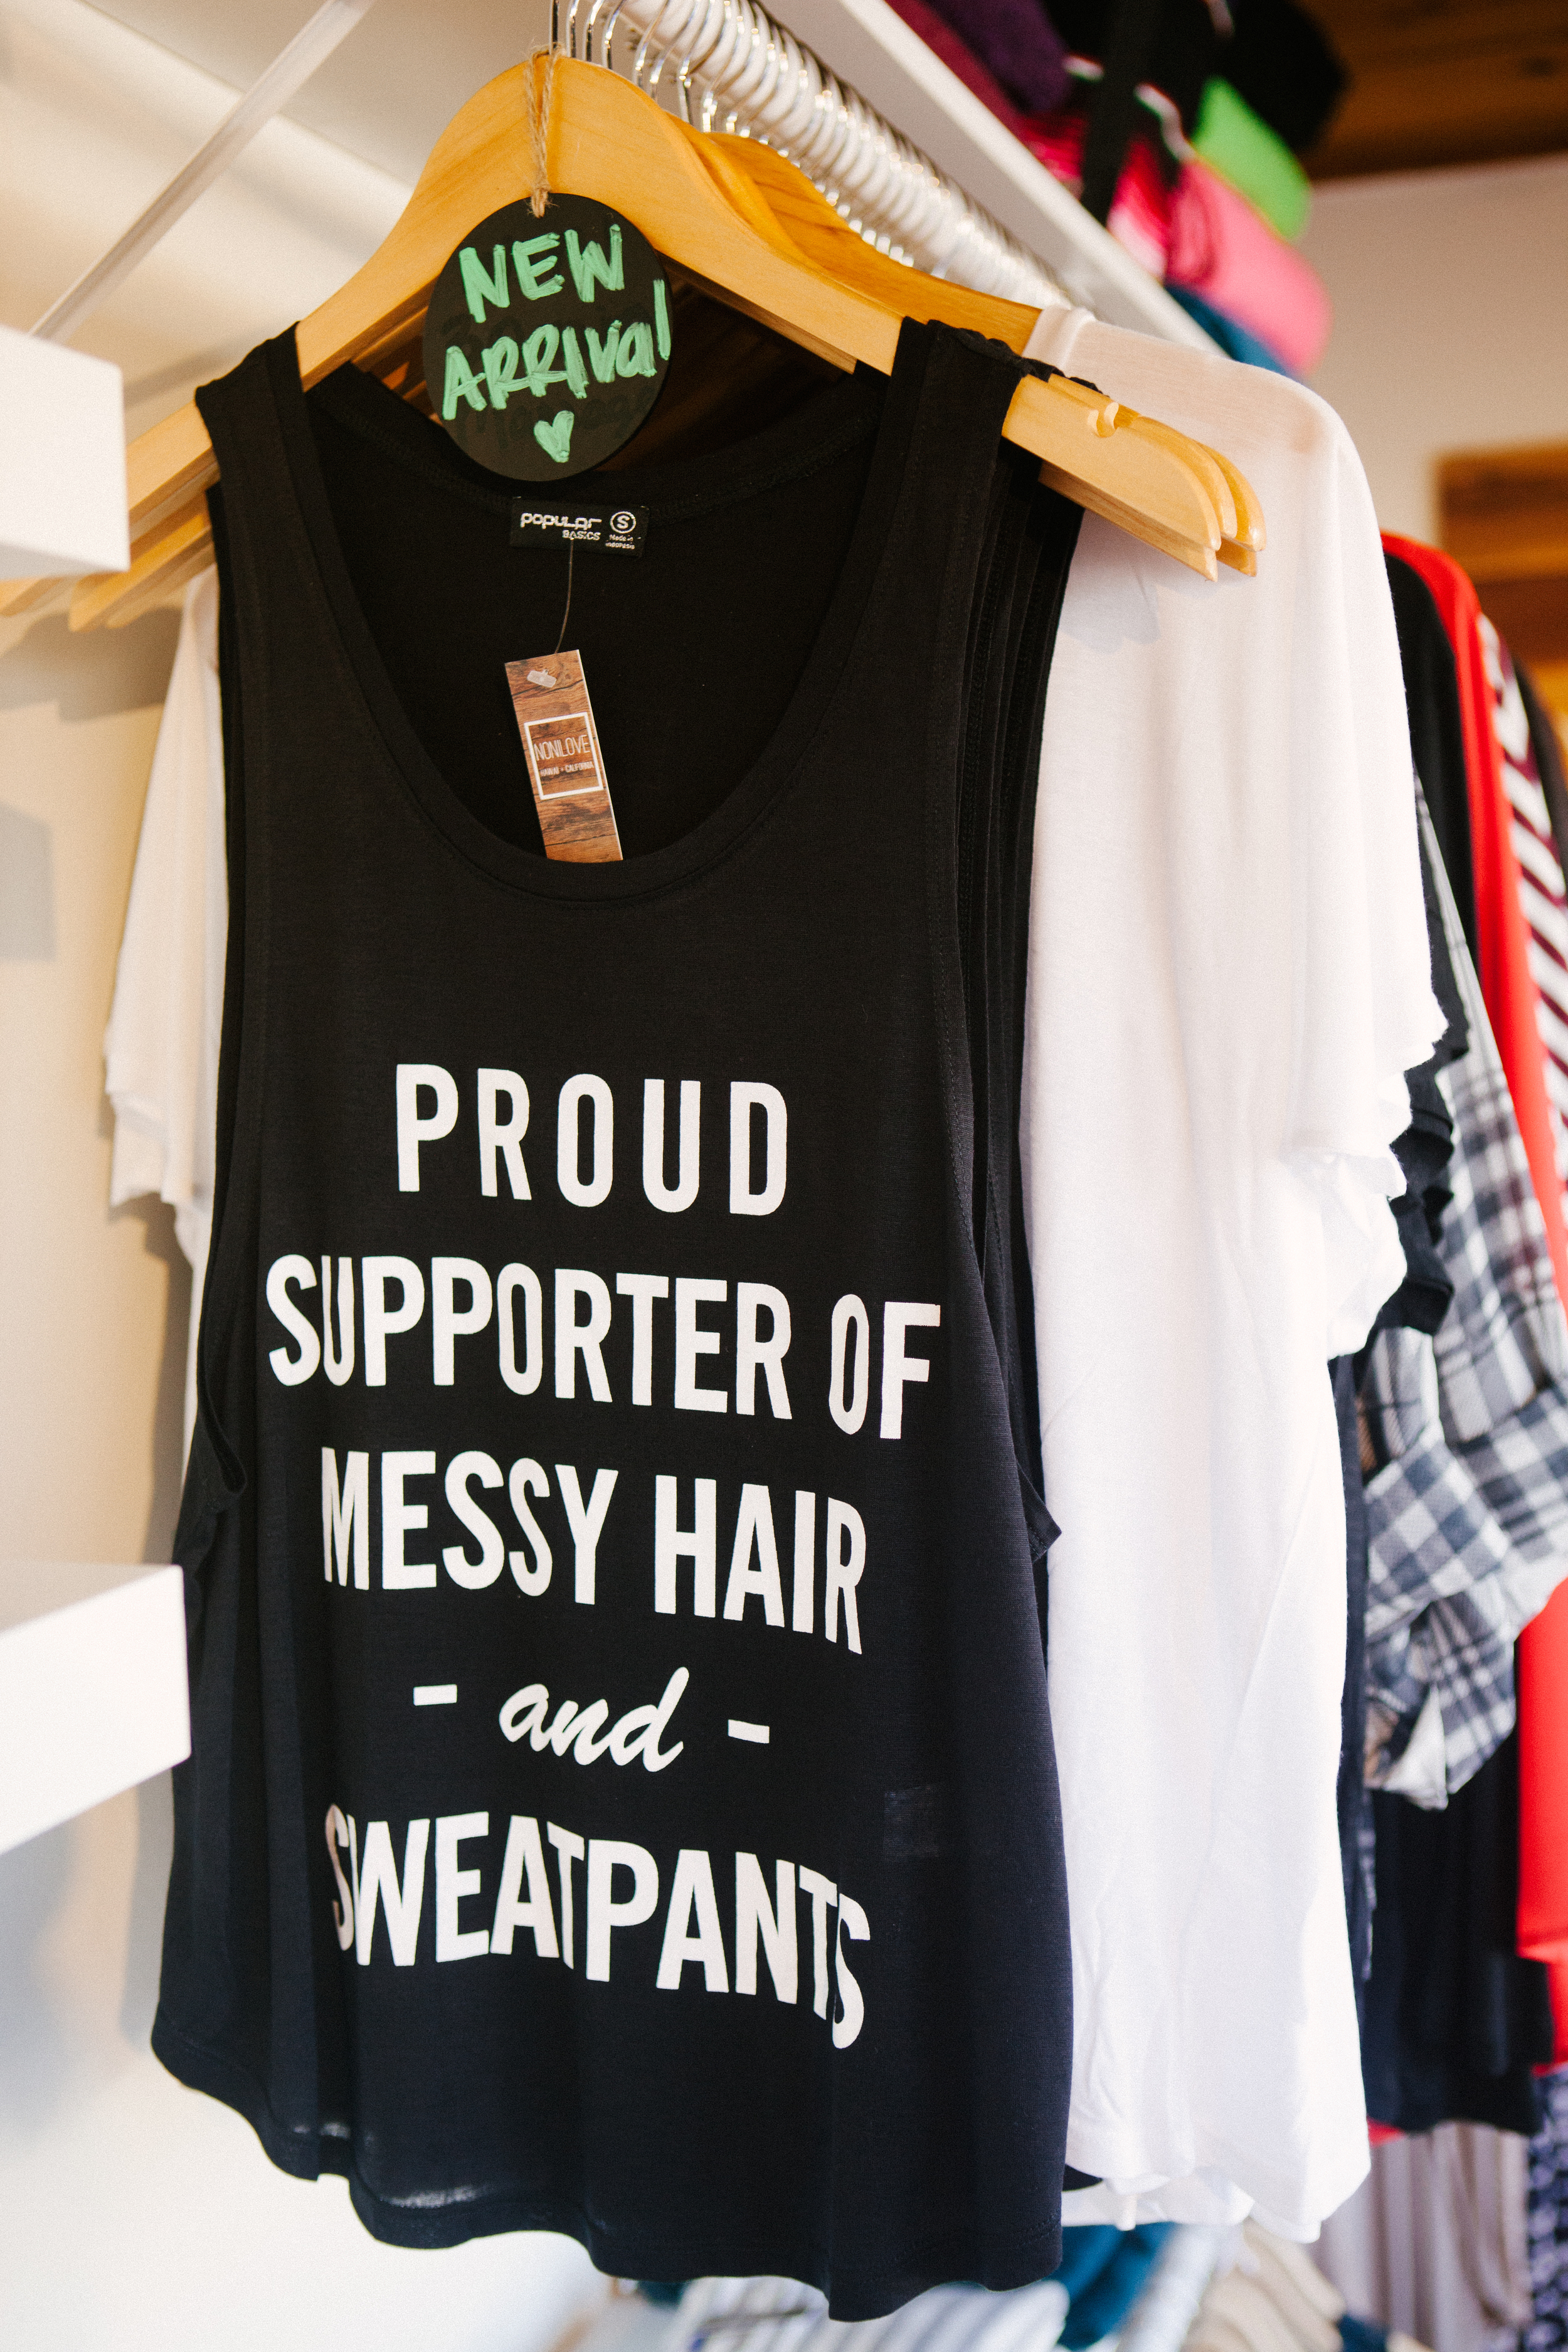
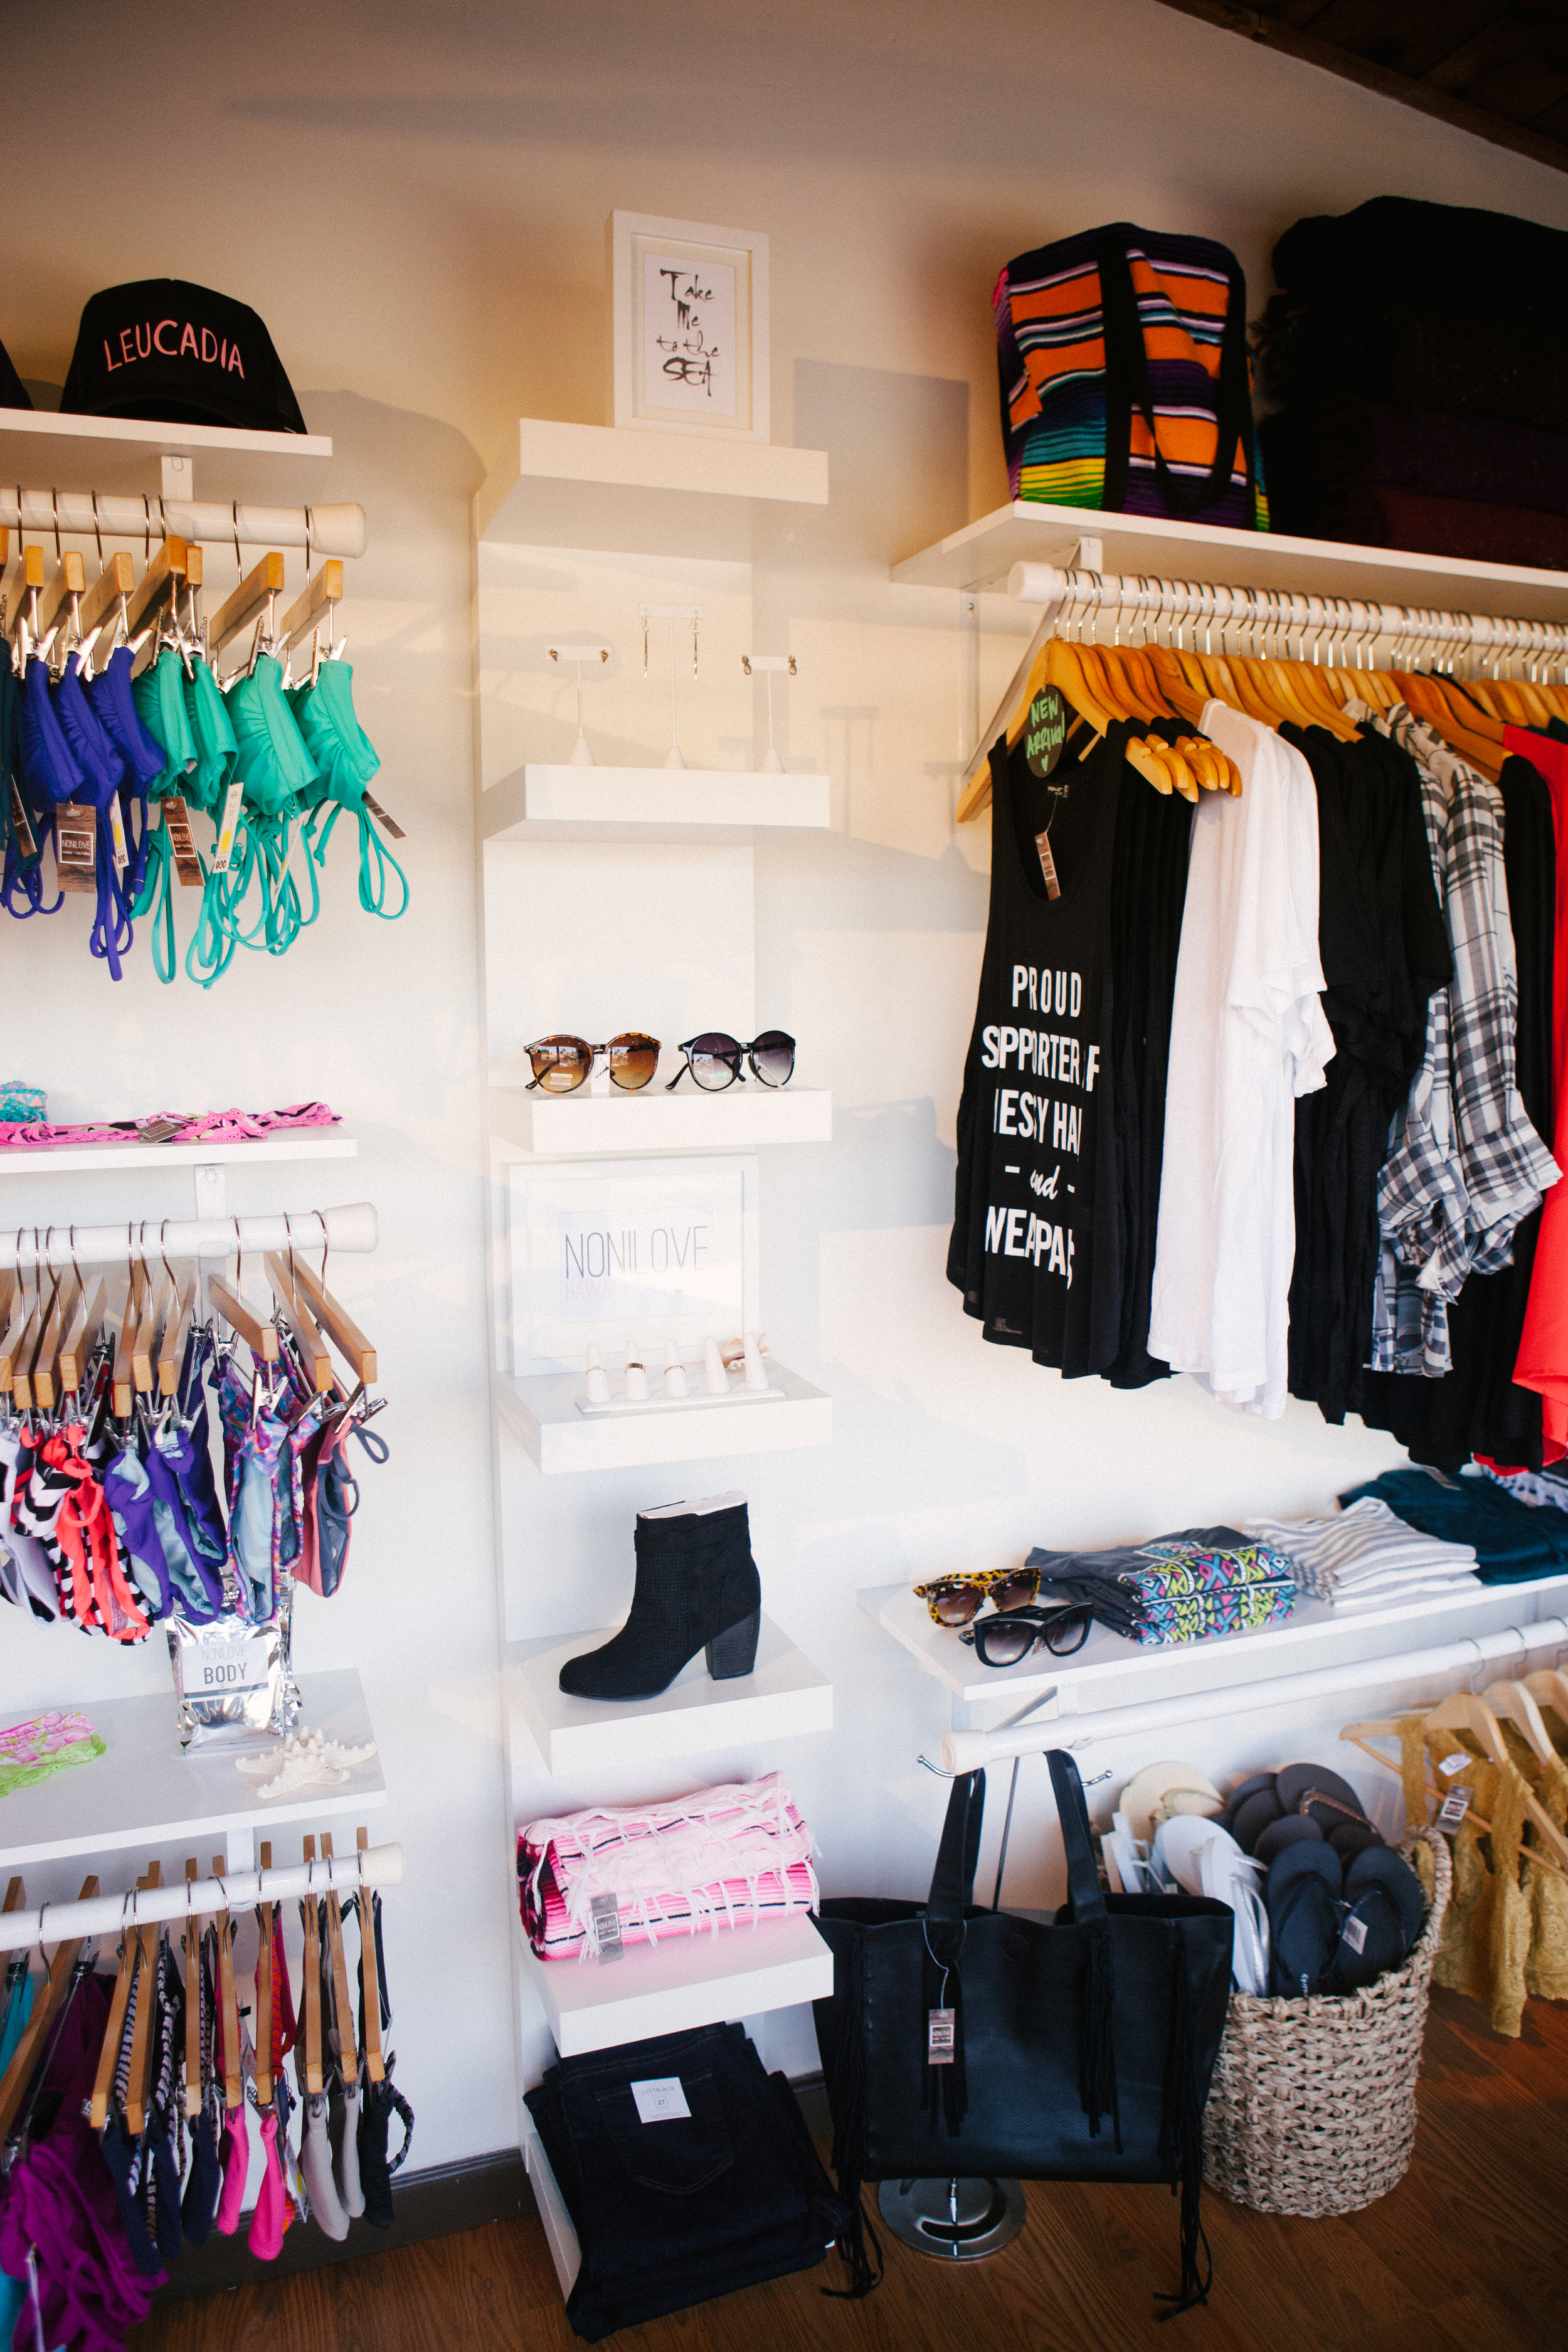
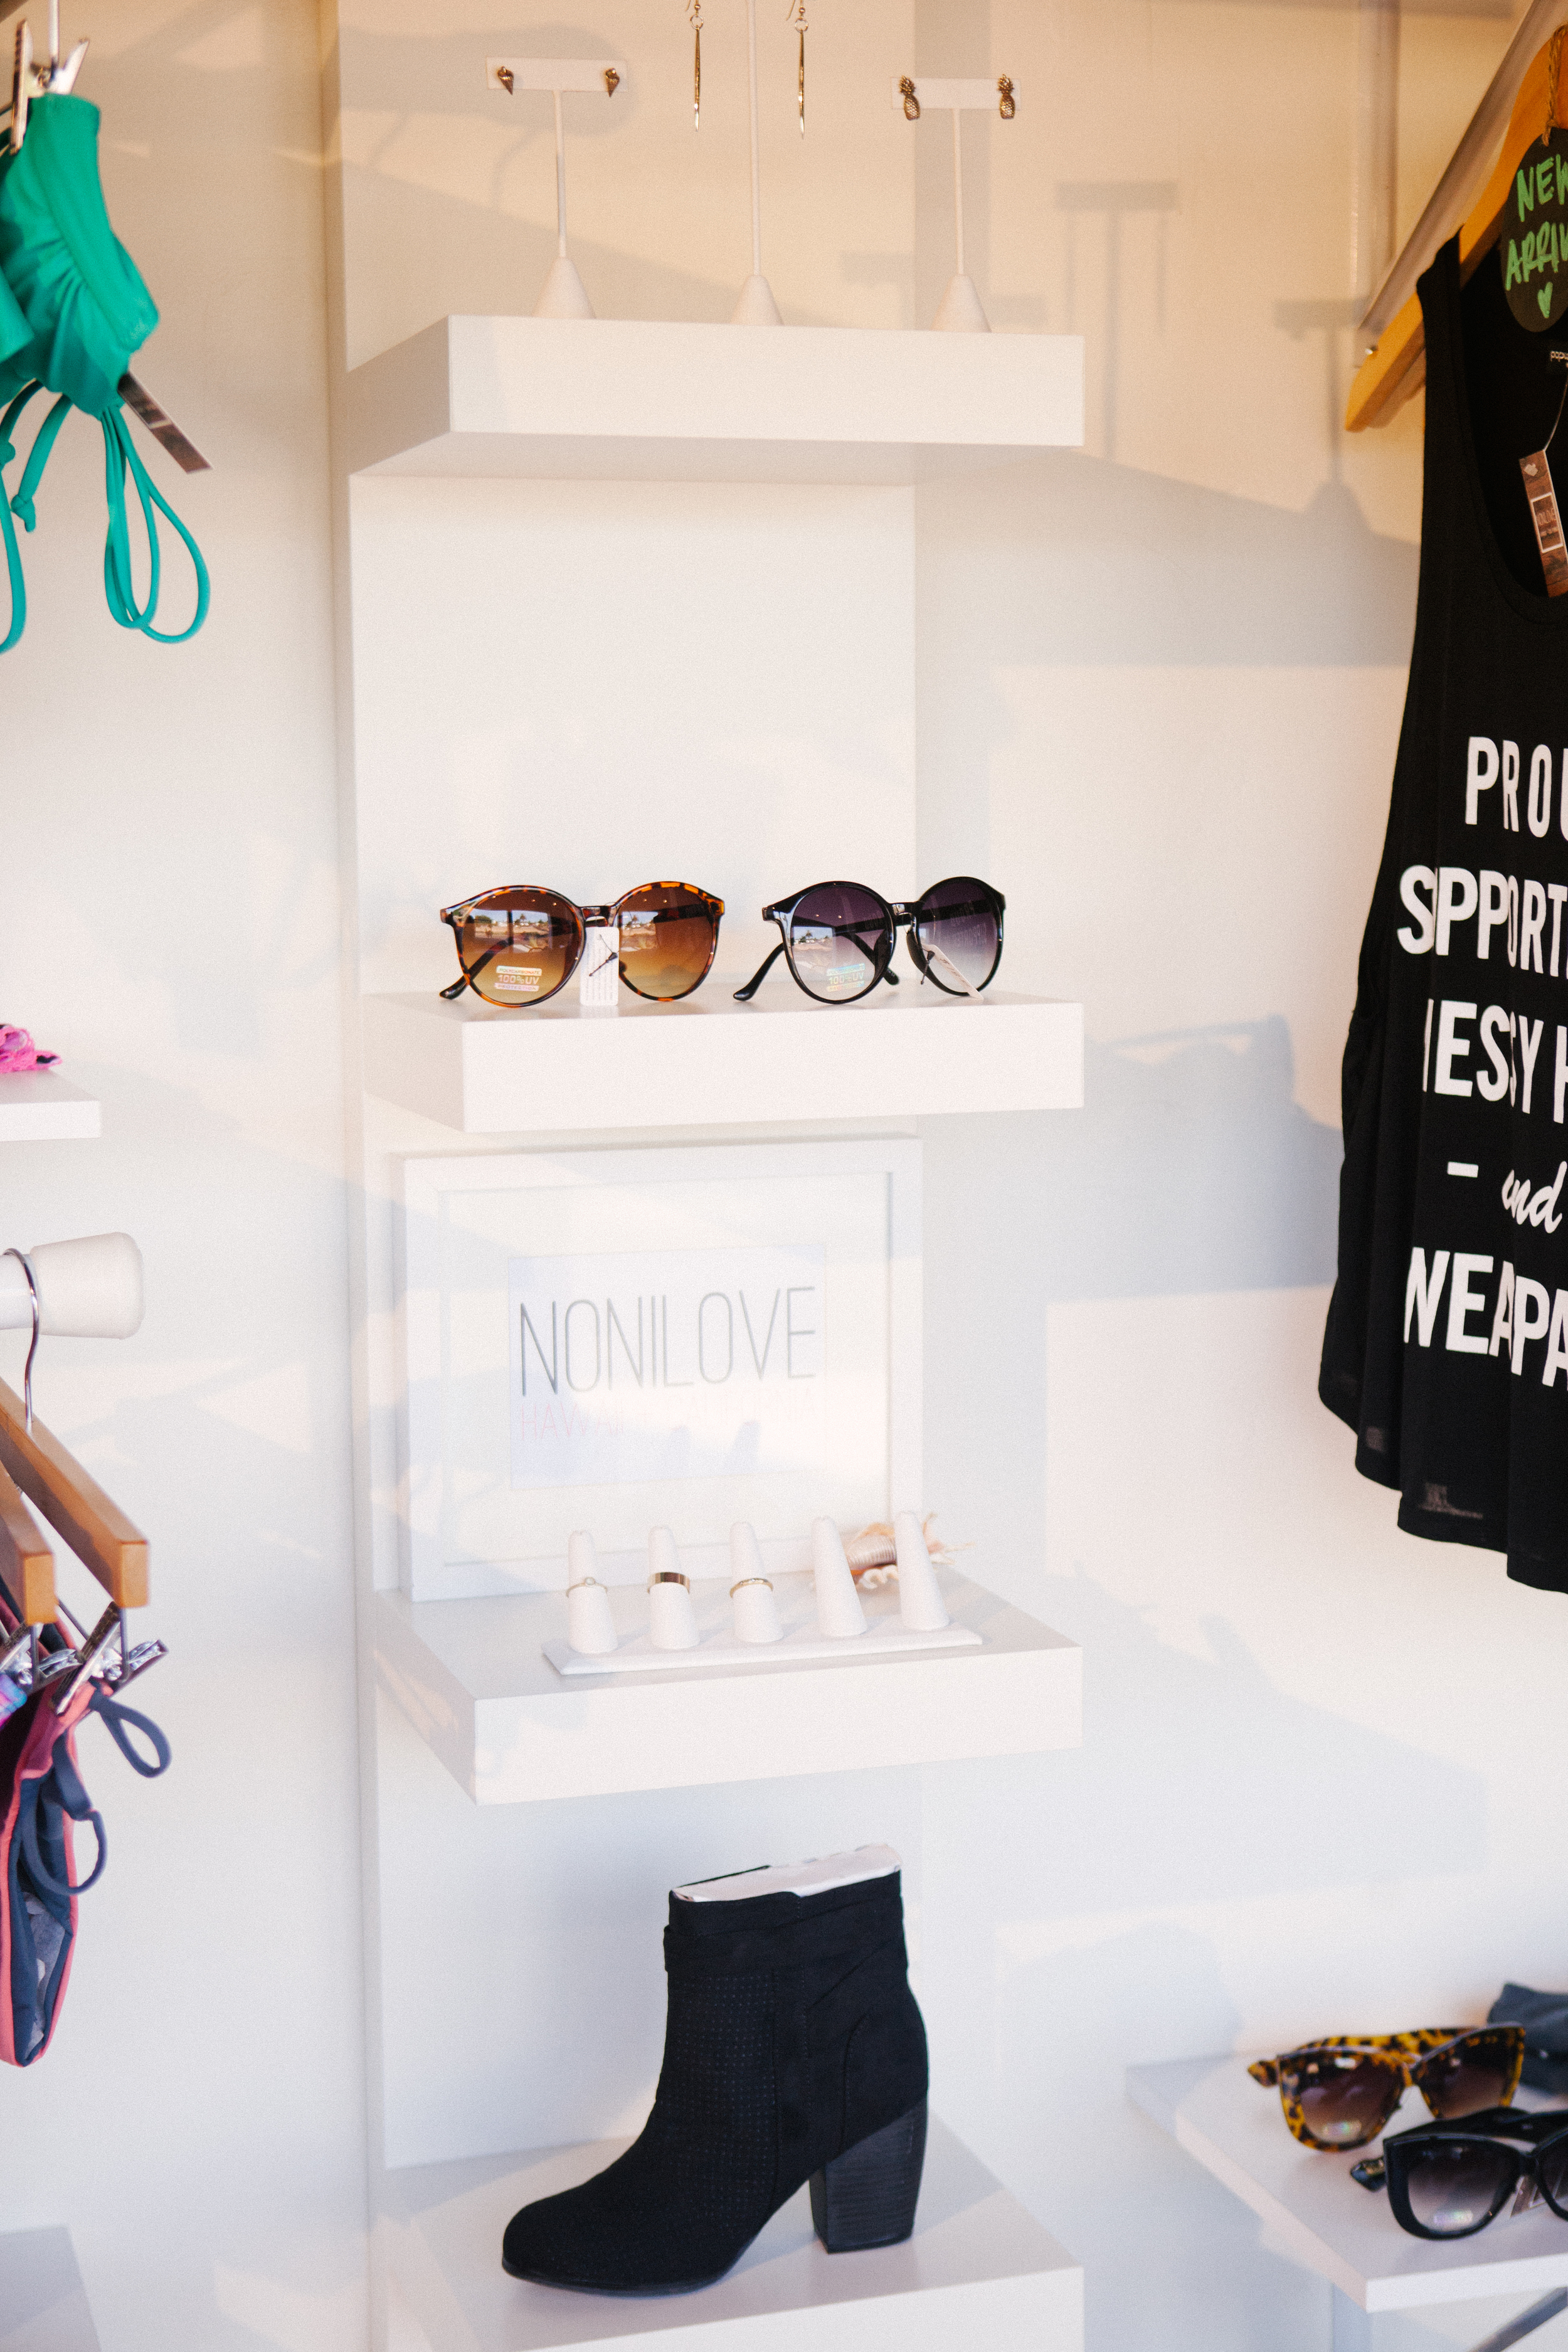
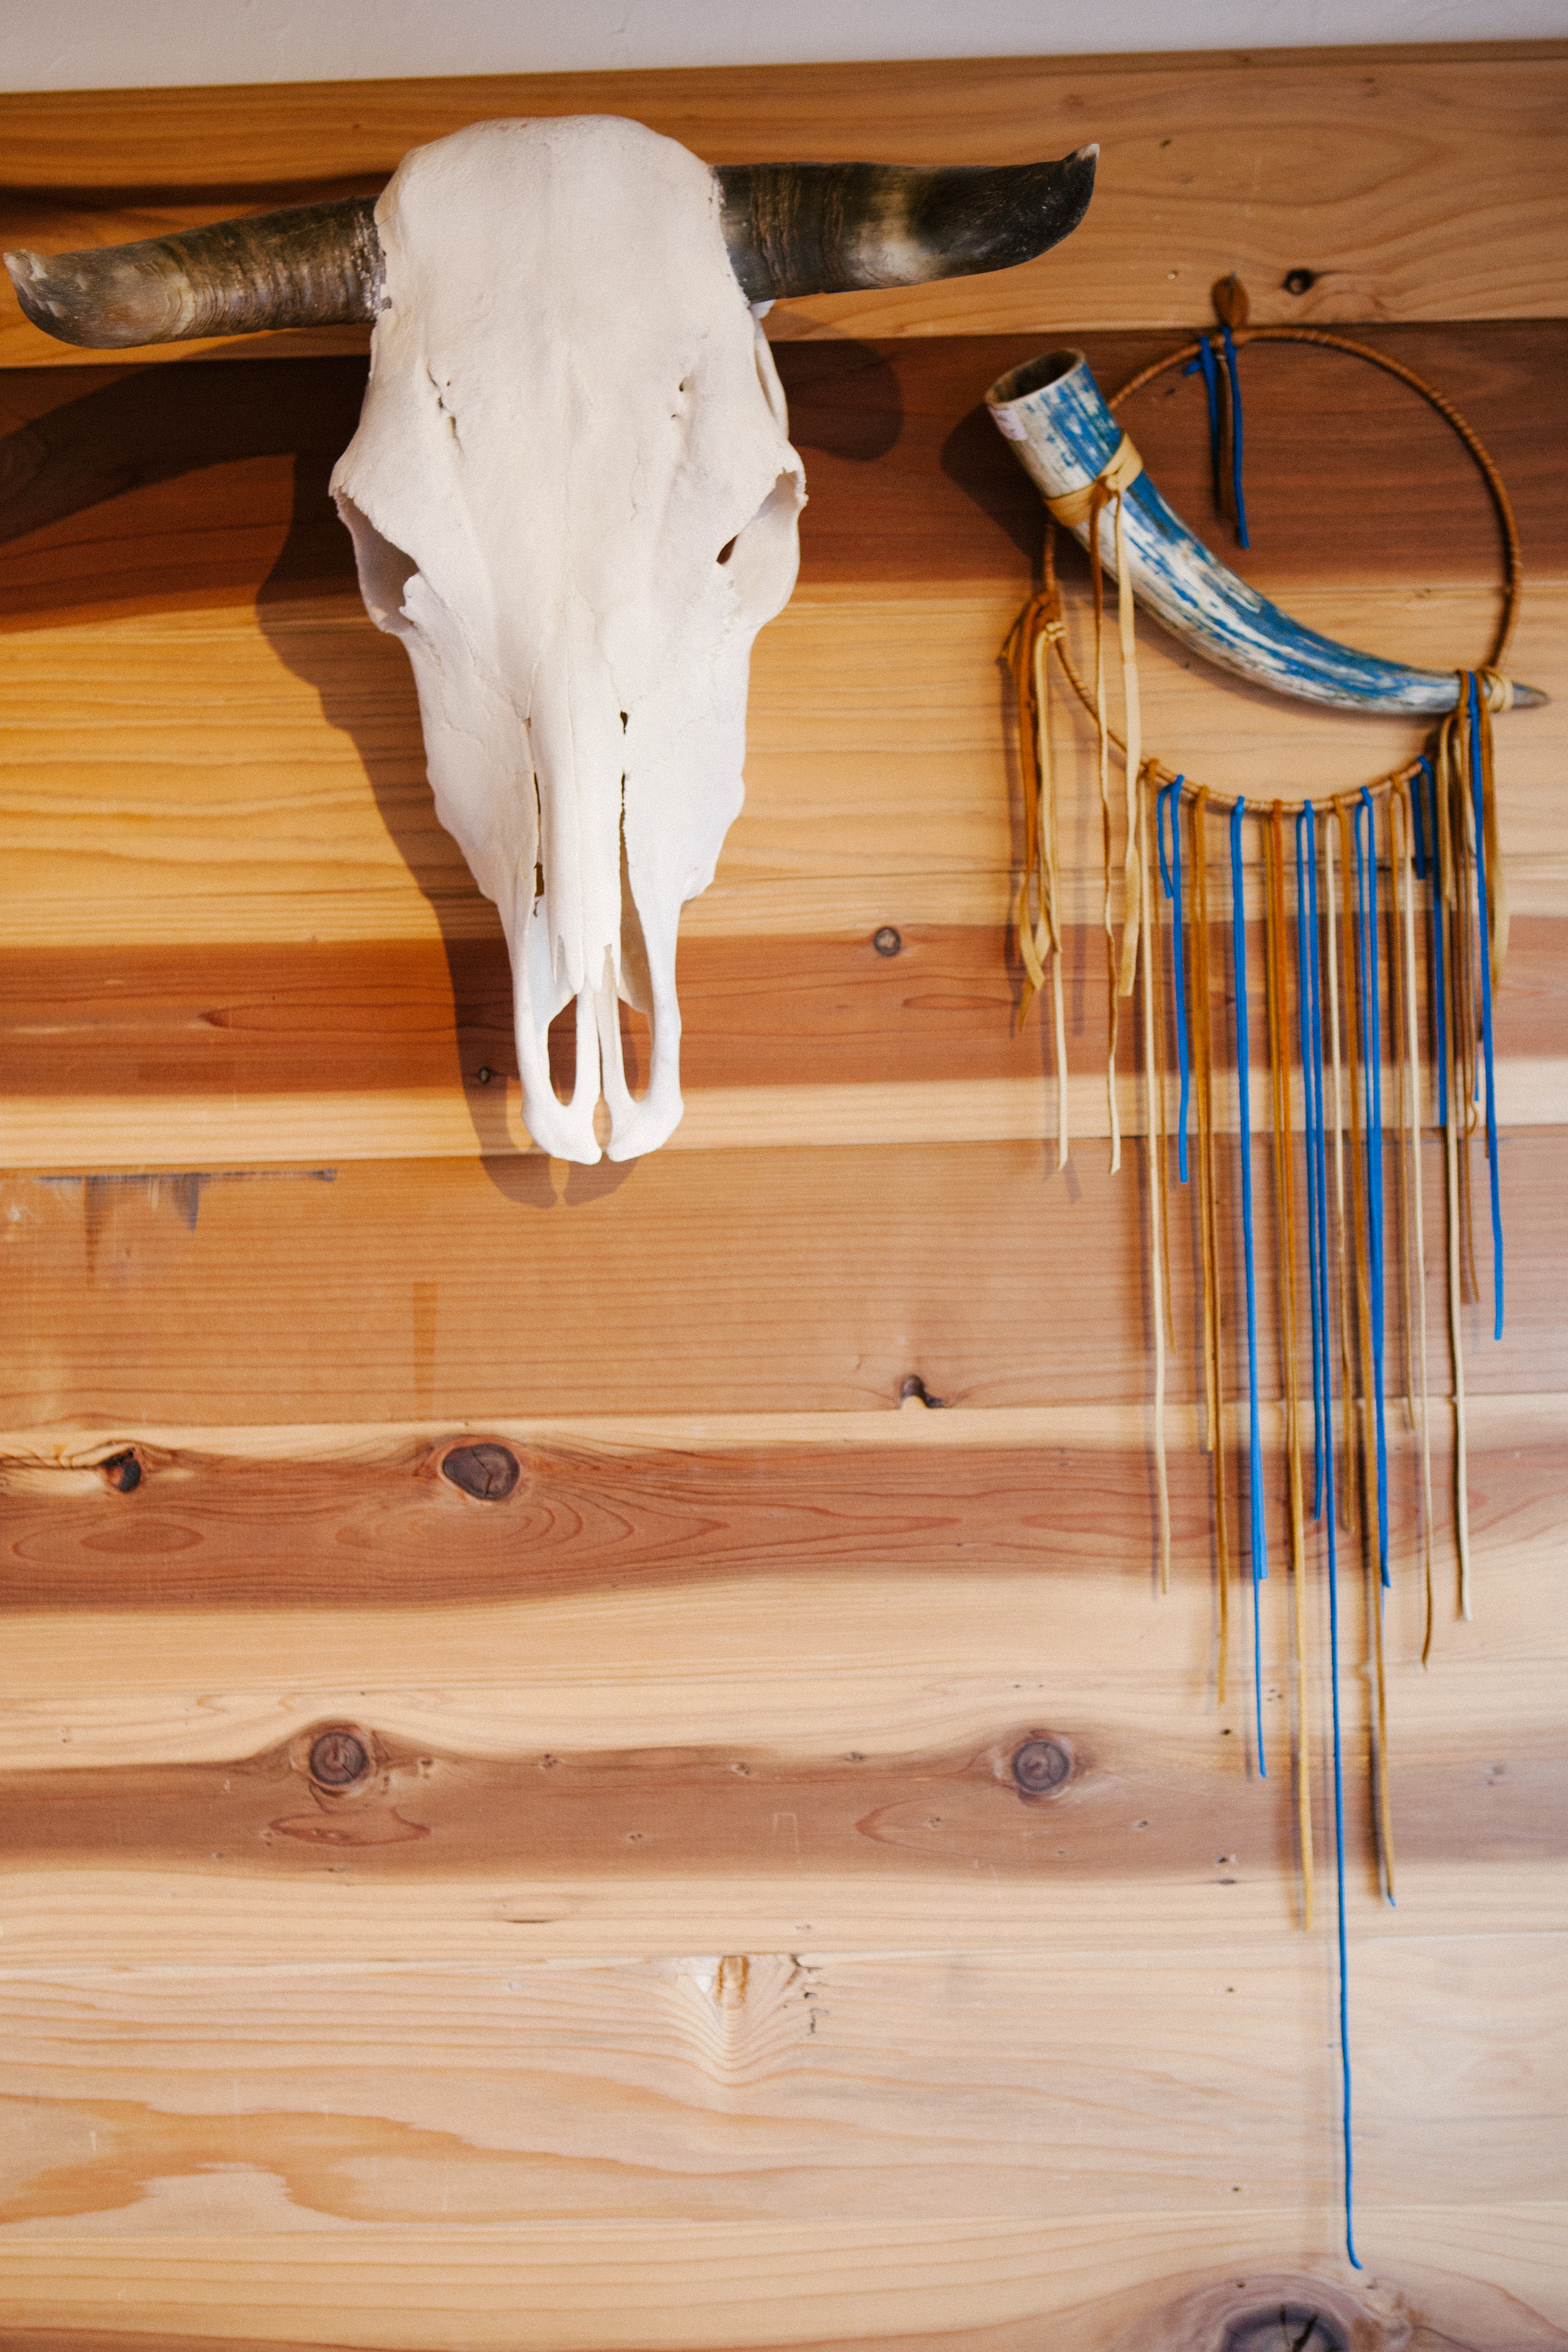
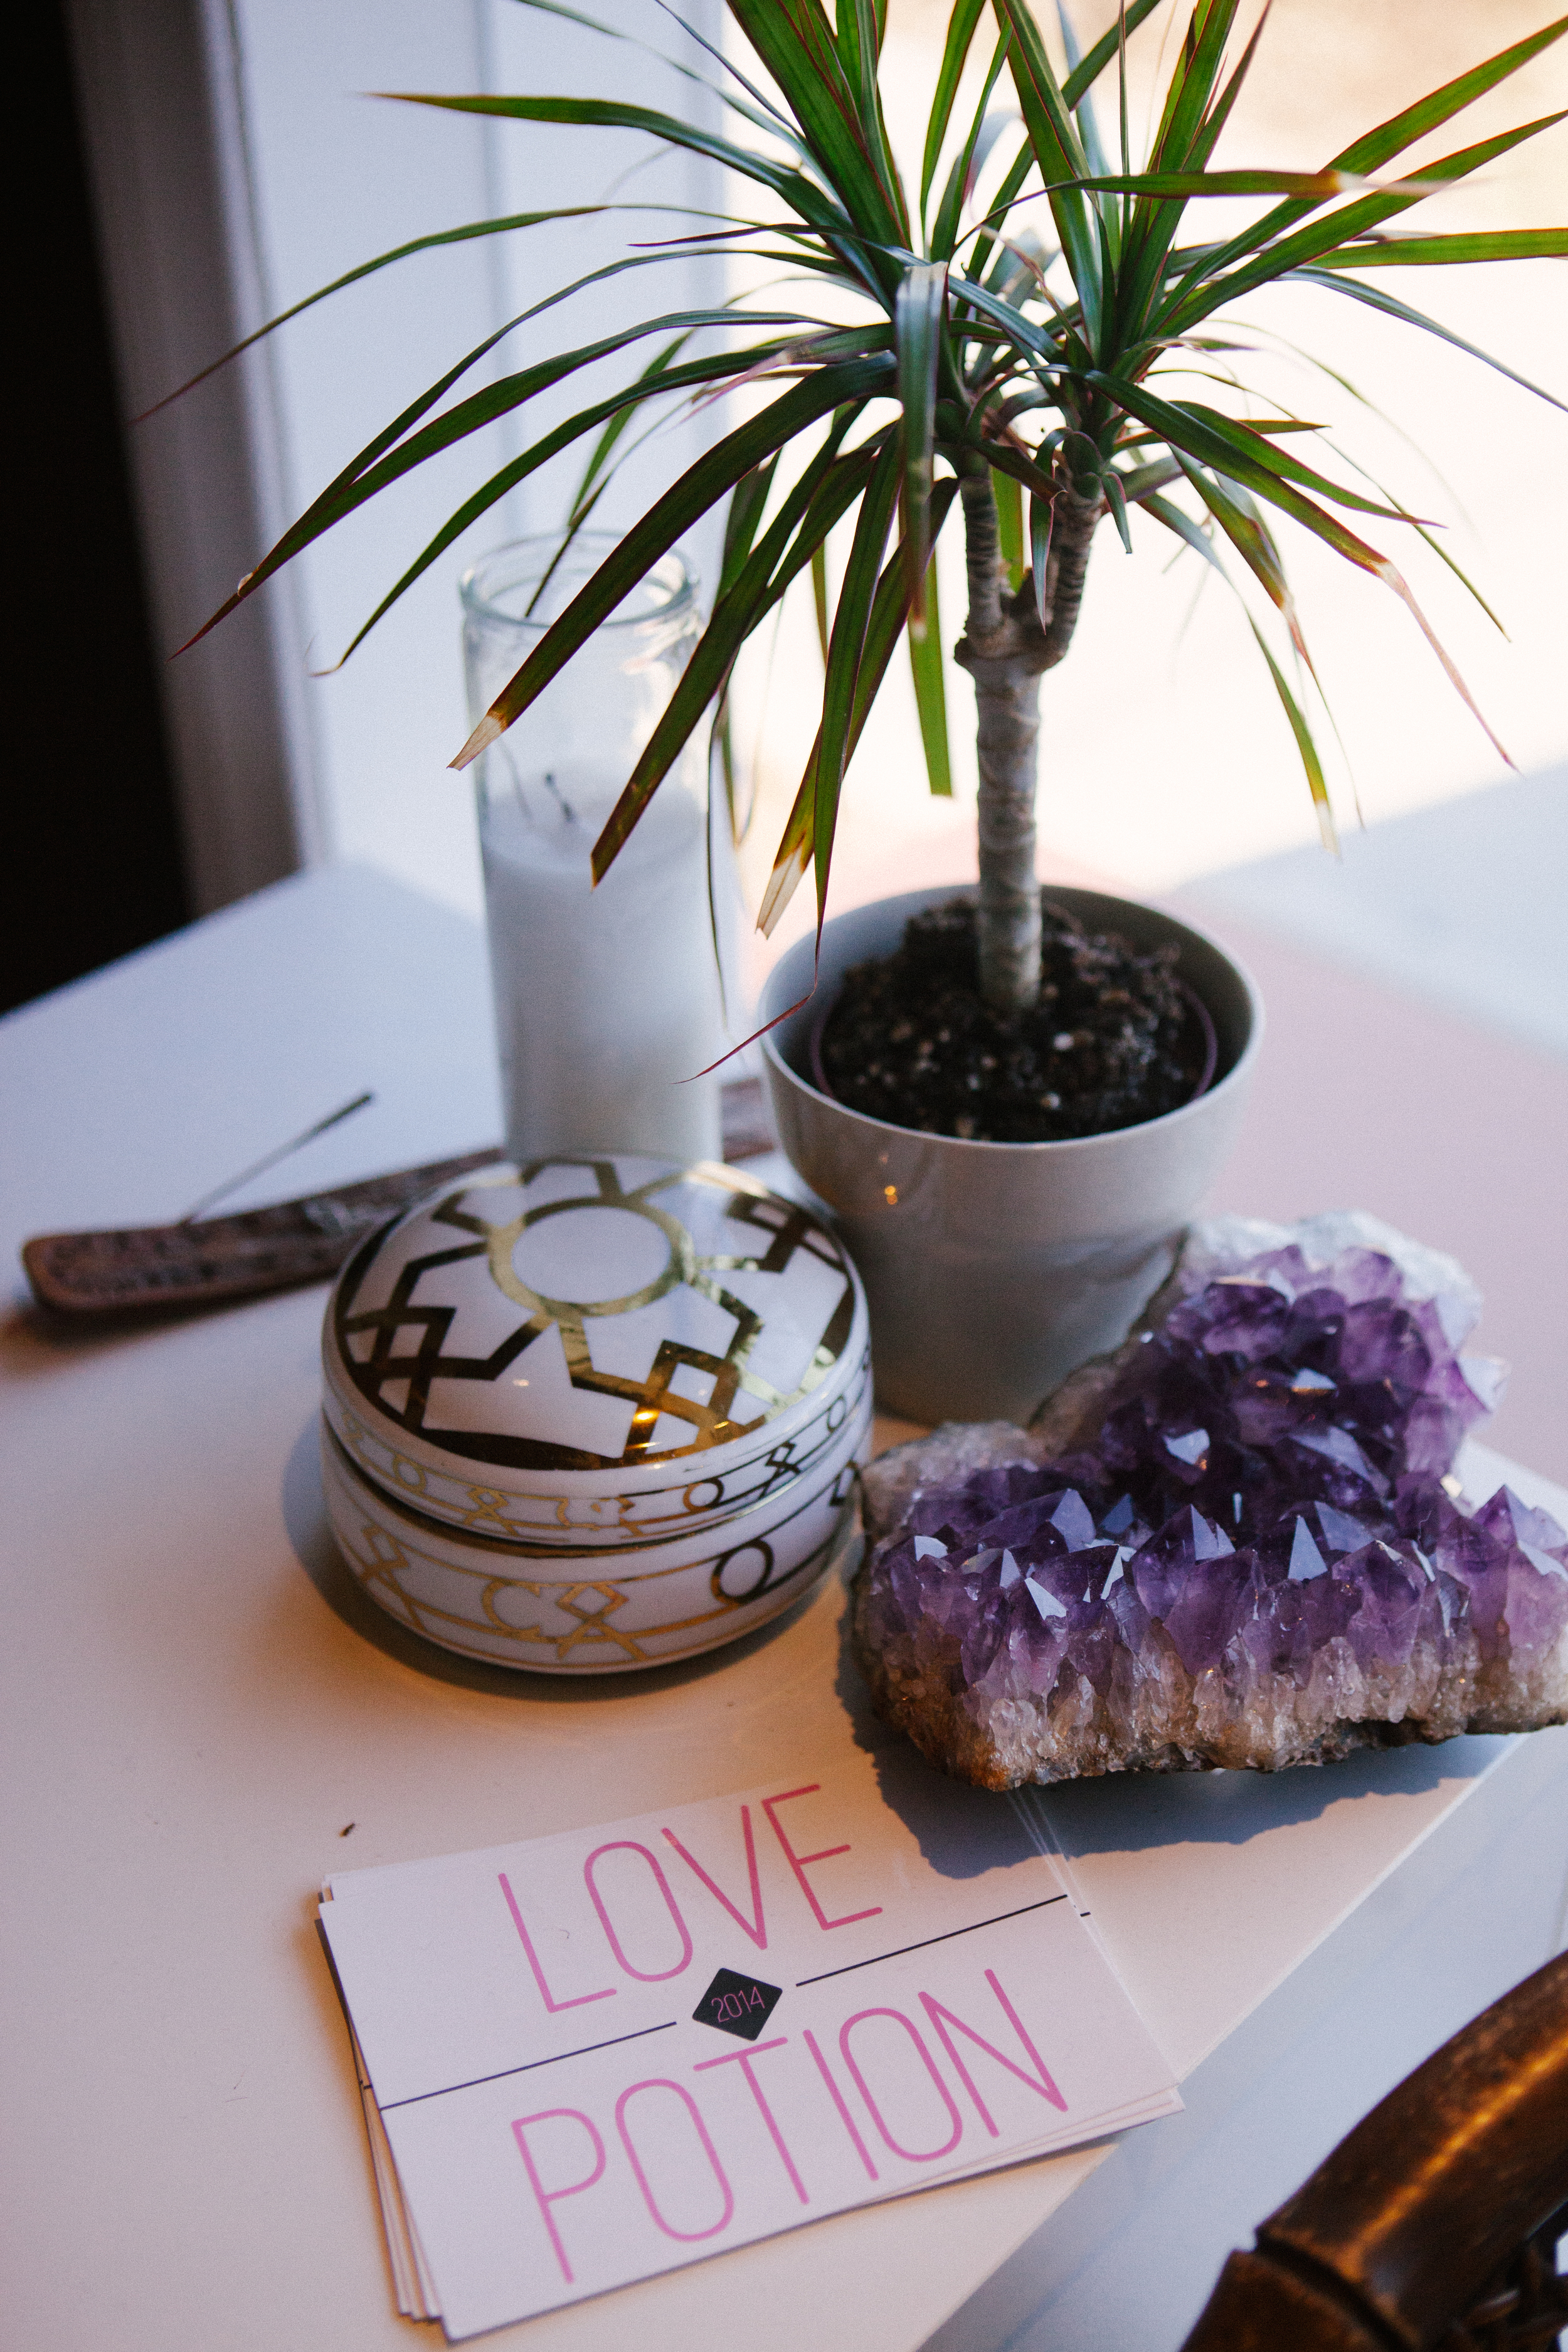
EST. SPOTLIGHT: NoniLove Boutique
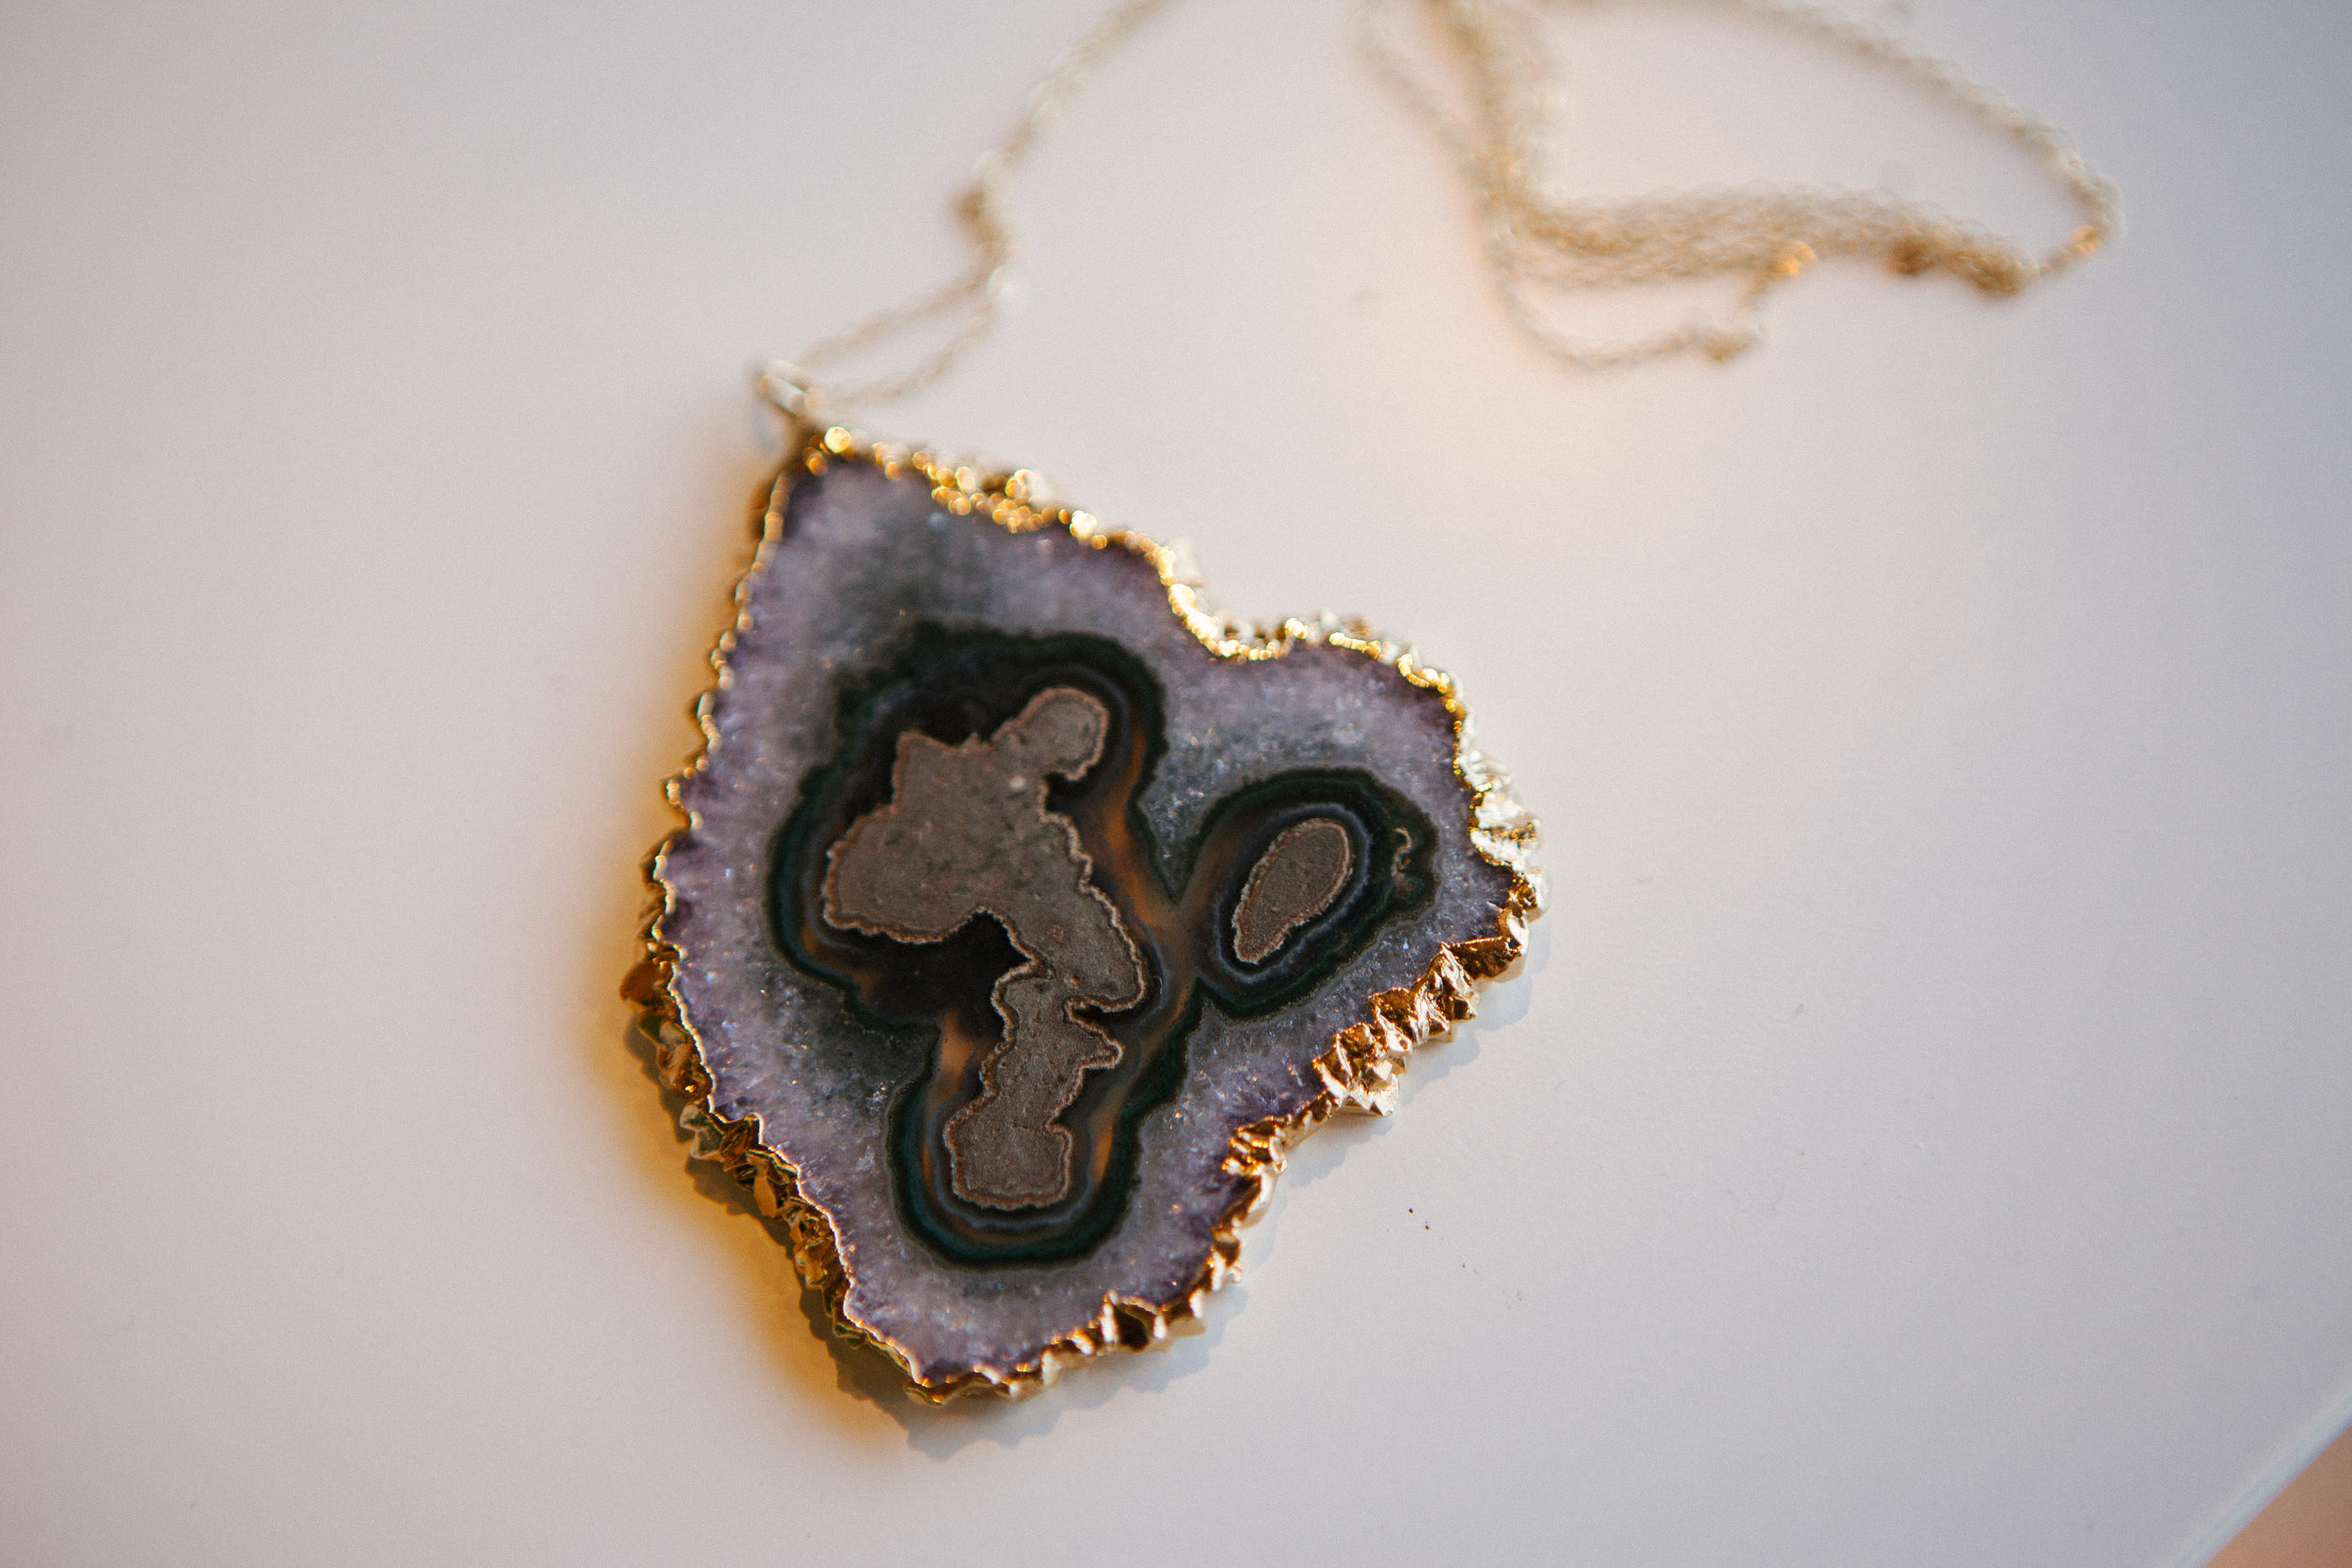
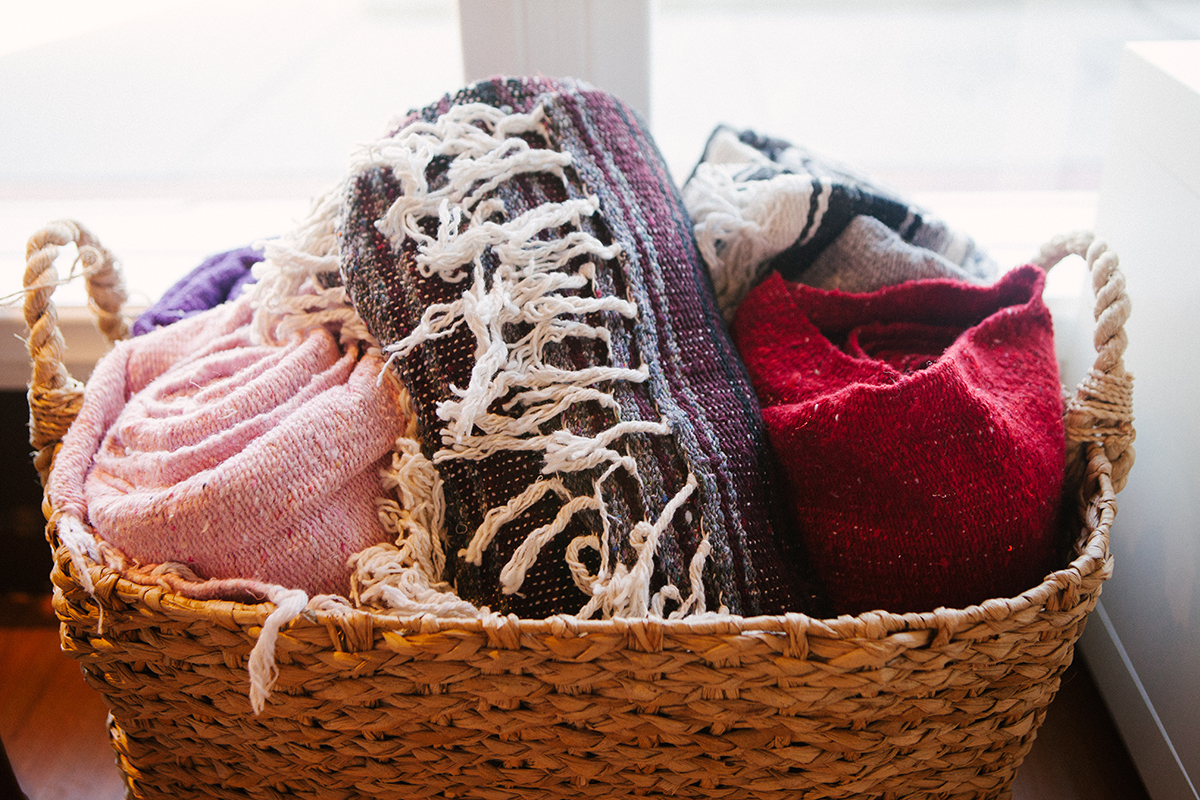
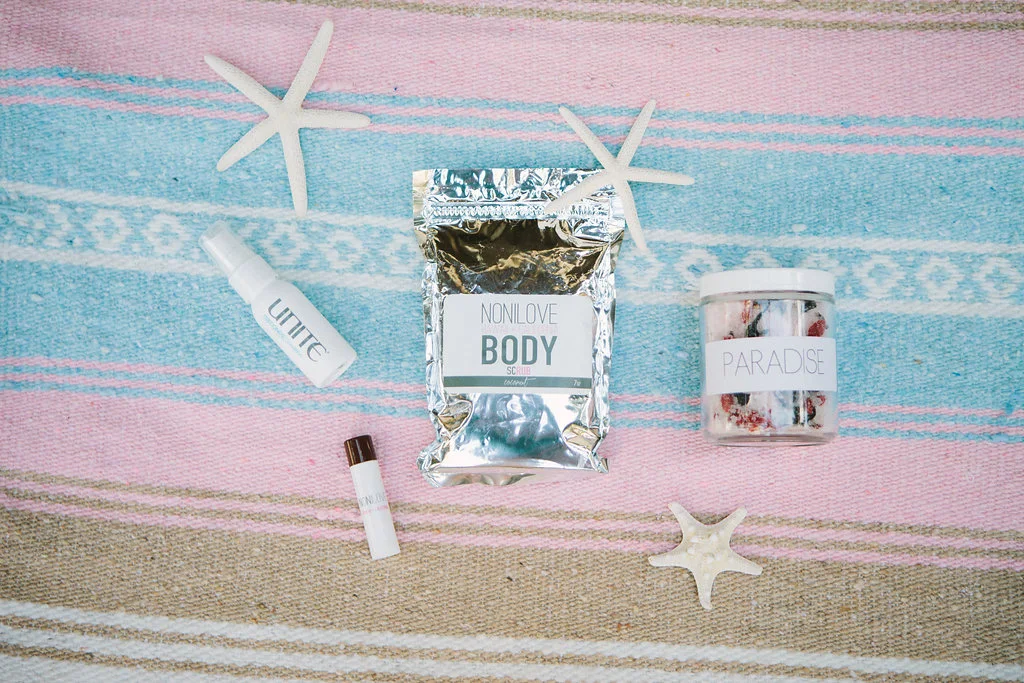
In the small surf town of Encinitas, CA lies a unique jewelry boutique called NoniLove. Opened by designer, Tawnya Proctor, NoniLove features local clothing designers and brands - alongside her beautiful hand-crafted jewelry. Established California sat down with Tawnya to talk about what her style and what inspires her most.

Images by Ashley Williams Photography
Tawyna Procter is a master of many trades. Hair dresser, jewelry maker, boutique buyer, photographer, stylist and over all.. a creative soul. After moving home from Hawaii, she and her mother rebranded their family salon, a few block from the beach in Leucadia, to Noni Salon. She had always had the love for creating things and during her residence in Hawaii, she began making bangles with local shells she would find. Being influenced by her grandmother, who was a jewelry designer, Tawnya would take the seashells she would find while diving and create unique bangles. She originally began NoniLove jewelry to sell in the salon and it soon evolved into different lines. She soon began shipping her pieces to clients all over the world and selling her jewelry in boutiques in California and Hawaii. The style of her jewelry captures the essence of beach life with pearls, shells and unique stones.


How would you describe your own personal style?
I would describe my style as a laid-back Southern California girl with a rock'n roll edge. But I could easily also be a minimalist and wear a great pair of jeans with a staple tee.
How does your style influence what you create for your jewelry line?
Living on the California coast is where I draw most of my inspiration from. I am also inspired by leafs, colors, and the music my parents listened to while I was growing up. We were always listening to Journey, Led Zeppelin and the Eagles.
When finding designers and pieces to sell in the store, what do you look for?
I have worked hard to build relationships with girlfriends who have their own bikini lines in Hawaii. I follow trends and make frequent trips to Los Angeles to find designers I really adore.
When you get dressed in the morning, what do you pick out first? Clothes or jewelry?
Neither! I do my hair then choose my jewelry.
When you are not working how do you spend your free time?
I spend most of my time with my family and friends. Aside from that, I enjoy photography and love getting inspired by things. I love to "create" and I'm always creating something.
What is your biggest creative influence?
My grandpa. He instilled a lot of strong characteristics into me, including the value of a good work ethic. I admire how well he built and created things also. He taught me to keep busy and work hard.
What are some of your sources of inspiration?
I am inspired by the ocean, music and people-watching out the window. I like to build a scene with each model I use for my line and create a story for her. I like to envision that each model I use for my line is the same girl traveling through a different period in her life.
Describe your style in 3 words:
Classic, Bohemian, Relaxed
What is the one thing in your wardrobe that you could not live without?
My Tahitian pearl bangle
Bikini or sundress:
Bikini!

SCROLL TO SHOP THE POST

ABOUT THE AUTHOR

Ashley Williams was born and raised in Encinitas, a beach community in Northern San Diego. She has been photographing weddings and lifestyle photography for the past four years and loves it! Living in Southern California, she enjoys road tripping and exploring this beautiful state of California. She is looking forward to sharing her travels and being a part of the Established California Team. Keep an eye out for her as she shares this beautiful state we are all lucky to call home!


TIPS FOR SUCCESSFUL WEIGHT LOSS
With the upcoming fall season, it's easy to lose your motivation to stay healthy. No longer are you thinking about slipping into bikinis and short shorts. If you are anything like me, you can't wait to throw on an oversized sweater and leggings. Regardless of this urge want to cover up, it's actually the perfect time to make a commitment to better your health. Here are my tips and tricks for successful weight loss.

With the upcoming fall season, it's easy to lose your motivation to stay healthy. No longer are you thinking about slipping into bikinis and short shorts. If you are anything like me, you can't wait to throw on an oversized sweater and leggings. Although, in California, the closest thing we get to being really cold tends to be a product of the air conditioning being set too low in the office building.
Regardless of the urge to cover up, it's the perfect time to make a commitment to better your health. The holiday seasons (along with the sweets) will be here in a blink of an eye. Then comes the New Year.. and before you know it, Summer is right back on your radar.. with a new bikini that you want to be proud to put on.
So, whether you're about to begin another college year, start a new job or embark on an entirely new, healthy lifestyle, take this time to set some goals, get organized, create a workout routine and identify areas of your life that you would like to improve. Here are my tips and tricks to get yourself on track for successful weight-loss.
MAKE A PLAN & PREP YOUR MEALS
I know this can feel overwhelming but I promise you, give yourself 2-3 hours on a Sunday afternoon and prep your meals. You will be surprised how much it helps when you find yourself short on time and not able to make something healthy. Being able to just reach into the fridge and heat something up will help you curb those cravings (which they will be brutal the first 10 days, not gonna lie).
When you sit down to make your meal plan for the week, you should plan on 3 meals per day plus 2-3 snacks. Plan on eating every 2-3 hours which is the key to helping your metabolism speed up and burn fat. Need help? Here's an example of how I plan my weeks.
MAKE A COMMITMENT TO NOT "DIET"
The thing about living a healthy lifestyle is that you have to get yourself to stop thinking that you are on a diet. Your "normal" eating habits should be healthy choices. But it's all about balance. Sure, you can have ice cream or a few glasses of wine during the week. But aim for eating 90% of your meals healthy and you'll be A-OK.
PAY ATTENTION TO YOUR BODY
Do yourself a favor and experiment with foods. What works for one person, might not work for you. Not all carbs are bad. Not all fats are bad. People have a major misconception when it comes to nutrition and what you can and can not eat. I've personally had a lot of success on a Paleo and Clean Eating lifestyle. I have friends that have switch to gluten-free or vegan or raw diets. Listen to your body. If you are finding yourself sluggish all day, you aren't getting enough carbs (whole grains, sweet potatoes, fruit). If you are hungry all the time, you aren't allowing your body enough healthy fat (eggs, avocado, nuts). If your stomach is upset and bloated after eating cheese or dairy - try switching off dairy products for an alternative and see if that helps. Carry around a notepad and take notes after a meal. Are you sluggish? Are you full of energy? Did you eat too much food? This will help you in the future when you are meal prepping ;)

FORGIVE YOURSELF
This is the very first thing I say to my friends and family when they ask me how I was successful in my weight-loss journey (believe it or not, I've dropped 50lbs in the last 2 years). You have to learn to forgive yourself. You screwed up and gave in and ate a piece of pizza with your friends last night. So what! Move on. You can't take back the past. What you CAN do is accept it, forgive yourself and realize that you don't have to make the same mistake. Most people feel so guilty when they slip on a diet that they decide to just say "Screw it!" and that doesn't help you. Learn to forgive yourself and move on.
DRINK WATER
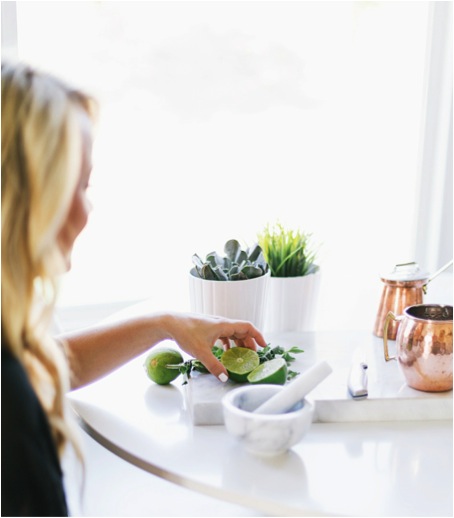
I know this kind of sounds like a no-brainer but most people do not drink nearly enough water. I am guilty of this myself (since I find myself drinking coffee all day, most days) so you aren't alone in the struggle). You should be aiming for about 64-100 ounces a day, depending on how active you are. To set yourself up for success, get a water bottle that works for you! I can't tell you how many times I have had water bottles sit on my desk, still full, because it's not my trusty purple Camelbak water bottle. I've had many friends tell me that they fill up a milk gallon jug with water and mark dashes on it (and a time of day) so they know to drink it down to that point throughout the day. Experiment, see what works best for you. Adding lemon or lime slices really helps too and has tons of health benefits.. but we'll get to that another day.
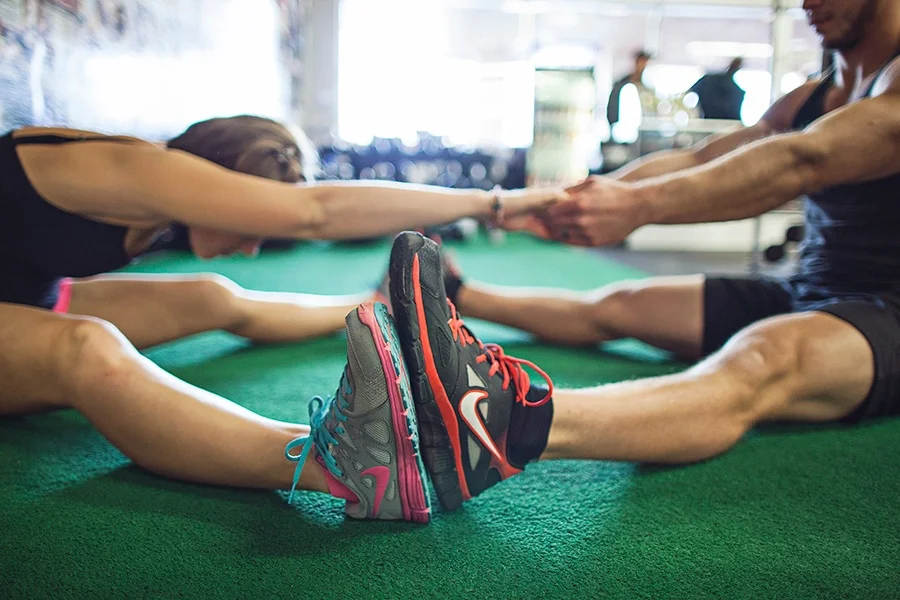
GET MOVING

Image via Reader's Digest
If you are just starting out on a health journey, take it slow. Find thirty minutes, every day, to just move. Walk around the block after dinner. Hike with friends. Take a yoga class. Try a rock-climbing gym. Jump on a trampoline. Whatever it is, just make the commitment to yourself to do something. You'll eventually find yourself craving it and pushing yourself and challenging yourself to do better than the last time. Try to remember to push yourself out of your comfort zone, but not so far that it'll discourage you from continuing because your muscles are too sore (PS. Drinking water also helps sore muscles).
REWARD YOURSELF

Image via Under Armour
Celebrate the milestones! Layout your goals and celebrate! Lost 5 pounds? Hooray! Go get a mani/pedi. Stuck to your diet all week and didn't sway? Yippee! Go buy that cute Under Armor jacket you've been eyeing for the last month. Whatever motivates you - embrace it. And remember, whatever the journey, the journey is yours. So love it, embrace it and make it worth the ride.

ABOUT THE AUTHOR

Lindsay Vacek has a passion for style, details and design. As a Fashion Editorial Photographer, she's worked in the Entertainment Industry for over 10 years and has a love for adventure and travel. She spends her spare time globe-trotting her way through foreign countries and loves new cultures, food, music and the arts.
Being a California Native, Lindsay loves meeting new people and sharing her version of life with others. With an infinite list of things-to-do, places-to-go and sights-to-see - she believe everyone can have a little more California in their own lives.


THE TREND: MODERN MINIMALISM
With a fresh perspective of neutral tones, sleek silhouettes and contemporary fabrics, modern minimalism continues to evolve. One of our favorite things about this trend is that you don’t have to spend a lot to get it.

Far from being a recent trend, noted designers Helmut Lang, Jil Sander and Calvin Klein helped to popularize luxe minimalism in the nineties. Pure minimalism is timeless by being simple, relaxed, classic and refined. Calvin Klein refers to minimalism as being an "indulgence in superbly executed cuts, quiet plays of colour tones and clean, strong shapes” which serve as inspiration to many of the street style trends today.
With a fresh perspective of neutral tones, sleek silhouettes and contemporary fabrics, modern minimalism continues to evolve. Mastering the art of minimalistic style provides an incredibly polished look with little effort. One of our favorite things about this trend is that you don’t have to spend a lot to get it - you just need to make sure you are getting the right pieces.
To help you master this trend, here are five minimalistic looks from the runways (and how to get them) to help inspire you and carry you through the Fall season.
INSPIRATION: HELMUT LANG

SHOP THE LOOK
INSPIRATION: ACNE STUDIOS

SHOP THE LOOK
INSPIRATION: NARCISCO RODRIQUEZ

SHOP THE LOOK
INSPIRATION: JIL SANDER

SHOP THE LOOK
INSPIRATION: CALVIN KLEIN

SHOP THE LOOK

ABOUT THE AUTHOR

Eleni Hopkins grew up in a home where art and fashion were always the forefront of conversation. A Native to San Francisco, her passion for style, color and texture have made her fearless to take risks in order to stay on the cutting edge of fashion and beauty trends. It was her craft with palettes of color and make-up brushes that prompted her move to Los Angeles and her love for clothing, designers and street trends that have kept her here. With a creative but critical eye, Eleni is excited to share her love for dress up and show readers how to spice up their wardrobe and enjoy their time in front of the mirror.


EST. SPOTLIGHT: SCARLET & GOLD
When it comes to home décor, attention to detail is everything. A good room can be turned great with a few extra touches. When I walk into a room for the first time, I love to take it all in.

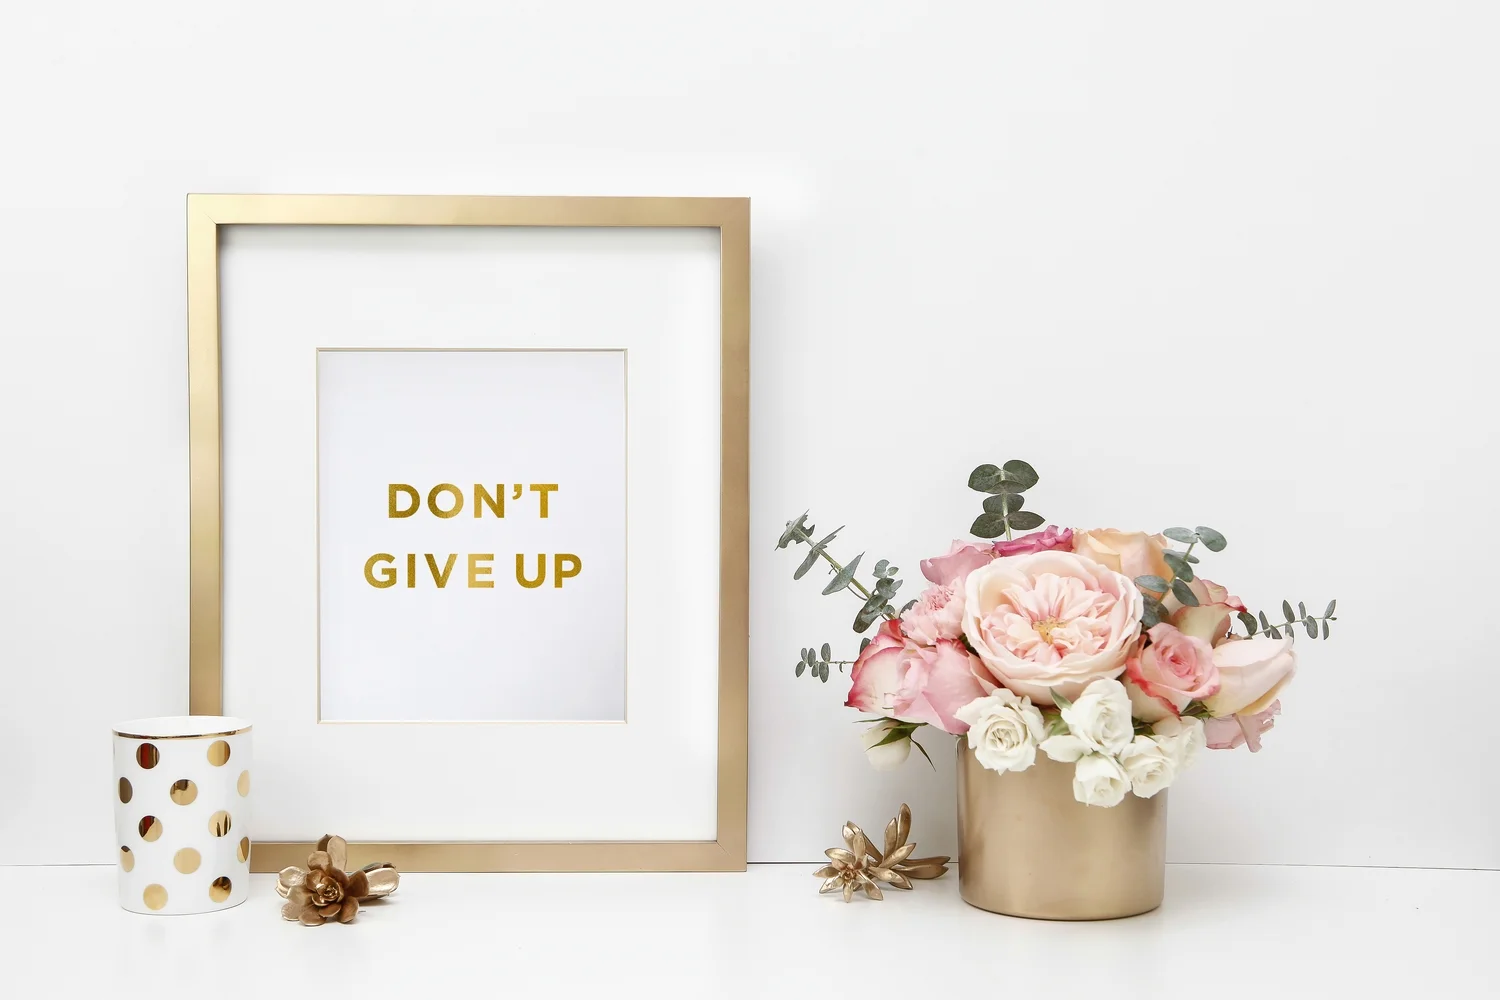
When it comes to home décor, attention to detail is everything. A good room can be turned great with a few extra touches. When I walk into a room for the first time, I love to take it all in. I look to see what kind of art is on the walls, who is in that picture frame, how the table is set, what is the underlying color scheme. I tell you, attention to detail is never wasted on this houseguest! I love rooms that tell a story and show the personality of the people living there. So when I got a look at the placemats and new print collection from Scarlet & Gold I couldn’t wait to figure out how to include it in my home.


Their new prints scream “tell a story.” With gold foil and great sayings you can’t go wrong. I love including little words of encouragement around the house and this new line does just that, encourage. It gets you excited to find fun, unique placements in your home for your new prints while encouraging you to step outside your comfort zone and pair it with something fun. Isn’t she lovely would look great next to your bridal photo or in a little girls room as a healthy reminder. The possibilities on how to use these great prints are endless.
If you’re looking to really wow your guests, setting your table with their great placemats is a detail well worth it. If I’m being honest, a proper table setting is the first thing on the chopping block in my house. It’s always an afterthought, which is a shame, I know. But with these placemats on hand, setting the table has quickly jumped to the top of my decorating to-do list. And with the holiday season quickly approaching, it’s a great idea to get some practice on your table setting in now. That way by the time gathering and giving thanks arrives, you’ll be decorating your table like a pro.


I could go on and on about how great these new items from Scarlet & Gold are but I encourage you to see it for yourself. And to celebrate this love, the amazing ladies over at S&G are giving you, our amazing readers 10% off your purchase. Just use code: ESTCALI
There is only one thing to say about that: AMAZING!
Contributed by estCA staff, Megan Araujo

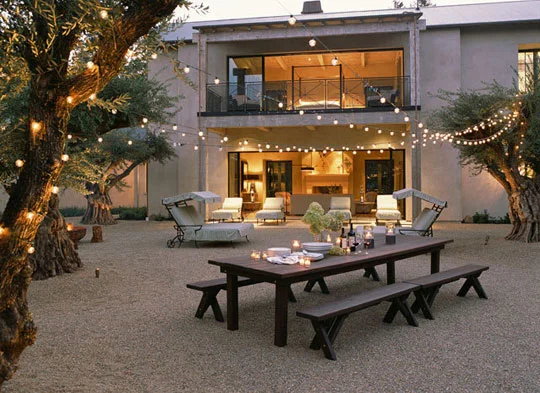
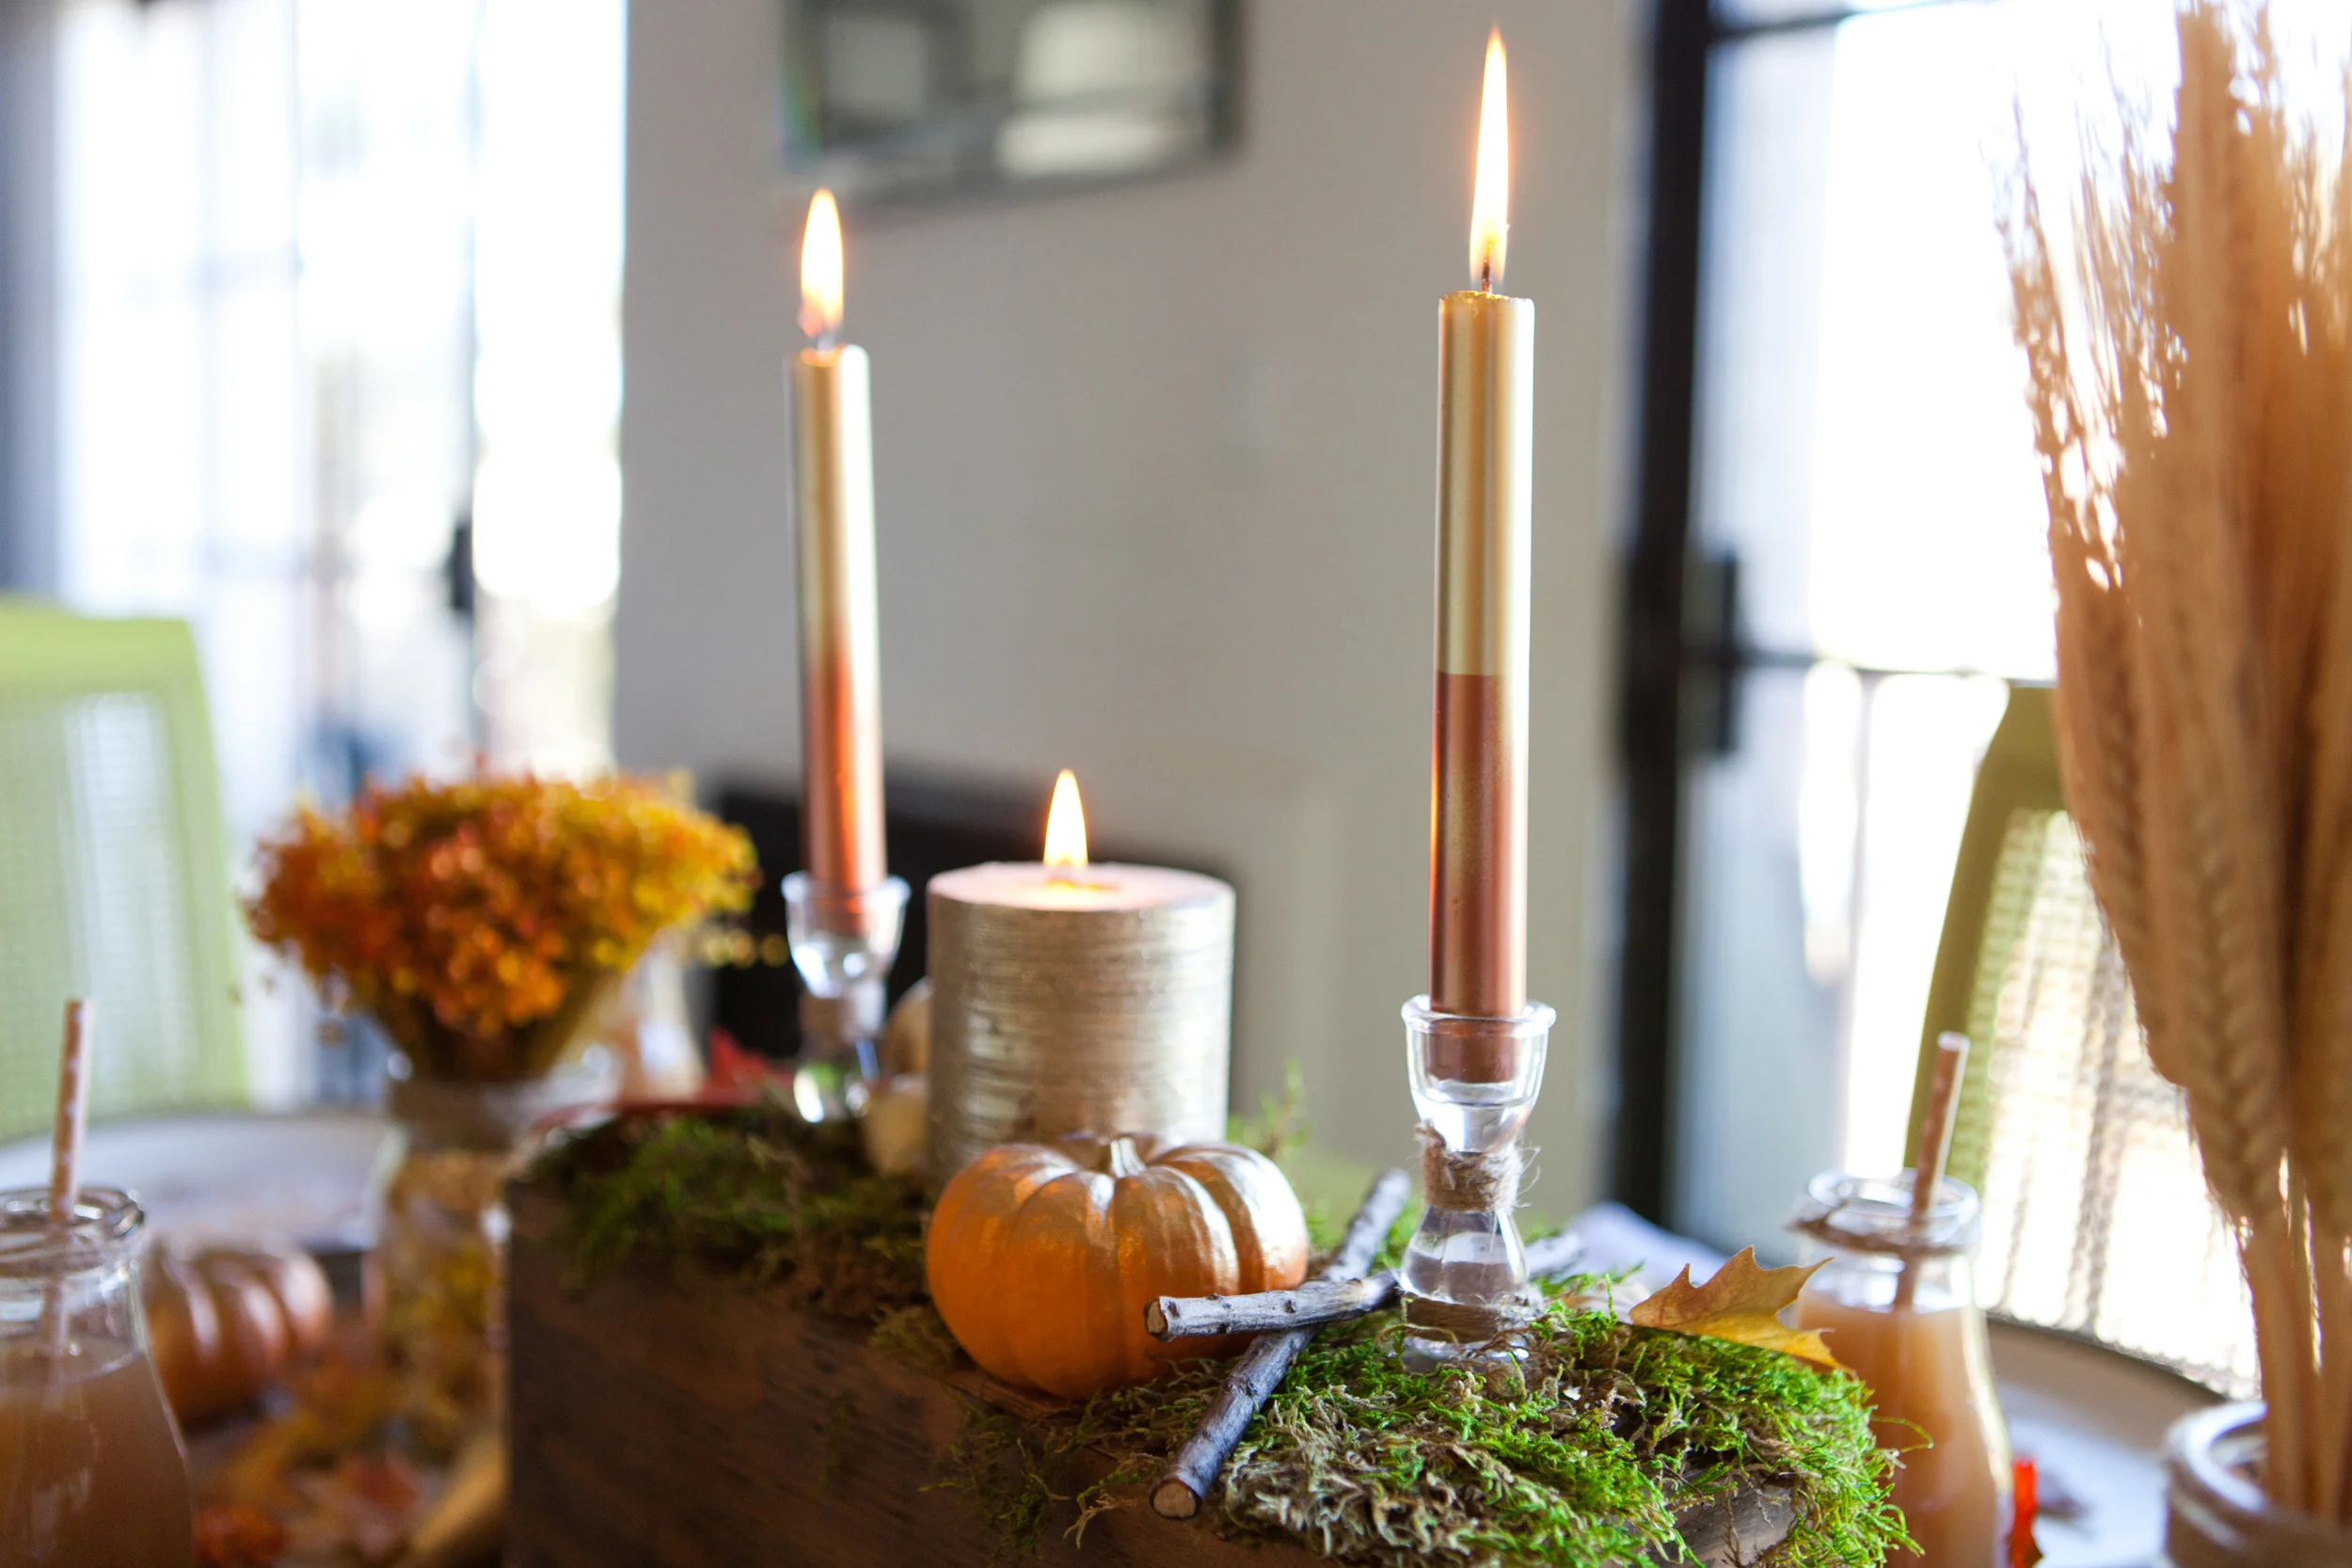
LIGHT MY CANDLE
With the summer quickly coming to an end that means my favorite time is here: Indian Summer. A time where we bid farewell to those summer nights (And yes, I said that just like John Travolta) and get ready for the Fall approaching.

Image via MyPosterama
With the summer quickly coming to an end that means my favorite time is here: Indian Summer. A time where we bid farewell to those summer nights (And yes, I said that just like John Travolta) and get ready for the Fall approaching. These are my favorite nights. A time to reflect on the summer memories that have been had and really take in what’s left of it. With that in mind, you could be heading to one of California’s many scenic campgrounds and looking to arrive in style, or perhaps simply enjoying the nighttime ambiance on your outdoor patio. I’m sharing with you my favorite finds for the best lanterns this season to get you ready to light that candle one last time (I mean.. until next summer, at least).
Contributed by estCA staff, Megan Araujo

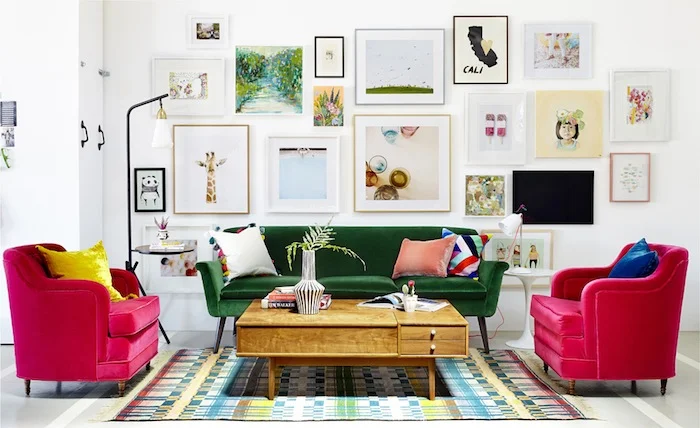

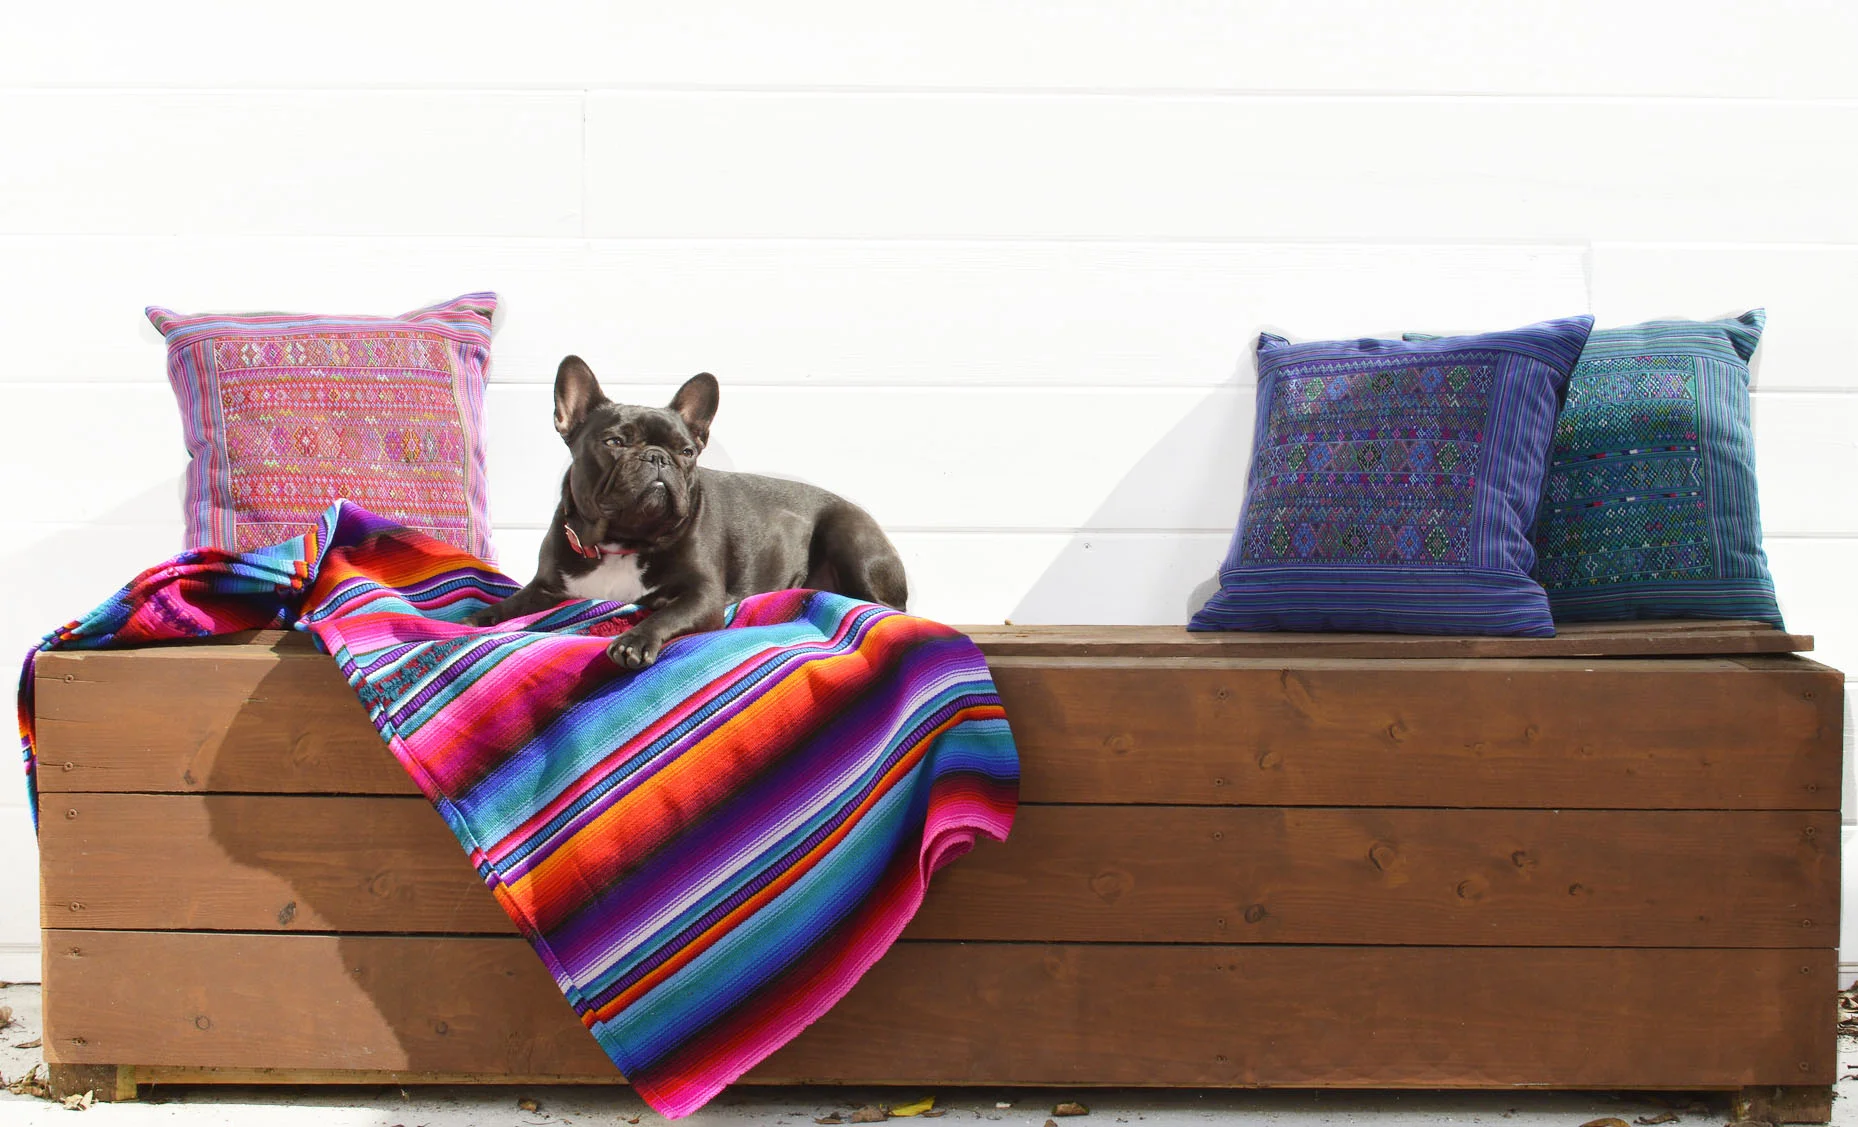
PILLOW PERFECTION
If you are anything like me, you get extremely impatient in your living space. I have an overwhelming urge to constantly redecorate as soon as I am done decorating. It’s a terrible habit, I know. It’s also a very expensive habit.

Photo via 2 Ladies & a Chair
If you are anything like me, you get extremely impatient in your living space. I have an overwhelming urge to constantly redecorate as soon as I am done decorating. It’s a terrible habit, I know. It’s also a very expensive habit. The easiest way to curb my decorating addiction has been through pillows. Yes, I know that doesn’t sound like it makes sense, but hear me out. By simply switching up your pillows, moving them around, playing with new and old, you can create an entirely new space!
If you are looking to freshen up and re-decorate your space, I’ve included some great ways to add some California style to your humble abode. Here are some of my favorite tricks and tips to achieving what can feel like a new space (on a small budget)… with the help of only pillows!

While sometimes a needlepoint pillow can come with a larger price tag, don’t immediately dismiss it. Investing in a good piece like this is worth it for the lifespan. If you spend the money upfront you won’t find yourself with a pillow that is falling apart and needing to be replaced. Quality lasts, which untimely stretches the dollar.

DO NOT BE AFRAID to play with patterns. What you want to keep your eye out for is how they compliment each other in color, shape, texture and size. This is the key to a perfect mix and match. Don’t be afraid to mix tribal, metallic, hand-woven, pops of color. Just go for it!!

Sometimes tossing in a couple daily reminders is good for the soul. And if you can do it with something as subtle as pillow, why not?! Not every pillow has to only have bold colors and heavy patterns. Sometimes you can let your decorating speak for you… in this case, literally!
Contributed by estCA staff, Megan Araujo


4 STEPS TO SUMMERTIME AB SUCCESS!
Behind every six pack are four key lifestyle components that include nutrition, weight training, cardio, and rest. With a balance of these four elements you can achieve summertime abs all year long.

Behind every six pack are four key lifestyle components that include nutrition, weight training, cardio, and rest. With a balance of these four elements you can achieve summertime abs all year long.
Nutrition
It doesn’t matter how hard you work out, how many sit-up’s you do or how many miles you run on the daily, if you aren’t fueling your body the right way your abs will not develop the way you want them to. Proper nutrition involves not only consuming a balanced and nutrient dense diet, but also eating enough. I’m sure we have all heard the fitness saying of “Abs are made in the kitchen.” Unfortunately, it's true and one of the biggest obstacles we face in our diets is not fueling our bodies with the right types (and amounts) of food. In order to get that lean midsection, meals and snacks must be well thought out and eaten every two to three hours to keep your metabolism running high. A balanced diet includes whole grains, healthy fats (like nuts and avocados), lean protein, vegetables and some fruit (yes, this can be the glass or two of wine during the week).
Weight Training:
In order lean out and build your core you must incorporate weight training into your routine. I would say training your ENTIRE body, not just your core 2-3 times a week is essential. I suggest medium to heavy weights and doing sets of complex exercises such as lunges with a bicep curl or performing squats with a bicep curl to an overhead shoulder press. A big part of proper form with these types of exercises is engaging your core throughout the entire exercise. Of course, isolated ab exercises should always be incorporated, but full body movements that engage the core can build that six pack even faster.
Cardio:
The 3rd integral part of getting those summertime abs is cardio.. cardio.. cardio! I recommend 30 minutes of high intensity cardiovascular exercise at least 4-5 times a week. If you are in the Los Angeles area, Beatbike offers cycling classes with the potential to burn anywhere from 600-1100 calories in only 45 minutes. Classes at Beatbike combine endurance pushing sprints, cadence focused climbs, and integrate performance driven racing software to spark your competitive side. If you can’t get to a class at Beatbike, cycling isn’t the only way you can get your cardio in. Running (my personal fave), swimming, or machines like stair masters and elliptical machines are also vey effective.
Rest:
It is essential your body gets proper recovery time. Recovery means adequate sleep at night, self care to minimize stress, and a day or two off from working out. Much like under eating, over training is something we need to be mindful of. Training too much will not only set you back from getting your washboard abs but will increase stress levels and cause burnout. Go to bed that extra hour early, take time to laugh, and listen to your body. Hitting the gym seven days in a row (as impressive as it sounds) will not expedite abdominal progress. Take a break and add in the fruit portion of your balanced diet on your day off from the gym.
In about 4-6 weeks of consistency with nutrition, weight training, cardio, and rest, you should see a flatter more toned midsection! Consistency is key!

ABOUT THE AUTHOR

Samantha Weinberg, a Los Angeles native, is a personal trainer and cycling instructor at Beatbike in Tarzana. Also an avid marathon runner, she loves working with people and inspiring them to better their lives and health.
When she's not teaching, Sam spends time with her Maltipoo, Ari or indulging in her three guilty pleasures which are shopping, sunbathing, and peanut butter cups.

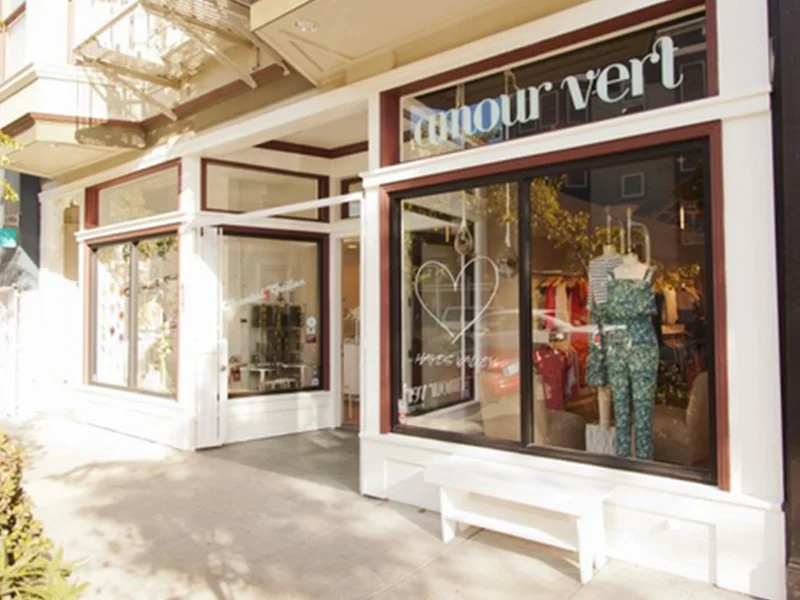
EST. SPOTLIGHT: AMOUR VERT
I first spotted Amour Vert, the San Francisco based brand in a small boutique on Main Street in Half Moon Bay called Crow’s Nest. Obsessed with the chic designs and innovative fabrics, I knew this was a label to commit to memory.

Image by Arturo Torres
I first spotted Amour Vert, the San Francisco based brand in a small boutique on Main Street in Half Moon Bay called Crow’s Nest. Obsessed with the chic designs and innovative fabrics, I knew this was a label to commit to memory.
Amour Vert (French for "green love") is the perfect union of eco-conscious fashion. With a husband and wife duo, Linda Balti (Creative Director) and Christoph Frehsee (CEO), they are not your typical design team story.
Balti developed fighter jet simulators as an engineer and Frehsee built a machine that cleared landmines safely. So, how do the two most unlikely people end up with a fashion line? Balti read an article that the fashion industry is the second most polluting industry in the world, falling second to big oil production. This led to her decision to consume fashion more mindfully in a non-harmful way to environment. Unable to find eco lines that soothed her Parisian taste, in 2009 Amour Vert was launched and became the line where “Paris chic meets Cali cool”.
Images via Amour Vert
Not willing to sacrifice sustainability, Amour Vert “employs a zero waste design philosophy”. Their use of organic and recycled fabrics, vegetable and non-synthetic dyes along with local garment production in Bay Area crowns Amour Vert’s statement of promoting eco-conscious fashion. As a true pioneer for the continued evolution of eco fashion, Balti was recently announced as one of the 30 new members of the prestigious Council of Fashion Designers of America (CFDA). With Amour Vert on a big upswing we are bound to see many more incredible things out of this brand.
Can’t wait to get your hands on Amour Vert’s Fall 2014 collection? Check out their brick and mortar store in Hayes Valley district of San Francisco. Keep in mind for every purchase of an Amour Vert t-shirt they will plant a tree in America.
AMOUR VERT is located at 437 Hayes Street, San Francisco, CA 94102

ABOUT THE AUTHOR

Eleni Hopkins grew up in a home where art and fashion were always the forefront of conversation. A Native to San Francisco, her passion for style, color and texture have made her fearless to take risks in order to stay on the cutting edge of fashion and beauty trends. It was her craft with palettes of color and make-up brushes that prompted her move to Los Angeles and her love for clothing, designers and street trends that have kept her here. With a creative but critical eye, Eleni is excited to share her love for dress up and show readers how to spice up their wardrobe and enjoy their time in front of the mirror.
FOLLOW HER ON: INSTAGRAM / TWITTER / PINTEREST


INSTA-TAN: FLAWLESS SELF-TANNERS
Thankfully, in California, the summer weather is only half way done giving you plenty of time to strut your sun-kissed glow! However, you've been cooped up in an office and your skin is more white and pasty that the beautiful bronzed tan you promised yourself this season.

Thankfully, in California, the summer weather is only half way done giving you plenty of time to strut your sun-kissed glow! However, you've been cooped up in an office and your skin is more white and pasty than the beautiful bronzed tan you promised yourself this season. Or, perhaps, you are one of those people who are much better at being health conscious and remember to apply your SPF constantly. Whatever the reason, you've decided your skin is in desperate need of looking like you spent a week at a beach house. Well, never fear! Our beauty team has just the products that will leave you with the streak-free tan you've been yearning for!

L'oreal: Sublime Bronze Pro Perfect Salon Airbrush Self-Tanning Mist - Available at Ulta - $10.99

Jergens: Natural Glow Revitalizing Daily Moisturizer - Available at Ulta - $9.99

Sephora Collection: Gradual Self Tanning Face Water - Available at Sephora - $16.00

TanTowel: Self Tan Towelette Full Body Application for Face & Body - Available at Ulta - $24.00

St. Tropez Tanning Essencials: Self Tan Bronzing Mousse - Available at Sephora - $32.00
WANT TO SHARE SOMETHING OR SOMEONE? HEAD TO OUR SUBMISSIONS PAGE TO SHOW US.
Contributed by estCA founder, Eleni Hopkins


Kale Caesar Salad w/ Crispy Garbanzo "Croutons"
It’s no secret that California likes their salads. We have vegan restaurants, microbiotic cafes or gluten-free pizza joints almost everywhere you turn. We see words like “free-range” or “organic” in front of all our favorite ingredients and we don’t even blink an eye. We are all about putting healthy ingredients into our bodies.

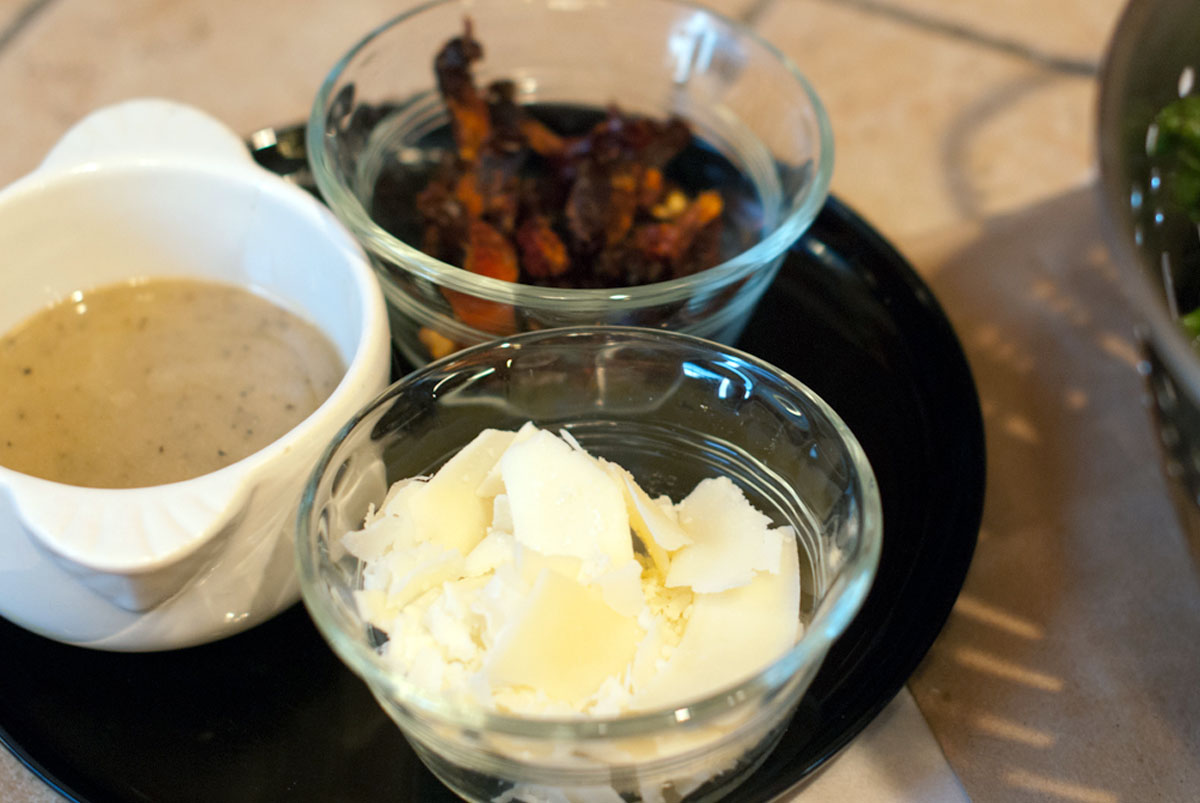
Image via Mountain Mama Cooks
It’s no secret that California likes their salads. We have vegan restaurants, microbiotic cafes or gluten-free pizza joints almost everywhere you turn. We see words like “free-range” or “organic” in front of all our favorite ingredients and we don’t even blink an eye. We are all about putting healthy ingredients into our bodies.
I’m not quite sure when Kale Caesar Salads started becoming popular but I keep seeing them pop up on menus all over Los Angeles. When I tried my first one, I quickly understood why. They are delightful! The Crunchy, bittery taste of the kale paired with salty parmesan and creamy Caesar Dressing – it’s a wonderful fusion of flavors.
This Kale Caesar Salad recipe has quickly become a favorite in my recipe box. Inspired by a recipe by Kelley Epstein over at Mountain Mama Cooks. I love the idea of replacing crunchy croutons with crispy garbanzo beans to give you that familiar crunch. However, this version is packed with fiber and protein which is a plus for vegetarians who are looking for protein alternatives. Although, you could easily add grilled chicken, shrimp or salmon to this dish and it would be equally tasty.
Kale Caesar Salad w/ Crispy Garbanzo "Croutons"
Prep Time: 10 minutes
Cook Time: 40 minutes
Ingredients
For the Dressing:
1 garlic clove
½ cup mayonnaise (or vegan mayonnaise)
1 tsp dijon mustard
3 tbsp lemon juice
1 tsp worcestershire sauce
¼ cup freshly grated parmesan cheese
3-4 tbsp olive oil
1-2 tsp of water to thin if necessary
salt and pepper to taste
For Garbanzo Beans:
1 15oz can garbanzo beans
1 tbsp olive oil
salt and pepper to taste
For Salad:
1 head of kale (stems removed and chopped)
½ cup grated parmesan cheese
½ cup julienne sundried tomatoes
Caesar Dressing
Crispy Garbanzo Beans
Instructions
Preheat the oven to 375F degrees.
Rinse and drain the garbanzo beans. Then lay them on a double layer of paper towels and dry them as much as you can. Line the dried garbanzo beans on a baking sheet and toss with olive oil, salt and pepper.
Roast the garbanzo beans for 35-40 minutes until brown and crispy.
While the garbanzos are roasting, make the dressing:
Combine all ingredients except oil, salt and pepper in the base of a blender.
With the motor running, slowly add the oil in a thin stream into the blender.
When the dressing is thoroughly mixed, test for desired thickness. If you want it a little thinner, add the water a teaspoon at a time.
Season with salt and pepper.
To Assemble Salad:
Clean the kale and remove the leaves from the thick inner stalk.
Chop the kale and transfer to a large bowl.
Dress with desired amount of Caesar dressing and grated parmesan cheese.
Top with sun-dried tomatoes crispy garbanzo beans.


ABOUT THE AUTHOR

Lindsay Vacek has a passion for style, details and design. As a Fashion Editorial Photographer, she's worked in the Entertainment Industry for over 10 years and has a love for adventure and travel. She spends her spare time globe-trotting her way through foreign countries and loves new cultures, food, music, and arts.
Being a California Native, Lindsay loves meeting new people and sharing her version of life with others. With an infinite list of things-to-do, places to go and sights to see - she believe everyone can have a little more California in their own lives.
FOLLOW HER ON: INSTAGRAM / TWITTER / PINTEREST


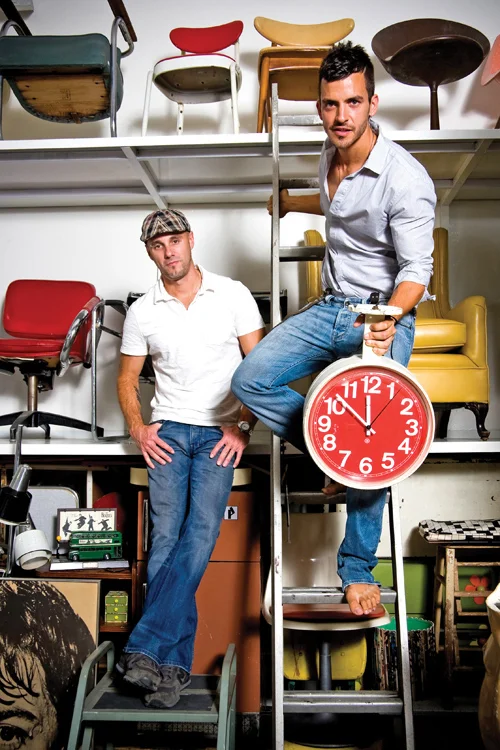
EST SPOTLIGHT: TINI - THIS IS NOT IKEA
One of my favorite things about being a Californian is the appreciation this state has for the re-use of great furniture. Vintage represents everything Californians love: upcycling, recycling and going green.

One of my favorite things about being a Californian is the appreciation this state has for the re-use of great furniture. Vintage represents everything Californians love: upcycling, recycling and going green. Vintage shopping is the ultimate example of going green. And while you can find yourself with endless flea market options on the weekend, there is one place that does the hunting for you.
Today my little vintage dreams came true when I went to the one and only T.I.N.I. {This Is Not Ikea}. TINI is an amazing vintage store located in the heart of Los Angeles with one of a kind vintage finds from all eras. I’ve wanted to go there for some time and this weekend I made sure I made the time. And when I say it didn’t disappoint, I couldn’t be any more truthful. It was everything I had hoped it would be and more.
As I walked up the to store front, its vine covered entrance immediately had me excited. Two steps in the door and I was in love. I will warn you, when you first walk in, it can be a bit overwhelming. There is so much vintage amazingness to look at, your eyes will freak out! There is even a second floor and rooms that stretch back for days. The place is huge!
I found so many amazing treasures and the prices were not unreasonable. Check some of my favorite finds below.


Image by Jennie Warren for LA Weekly
Co-owners Alexis Hadjopulos and Tom Whitman began TINI as a vintage and retro online shop for those who shared in their passion of vintage finds. But when fabulous finds filled the home of Alexis, the two opened their retail space. Coming up on the fifth birthday of their Fairfax and 6th home, TINI’s finds are better than ever. If you can’t make it out to their space, you still take a look online. But trust me when I say, it’s better in person. One more thing, it gets better… if you’re in the market to really redo your space, they make house calls! Happy vintage hunting!
TINI (This is Not Ikea) is located at:
515 S Fairfax Ave,
Los Angeles, CA 90036
(323) 938-9230
Contributed by estCA staff, Megan Araujo


GET THE LOOK: SUNKISSED SUMMER
Ah, summer is here and it is my favorite time to take a break from my usual heavier make-up and bring on the sun-kissed glow (in a healthy SPF type of way, of course)! This tutorial will teach you how to have the perfect bronzed look to carry you through your summer days.

Image via Sweet Lemon
Ah, summer is here and it is my favorite time to take a break from my usual heavier make-up and bring on the sun-kissed glow (in a healthy SPF type of way, of course)! This tutorial will teach you how to have the perfect bronzed look to carry you through your summer days.
TOOLS:
Lightweight Foundation: I used Mac’s Face and Body Foundation. It’s a sheer buildable product that blends easily and evenly. As a water based foundation, it is lightweight and leaves your skin with a supple glowing finish!
Foundation Brush: I am a fan of Shiseido Makeup Perfect Foundation Brush. The versatility in this brush can be used to apply any type of foundation.
Your Favorite Bronzer: I constantly play with bronzers. Today I used Toofaced Sun Bunny Natural Bronzer. The duo of colors allows me to play with dimension and highlighting.
Bronzer Brush: Try this Bobby Brown Bronzer Brush
Eye Shadow: Choose a light golden brown. Urban Decay’s ‘Smog’ in the original Naked Palette is a great option.
Eye Shadow Brush: You will need a brush that can hold pigment but also dust color lightly and evenly. Mac’s 224 brush is by far my favorite choice!
Your Best Mascara: I am hot to trot on Mally Volumizing Mascara right now!
Lipgloss: A light pink flat lip gloss adds the perfect finishing touch. I used Stila Lip Glaze in Grapefruit.

STEPS:
1. Start with a fresh face. Applying an SPF moisturizer after your daily skin routine is the perfect start.
2. Using the foundation brush apply and blend your lightweight foundation starting from the center of your cheek blending in circular motions outward.
3. Using the Mac 224 brush, sweep the golden brown shadow over your lid and crease.
4. Apply a couple of coats of mascara to your top and bottom lashes.
5. Brush your chosen lip gloss onto your lips.
6. Using a bronzer brush, apply bronzer to you’re the apples of your cheek.
WANT TO SHARE SOMETHING OR SOMEONE? HEAD TO OUR SUBMISSIONS PAGE TO SHOW US.
Contributed by estCA founder, Eleni Hopkins

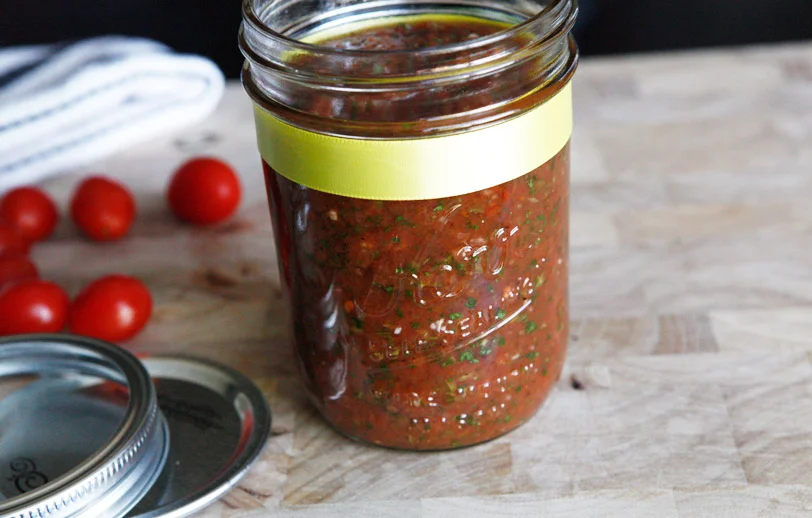
NICOLE'S HOMEMADE HABANERO PICO DE GALLO SALSA
I have always loved spicy food – but never really knew how much (or how committed I was to it) until I spent an extended period of time in Mexico. I stayed at Papaya Playa Project in Tulum, Mexico and Chef Umberto made the most amazing Habanero Salsa. I finally convinced him to tell me how he made it!

Image via Amazing Paleo
I have always loved spicy food – but never really knew how much (or how committed I was to it) until I spent an extended period of time in Mexico. I stayed at Papaya Playa Project in Tulum, Mexico and Chef Humberto made the most amazing Habanero Salsa. On my last day there I finally convinced him to tell me how he made it and he shyly said to me: “Bonita, it’s so facil. You roast some habaneros peppers, add some salt, vinegar and water – blended it all together and muy BUENO!”
I’m telling you – this salsa was SUPER SUPER make- you- sweat SPICY!! So, armed with Chef Humberto’s recipe, I decided to try making my own at home. As I went shopping I thought to myself that there was probably a better (different) way to make the salsa. Some way that you still got the flavor of the Habaneros but it wasn’t so spicy that you could barely breath (although a lot of us at Papaya Playa Project craved it that way – it was that good!)
Here is my version. So far I’ve gotten rave reviews. It’s a combo of Pico de Gallo and Habanero (remember: this is a design-by-taste recipe so taste often).
Disclaimer: It is worth mentioning that I rarely follow recipes and measurements. I believe you should taste as you go and alter according to your likes. I don’t use measuring cups other then the palm of my hand. For some reason, there is something really down-to-earth about that process. I dare you to try it….in my opinion it makes the experience, and the joy of cooking, that much better! I also find that I put way more effort into my cooking when I know that I am sharing with others. There’s something so gratifying by giving delicious food to people and hearing them rave about it (and come back for more). So without further ado, some of the best salsa I’ve had out there to date and I am proud to call it my own.
Nicole’s Homemade Habanero Pico De Gallo Salsa
Prep Time: 20 minutes
Cook Time: 45 minutes
Ingredients
9 habanero peppers
4 large hothouse tomatoes
3 plump limes
medium red onion
5 – 7 cloves of garlic
bush of cilantro
Himalayan salt (about 5 pinches, but season to taste)
1/2 cup water
1/4 cup vinegar
garlic powder (to taste)
Instructions
Place nine habaneros on a pan and roast in the oven at 350 degrees for 45 minutes. While roasting, prep the rest of the ingredients.
Chop the tomatoes to your desired size. Once the tomatoes are chopped squeeze in your limes (remember to roll them on the counter before slicing – it helps get the juices flowing) and add salt to start marinating. Remember, from this point, to mix well (and often) every step of the way. Also, don't be afraid of the tomato juices, it helps make the salsa salsa!
Finely chop up about half of a medium red onion plus half of the bushy part of a bunch of cilantro (or a tad more) along with the garlic cloves (about five). Mix altogether and let it sit while you wait for the Habaneros to be done. This is definitely a good place to taste with a tortilla chip and/or a taste tester to get the salt levels right. Remember, this is your base. So, when tasting, get it to a place where you would be happy eating this for the mild version all on it’s own.
Once the Habaneros are finished roasting, pluck them off the stems and throw the entire group of peppers into a food processor (seeds and all). I’m sure a blender would do here as well although the spice may stick to the machine so I wouldn’t use the same one you make your morning smoothies with.
Add a scoop of the Pico that you’ve made (juices included) and blend. Pulse and blend again. Pour in the water and vinegar. Then add a bit more salt and some garlic powder (to taste - if you don't need it, don't add it!). Keep adding a few more scoops of the Pico up until the liquid line in the food processor. This just helps blend and distribute the spices. Taste. If it’s too spicy then you can add a little more vinegar (but remember you will be mixing it with a lot of pico shortly so it will naturally dilute down the spice).
Combine the remaining Pico mixture and the food processor salsa into one big bowl. Mix well, taste, perhaps salt a little more and enjoy!!
Don’t forget to share with your co-workers, family and friends! They will appreciate the efforts and you’ll earn some points by being able to make something so tasty!
Please note: the quantities in this recipe makes about three 16oz size jars. Because of the citrus and vinegar, these should easily last a week. Next time, I will try freezing some and report back. Enjoy!


ABOUT THE AUTHOR

Nicole Woods is a California native who has worked in the entertainment industry for sixteen years. She is an internationally traveled entertainment executive by trade, yet a California woman at her core. California identifies who she is; down to earth, successful, beautiful (inside and out), positive and always looking for more.
With a passion for finding her own journey and a love for all categories this publication includes, now, no matter where she is in the world, she can always have a part of home with her and a community to share it with.


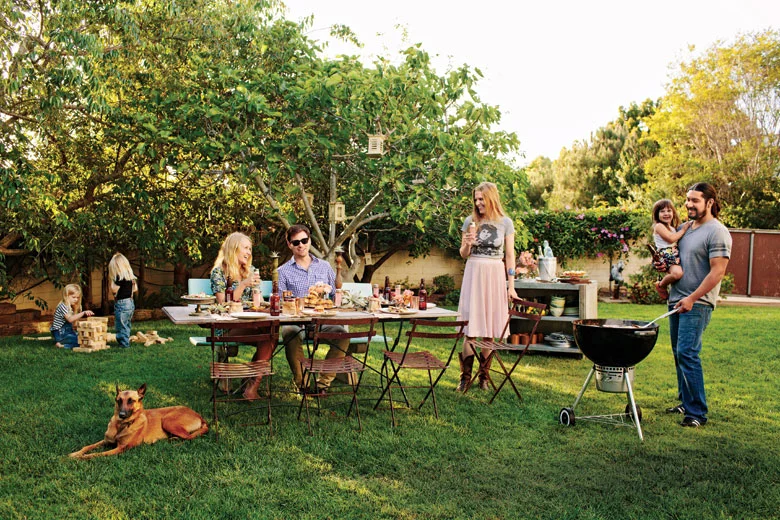
PARTY PLANNING: BARGAIN BIN BBQ
Summer is upon us and I couldn’t be more thrilled. The sun is out, flamingos and pineapples seem to be everywhere I look. There are moments where I think I live all year long just for the summer months.

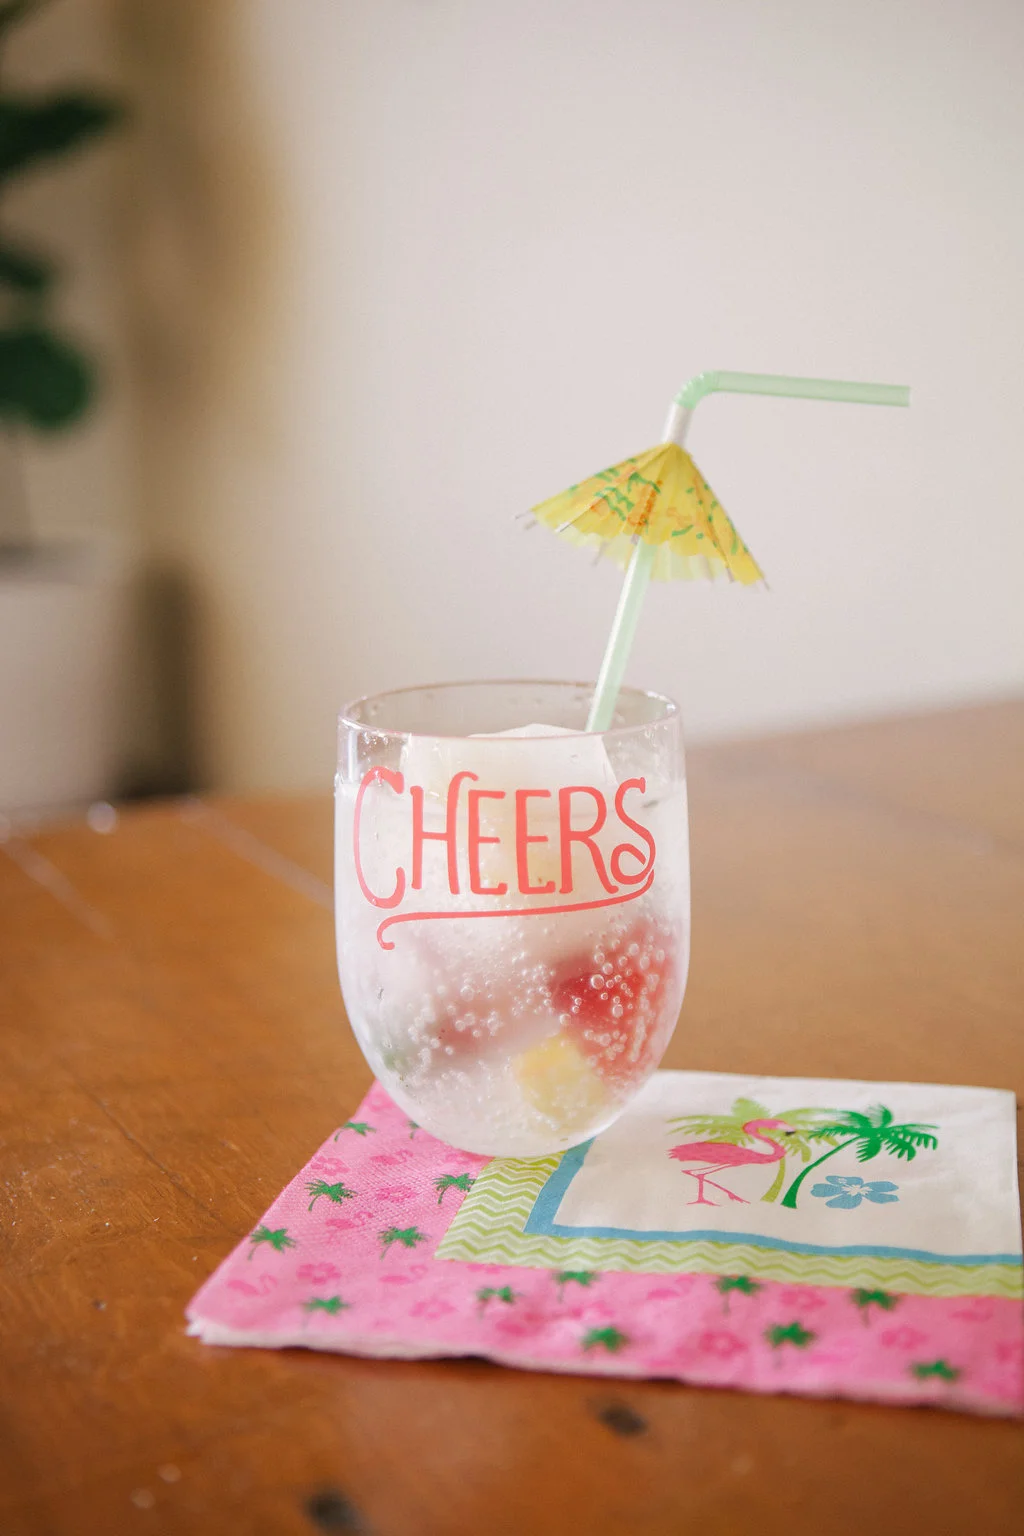
Photo via Sugar & Cloth
Summer is upon us and I couldn’t be more thrilled. The sun is out, flamingos and pineapples seem to be everywhere I look. There are moments where I think I live all year long just for the summer months. There is nothing more I love in life than getting my friends and family together and just enjoying each other’s company. The summer months seem to just invite us out to enjoy that time together.
As someone who grew up with parents who loved to host their friends, playing hostess is something that’s in my blood. My dad always adopted the more the merrier mantra and my mom, an avid crafter, was always ready to throw together an event and leave everyone talking. My parents raised my siblings and I to know the importance of friends and family around. So once summer hits, its party time in my world.
While I LOVE hosting parties, even if it’s as simple as having everyone over for game night, I have a relentless need to organize and present. But it can get expensive always being the hostess. Now, I don’t want it to sound like a have cheap friends, everyone contributes. But different parties require different accessories and presentation. It’s the party rules…I didn’t make em!
So to kick off summer right, I thought, BBQ! And to keep the dollar down, I decided to challenge myself. A 99¢ Summer BBQ. Now, I don’t want to be misleading…. I didn’t pay 99¢ for this entire BBQ. But I visited the dollar section at Target, the 99¢ Store & the dollar tree… to find my key pieces to get everyone in the summer spirit. I was really excited with what I found and it left me thinking…why didn’t I do this sooner?!


Happy Summer BBQ’ing!


THE TREND: PATTERN MASH-UP!
Gone are the days of our mother’s fashion rules that everything must perfectly match. Trends of mixing prints, patterns and graphics is here and it is not going anywhere any time soon.

Image via Jeanetta Gonzales
Gone are the days of our mother’s fashion rules that everything must match perfectly. Trends of mixing prints, patterns and graphics is here and it is not going anywhere any time soon. It’s time to jump on board and ditch pairing your prints only with solids. Expand your current wardrobe and pull pieces you normally would have not thought to pair. With these guidelines, use this summer to be BOLD and give a print and pattern mash-up a try. You’ll be sure to be a fashion hit!
1. Start Small. Mixing Florals and Stripes is a great starting point when needing a confidence boost before you plunge into a full look of bolder prints and patterns.
3. Opposite Scale. When going for a bold print on print look, pulling from opposite sides of the scale is key.This tighter Gingham button down works well with theses short’s larger geometric print since the gingham is less dominate.
4. Repeat a Color. Repeating one color through out the look will help focus the eye and help the print pairings not feel overwhelming.
WANT TO SHARE SOMETHING OR SOMEONE? HEAD TO OUR SUBMISSIONS PAGE TO SHOW US.
Contributed by estCA founder, Eleni Hopkins
FOLLOW HER ON: INSTAGRAM / TWITTER / PINTEREST

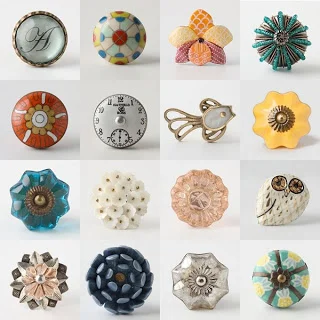
IN THE DETAILS: Old Vase, New Life
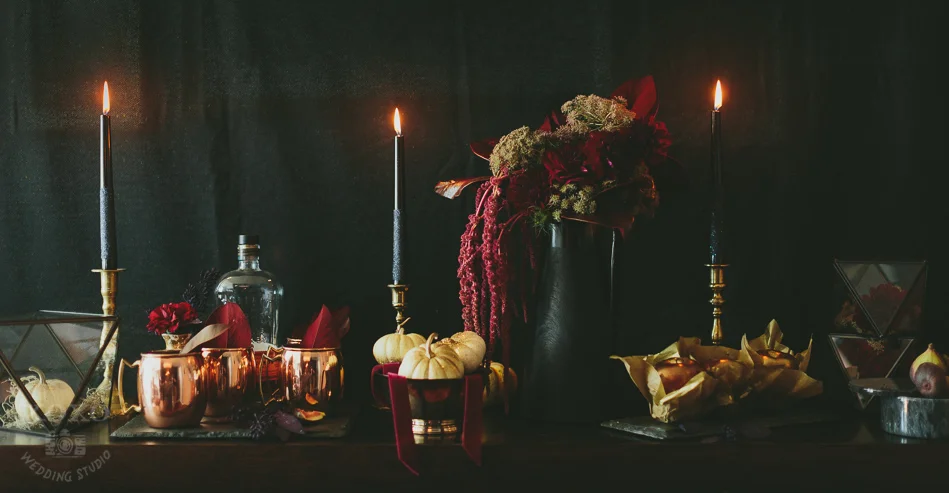
We’ve all been there: the receiving end of a gorgeous floral arrangement from that someone special (or on that special day). You parade that arrangement through the office like it’s your first-born and you can’t wait to show it off.

Image by Crab + Fish
We’ve all been there: the receiving end of a gorgeous floral arrangement from that someone special (or on that special day). You parade that arrangement through the office like it’s your first-born and you can’t wait to show it off. But sometimes that boring stock vase your new flowers arrived in just really doesn’t do that arrangement justice. And even worse, it leaves you with a vase that gets tossed into the cabinet to be lost in the clutter.
If there’s one thing every Californian loves, it’s recycling… or in this case, upcycling. With a little spray paint, you can change that vase into something every household needs. Even a texture change or unconventional vase can really make the difference in your floral display.
So give that killer floral arrangement you just spent an hour arranging or were just gifted something more than a plain vase. Here are my suggestions to let those flowers take center stage:

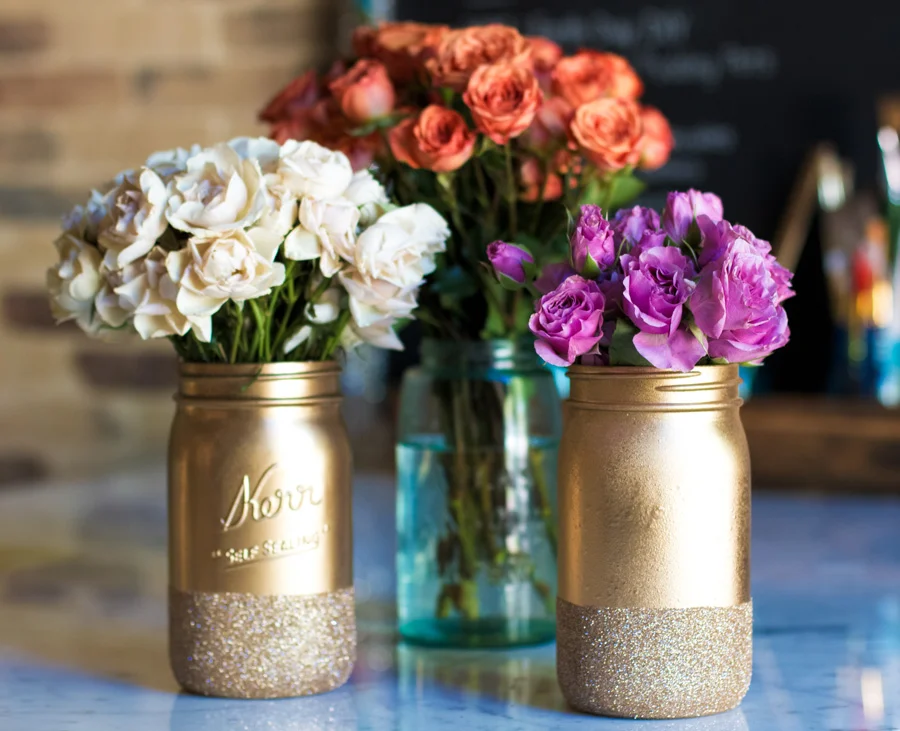
Image via Lily Shop
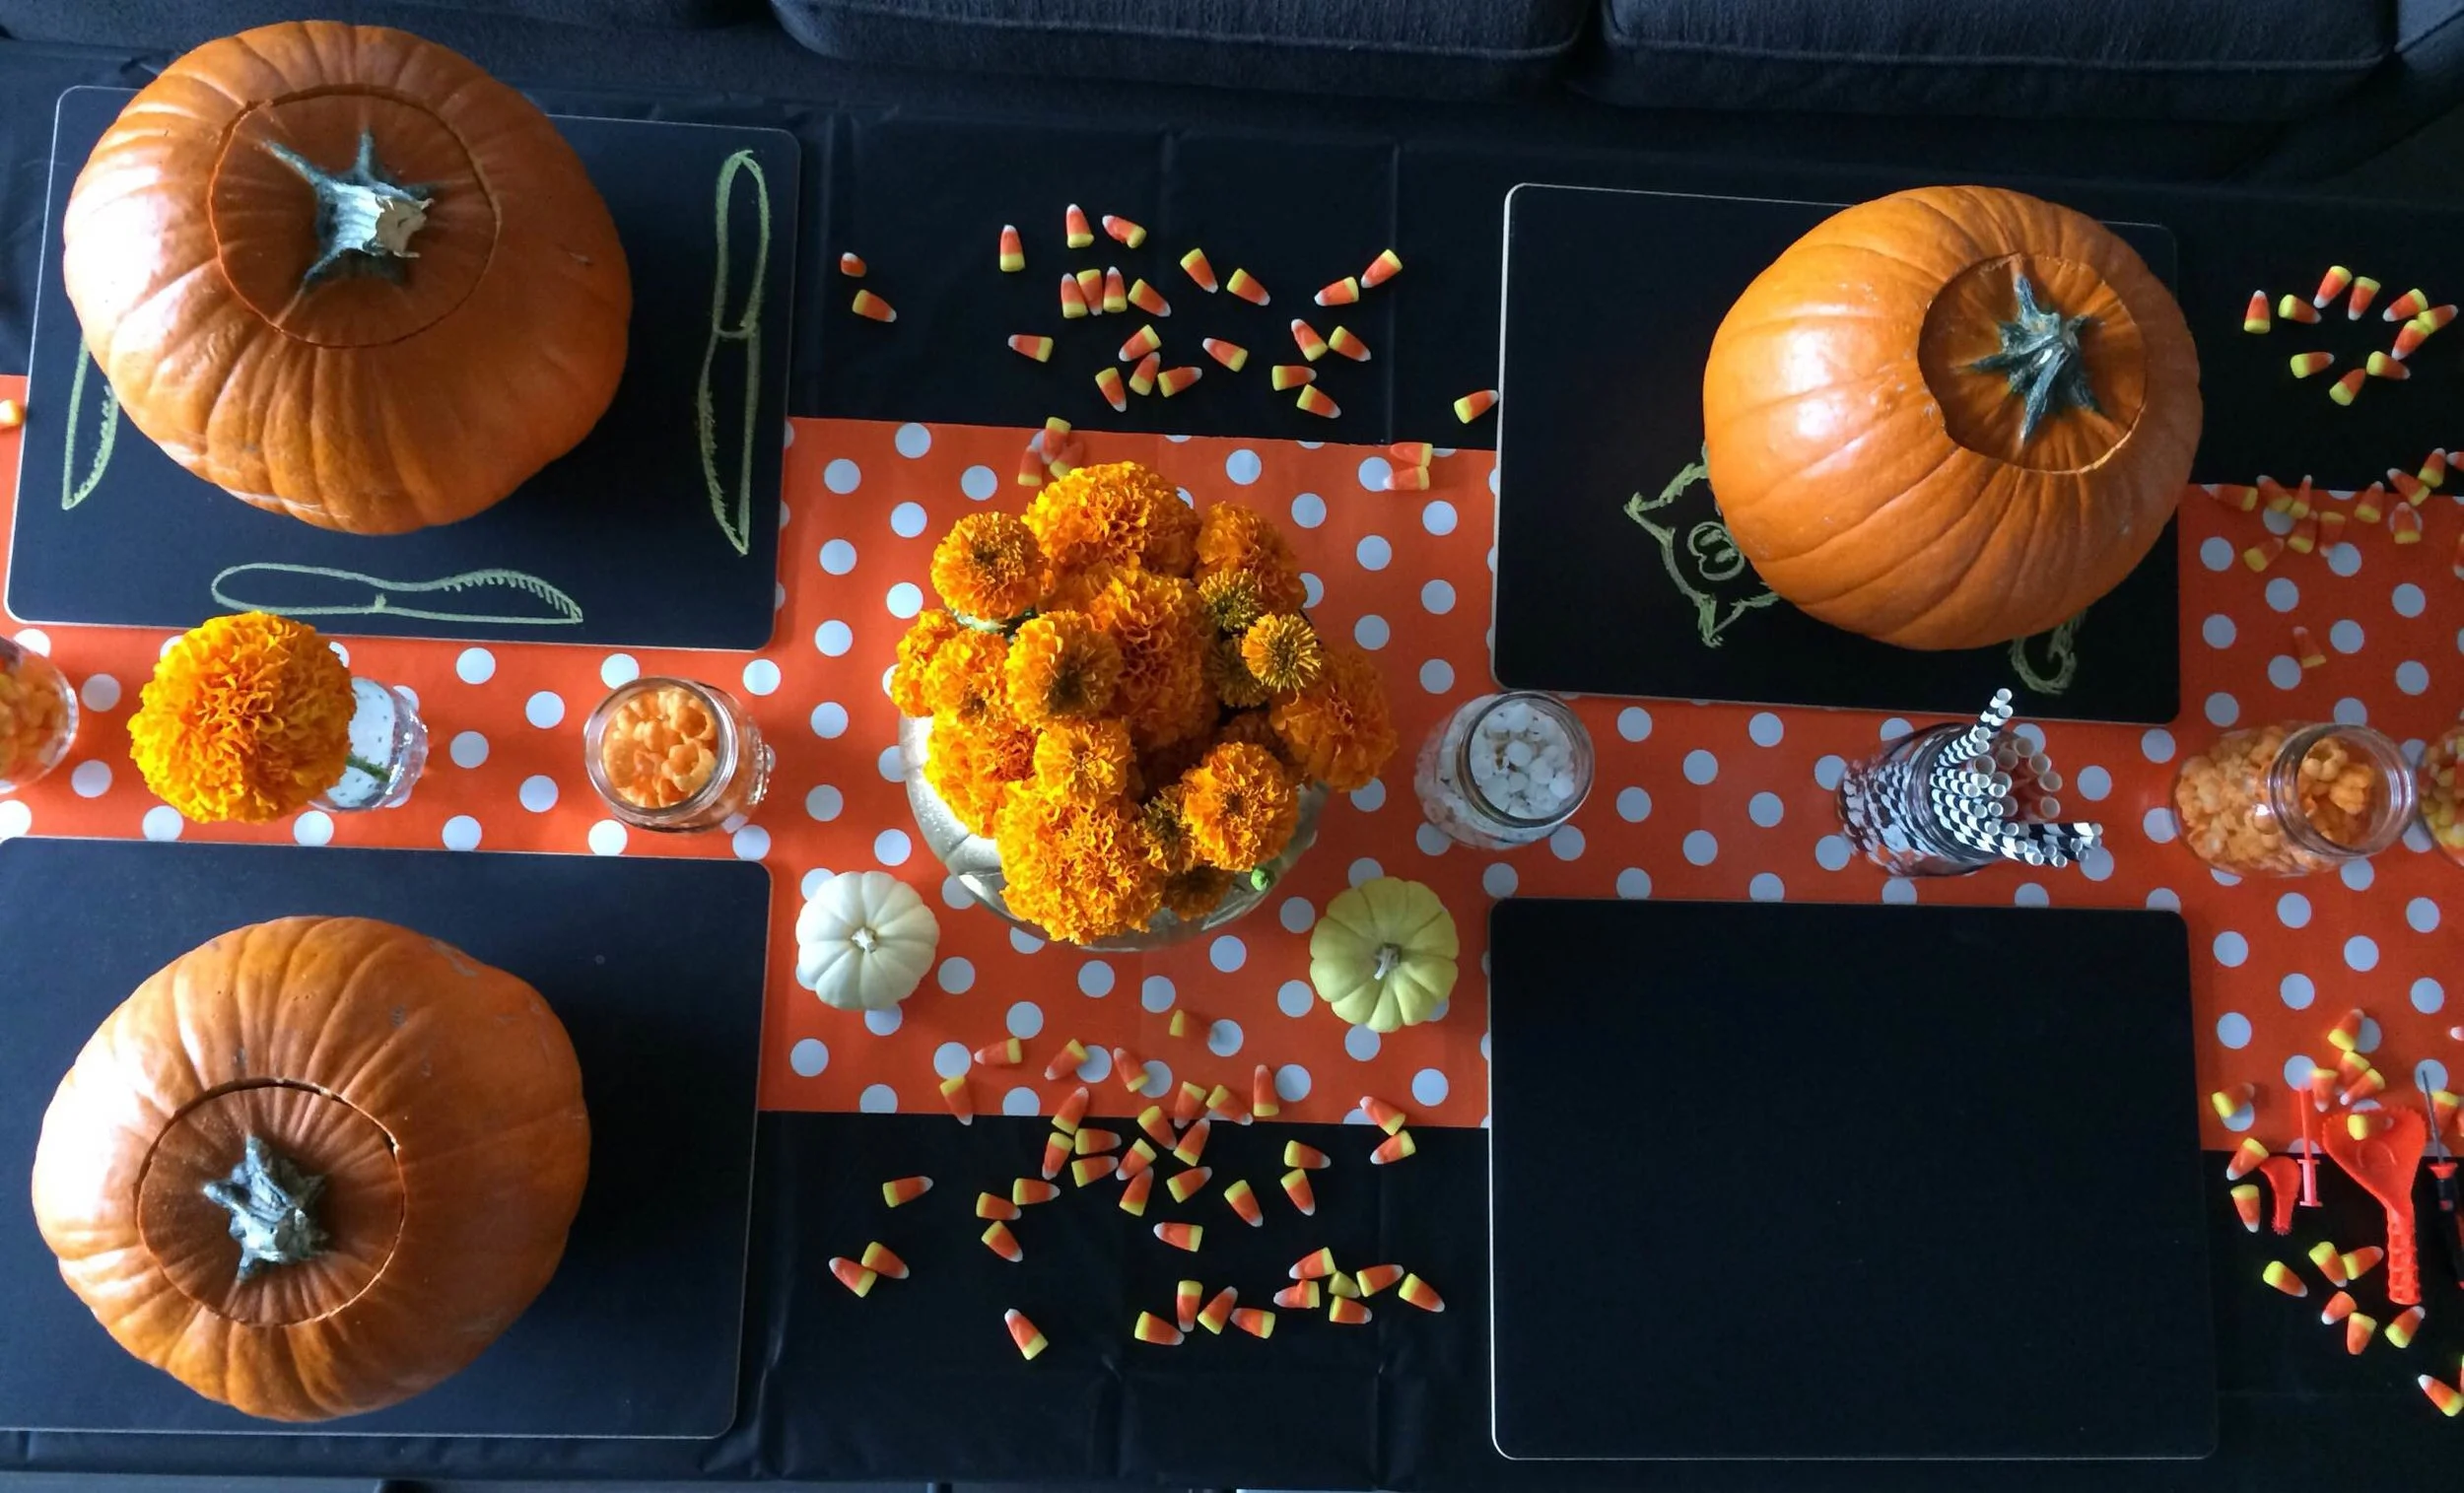
Spice it up!
Why not use a mason jar? But not just any old mason jar…spray it up, splash it with glitter. Hunny, make it yours! That vase should be just as unique as you and that floral arrangement!

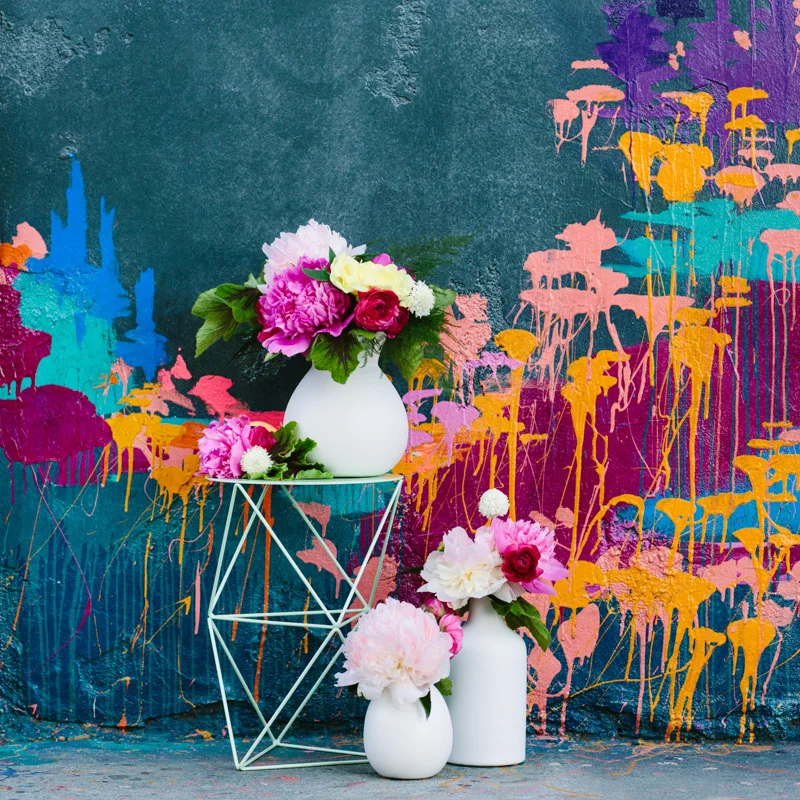
Image via It All Started With Paint
Reinvent!
Slap some paint on those old vases. There are several ways to do it, for the fastest, easiest and most even coat of paint, use spray paint. You can even through some patterns and shapes in there to really make them pop!

Image via Jessica Schilling
Repurpose!
If you enjoy in the idea of using something alternative as a vase, how about giving old alcohol bottles a new purpose? Instead of throwing out your glass bottles after that fun weekend you had, why don’t you spread your flower arrangement across a few of them to give you a full and unique display??

Image via Love the Lincolns
Wrap it Up!
You've be amazed what you can do when you just wrap the vase and give it a new texture! So grab whatever you have, rope, twine, string, burlap, lace, tape.. the possibilities are endless!
So now that you are inspired to take that old vase and give it a new life, show us what you made! Message us at submissions@estcalifornia.com with your DIY vase for the chance for it to be featured on our site! Or show us using #estcalifornia on Twitter or Instagram!
Contributed by estCA staff, Megan Araujo


DIY: SUMMERTIME FLORAL 'DO
After seeing all the floral headpieces and bohemian looks during the Festival Season this year, we were inspired to brighten up our style – and what better way than to use flowers. This Floral ‘Do Tutorial is perfect when you are feeling a little Boho yourself.

Image via Love & Folly
After seeing all the floral headpieces and bohemian looks during the Festival Season this year, we were inspired to brighten up our style – and what better way than to use flowers. This Floral ‘Do Tutorial is perfect when you are feeling a little Boho yourself.
Needed Items:
1 Small Rubber band
1 Bunch of Chamomile Flowers
Bumble and Bumble Dry Spun Finish
1. Part hair to the side. One the thicker hair side begin by grabbing a section as you see in photo two.
2. Split the selected section of hair into 3 even pieces.
3. Begin the braid by crossing the right piece over the center piece and let it drop. Cross the left piece over the center. Now pick up a brand new section from the right and repeat crossing over the center piece and dropping. Cross the left piece over the center. [There is a great video tutorial here]
4. Continue the waterfall braid around the head to a desired stopping point.
5. Finish off the end by not grabbing additional sections of hair and continue with a regular braid. Tie with a rubber band when complete.
6. Place fresh cut Chamomile Flowers into the top of braid continuing around head and into the lower braid.
7. Voila! Spray some Bumble and Bumble Dry Spun Finish and your floral do is ready to go!

WANT TO SHARE SOMETHING OR SOMEONE? HEAD TO OUR SUBMISSIONS PAGE TO SHOW US.
Contributed by estCA founder, Eleni Hopkins

THE BEST FIVE-MINUTE CHOCOLATE MUG CAKE
Maybe you had a bad day or you’ve been eating healthy all week and just can’t curb that sweet tooth that has been pestering the last couple hours. I’m a big advocate for finding alternative ways to still curb those cravings while not breaking your calorie bank account.

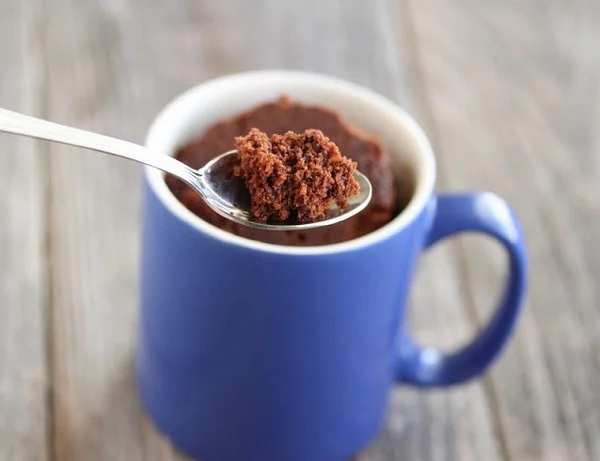
Image via U Cake Decor Ideas
Maybe you had a bad day or you’ve been eating healthy all week and just can’t curb that sweet tooth that has been pestering the last couple hours. I’m a big advocate for finding alternative ways to still curb those cravings while not breaking your calorie bank account. So I am here to tell you that “Yes! You really can have your cake and eat it too!”
This 5-minute Chocolate Cake recipe is paleo-friendly, gluten-free and vegan. It’s loaded with ingredients that are natural and easy for your body to process so you don’t have to feel guilty about it. It’s super fast and single-serving in a mug so your cook time is fast and clean-up is easy! However, it’s a lot of chocolate goodness, so why not share with a friend? The more the merrier, right?
5 Minute Chocolate Mug Cake
Ingredients
¼ cup Almond Flour
¼ cup Coconut Flour
¼ cup coconut sugar
4 tbsp unsweetened cocoa powder
¾ cup unsweetened coconut milk
1 tbsp coconut oil, plus extra for greasing
2 tsp dark chocolate chips (sub. carob chips for Vegan)
1 pinch salt
Instructions
In a small glass container, warm the coconut milk and coconut oil just until it is melted.
Add sugar, cocoa powder, salt and mix with a whisk until smooth. Then add in Almond flour and coconut flour last (coconut flour is a very absorbant flour so it’s important it is added last). Mix until you have a smooth, even consistency. If it’s too thick, add a tbsp of coconut milk at a time until your batter is smooth.
Coat the inside of a glass or ceramic mug with a little bit of coconut oil. Then spoon in your cake mixture. Top with the chocolate chips and heat in the microwave until the middle bounches back when pressed (about 2 minutes). Allow to cool for 2-3 minutes, then enjoy!


ABOUT THE AUTHOR

Lindsay Vacek has a passion for style, details and design. As a Fashion Editorial Photographer, she's worked in the Entertainment Industry for over 10 years and has a love for adventure and travel. She spends her spare time globe-trotting her way through foreign countries and loves new cultures, food, music and the arts.
Being a California Native, Lindsay loves meeting new people and sharing her version of life with others. With an infinite list of things-to-do, places-to-go and sights-to-see - she believe everyone can have a little more California in their own lives.
FOLLOW HER ON: INSTAGRAM / TWITTER / PINTEREST
